Philipp, the turret shell is the same for the mk10 and the mk11 so Takom had to do that way so they just needed to give a different left side instead of a complete turret.
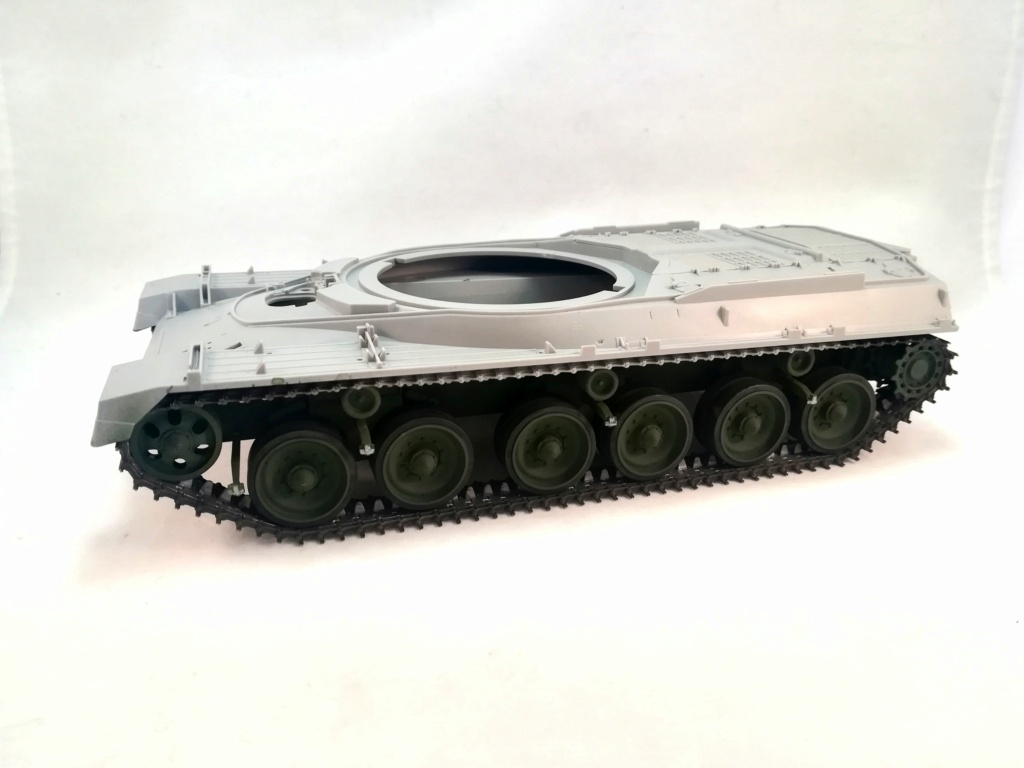
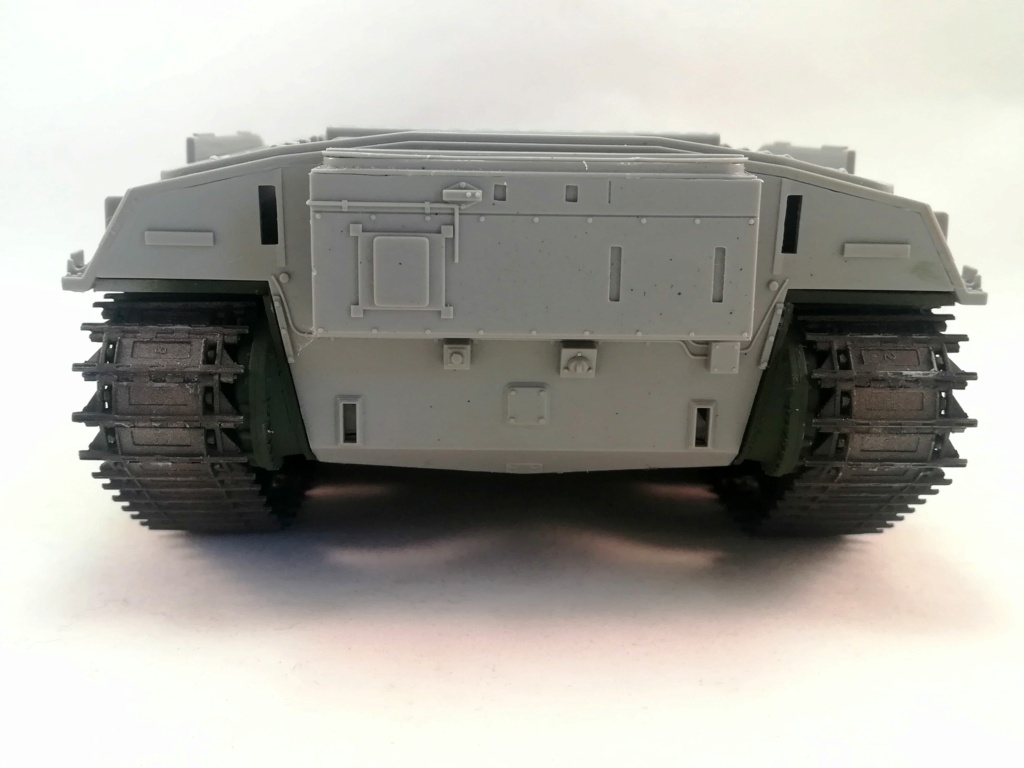
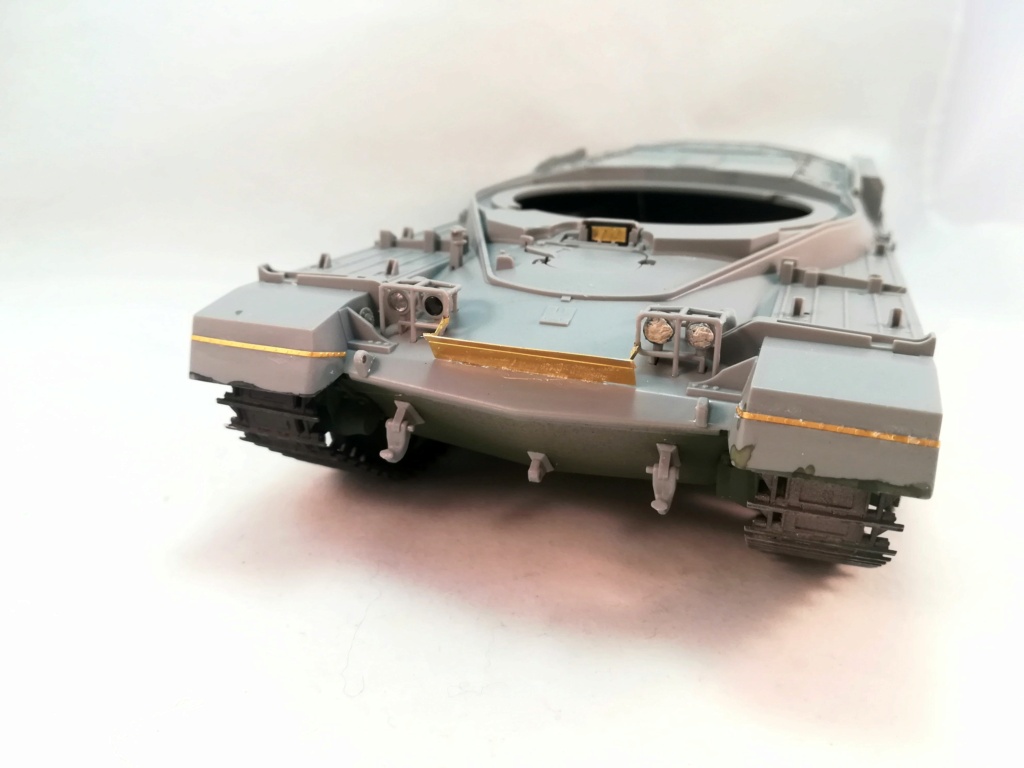
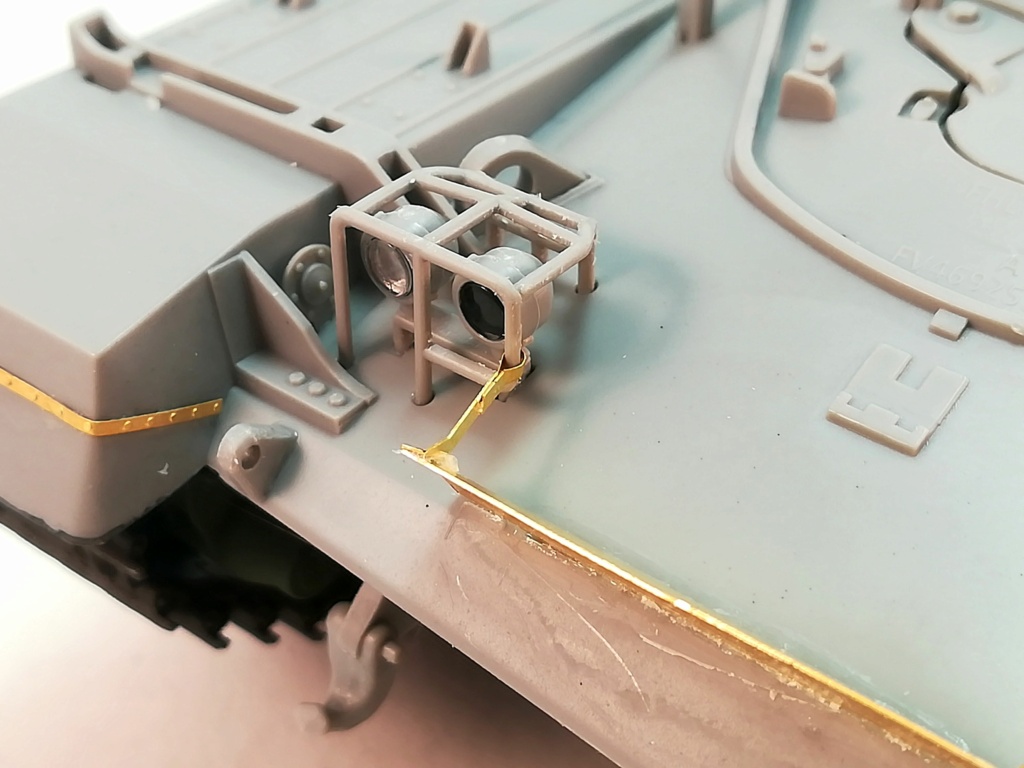
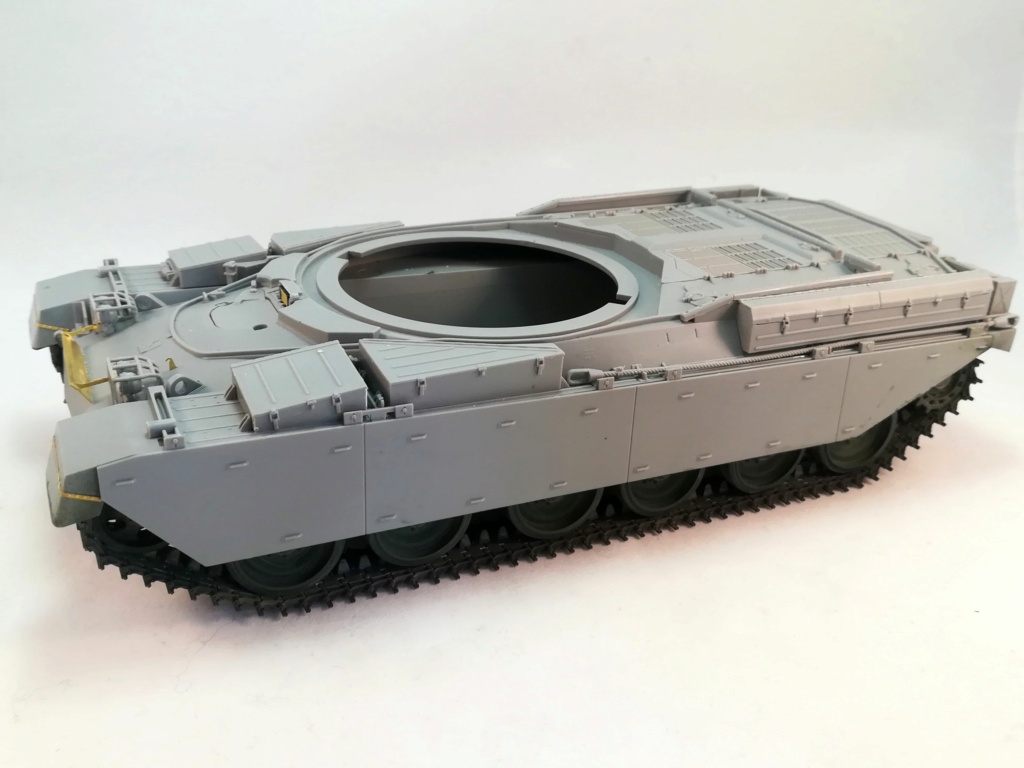
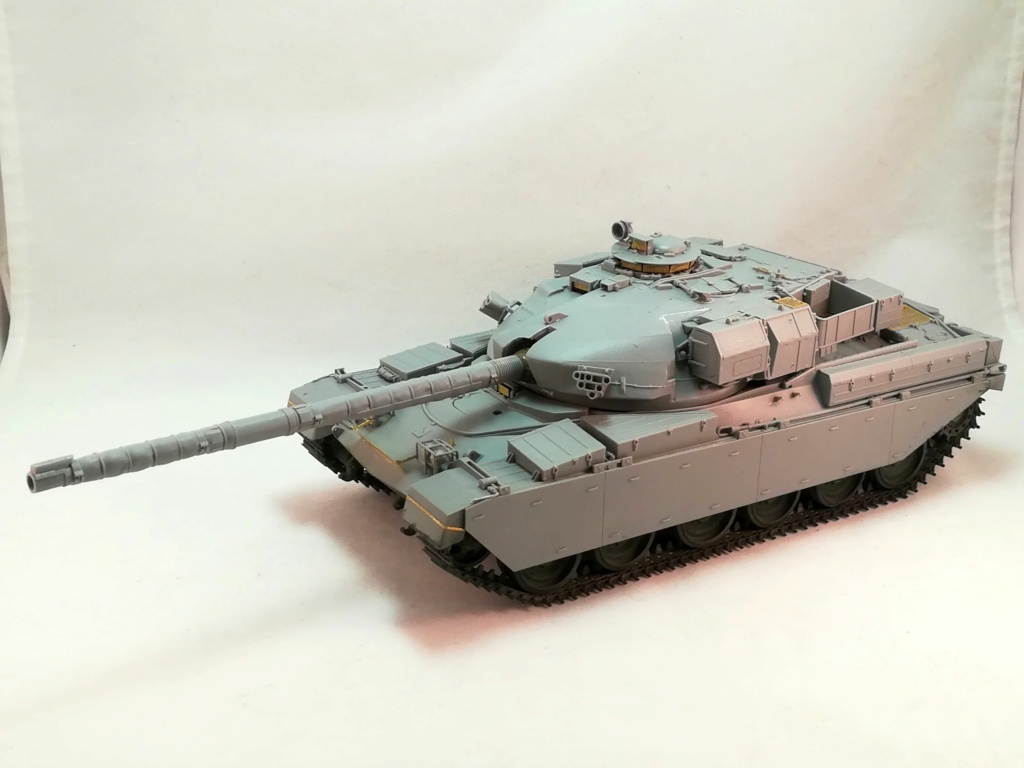
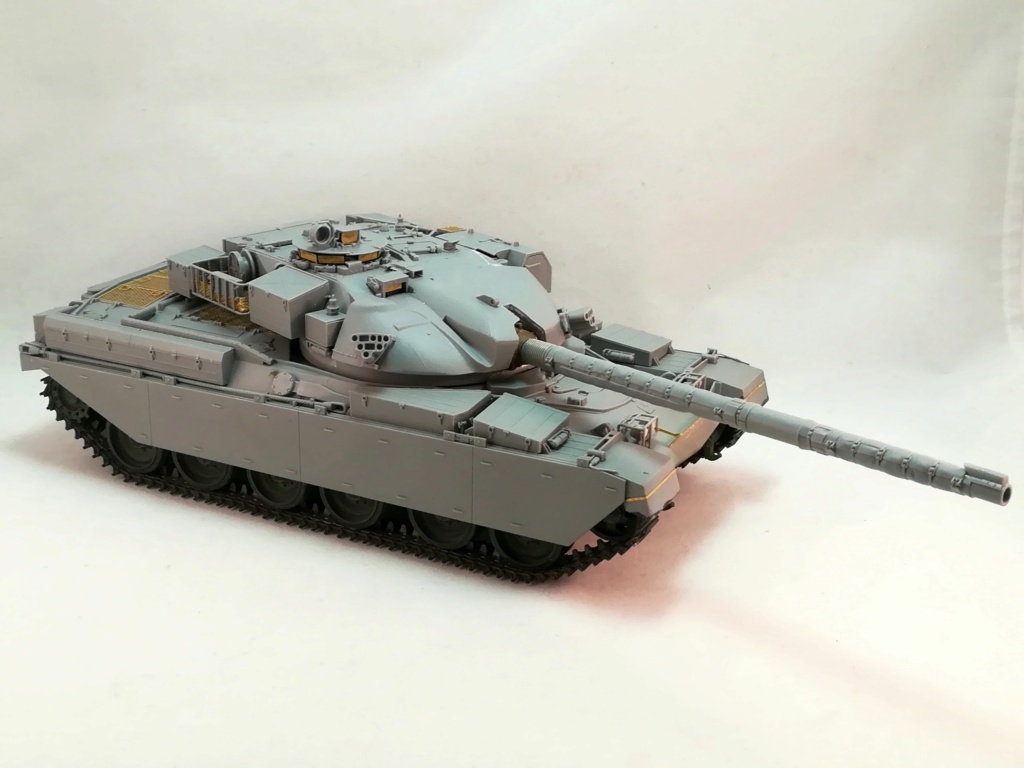
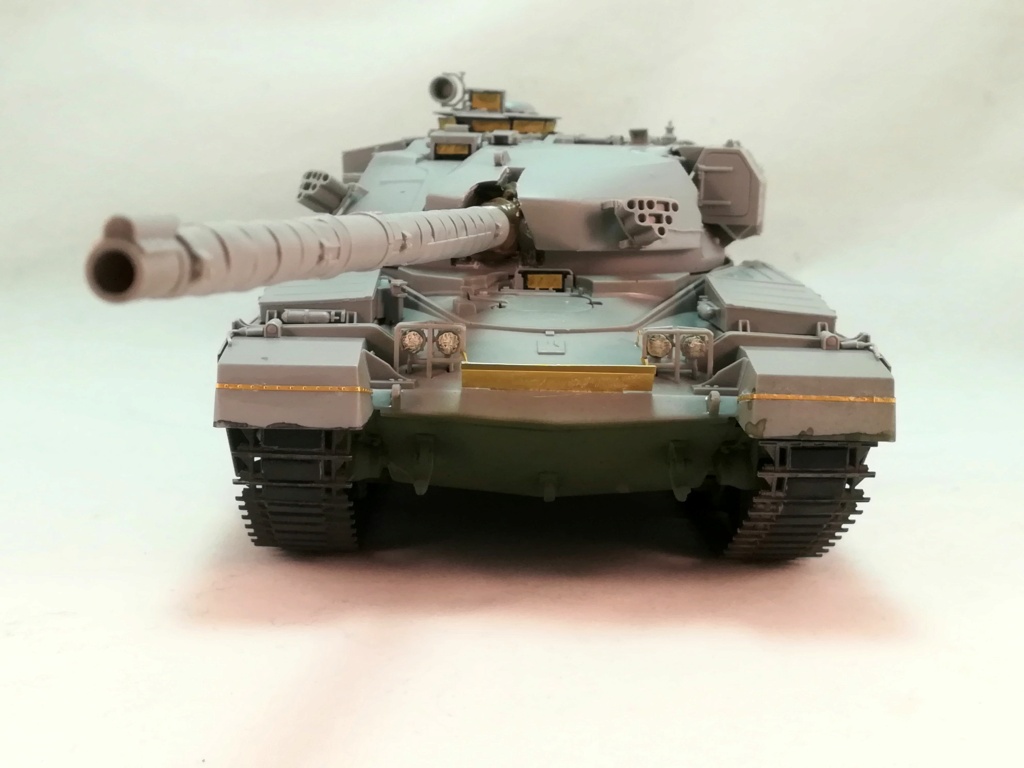
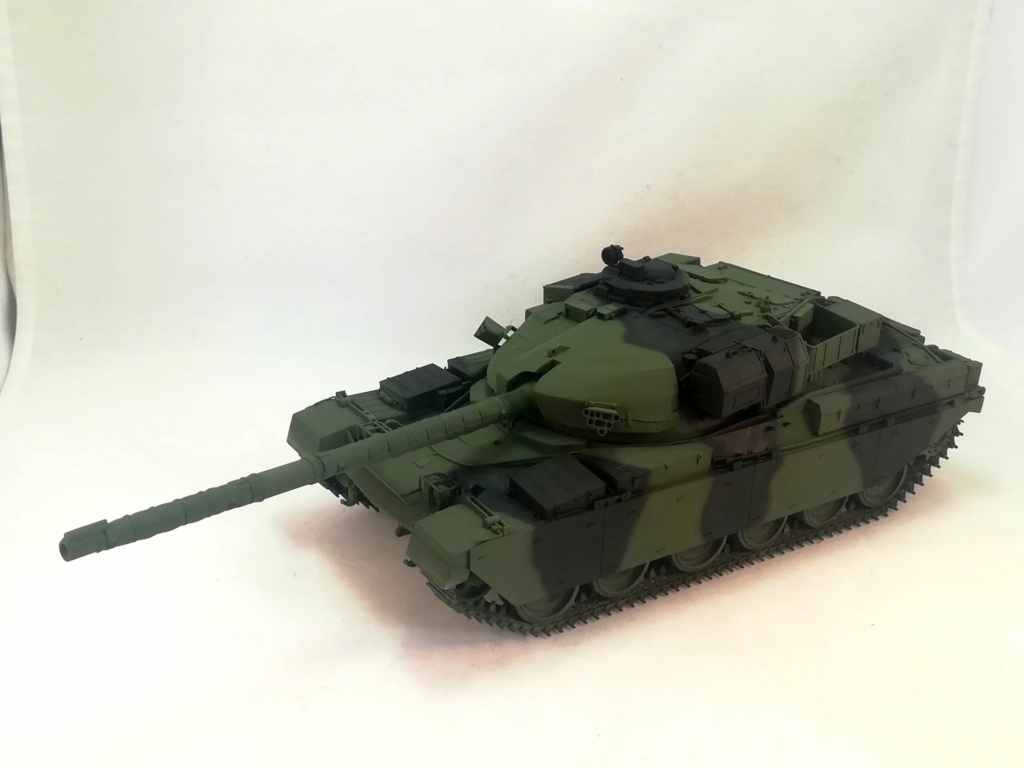
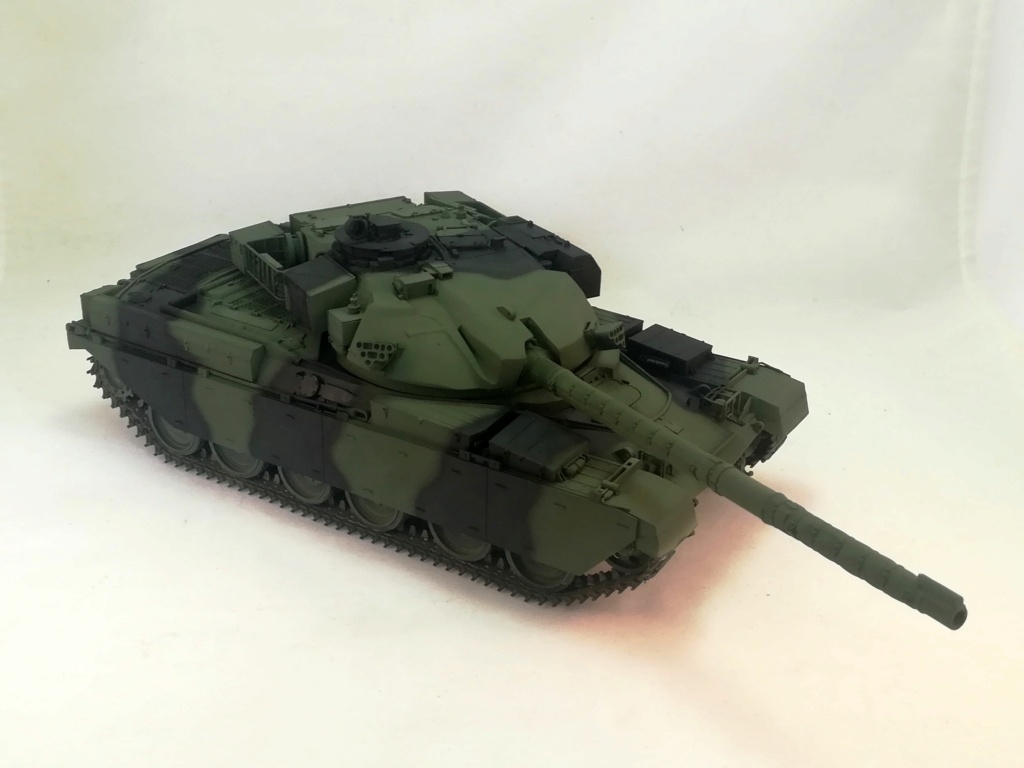
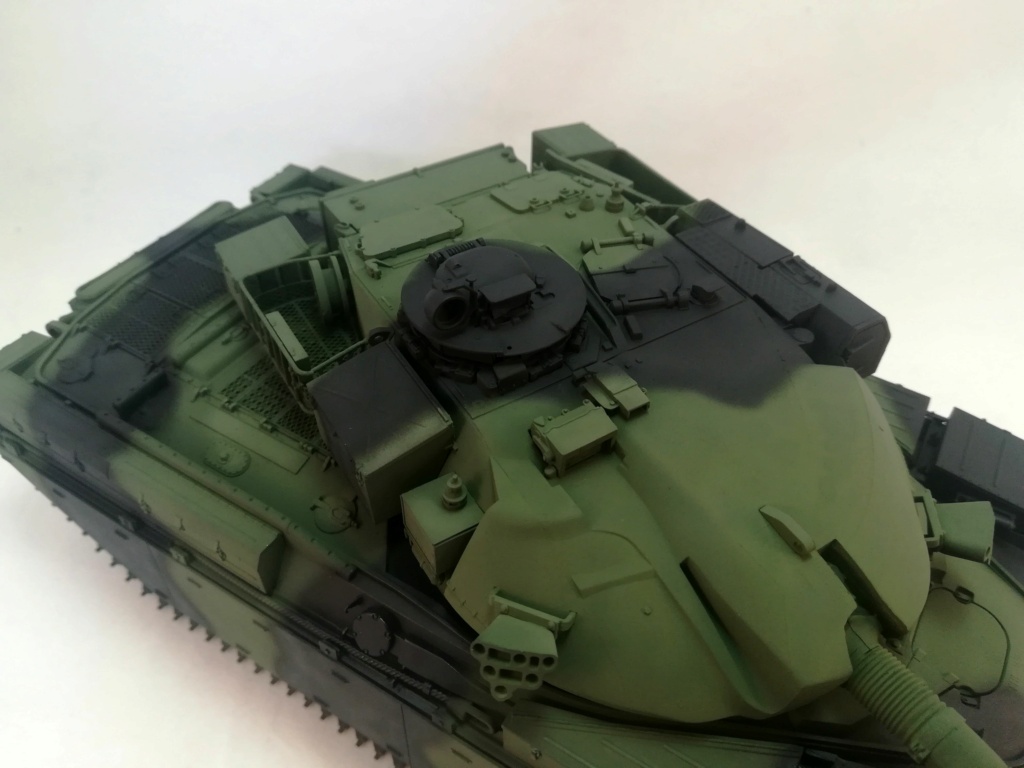
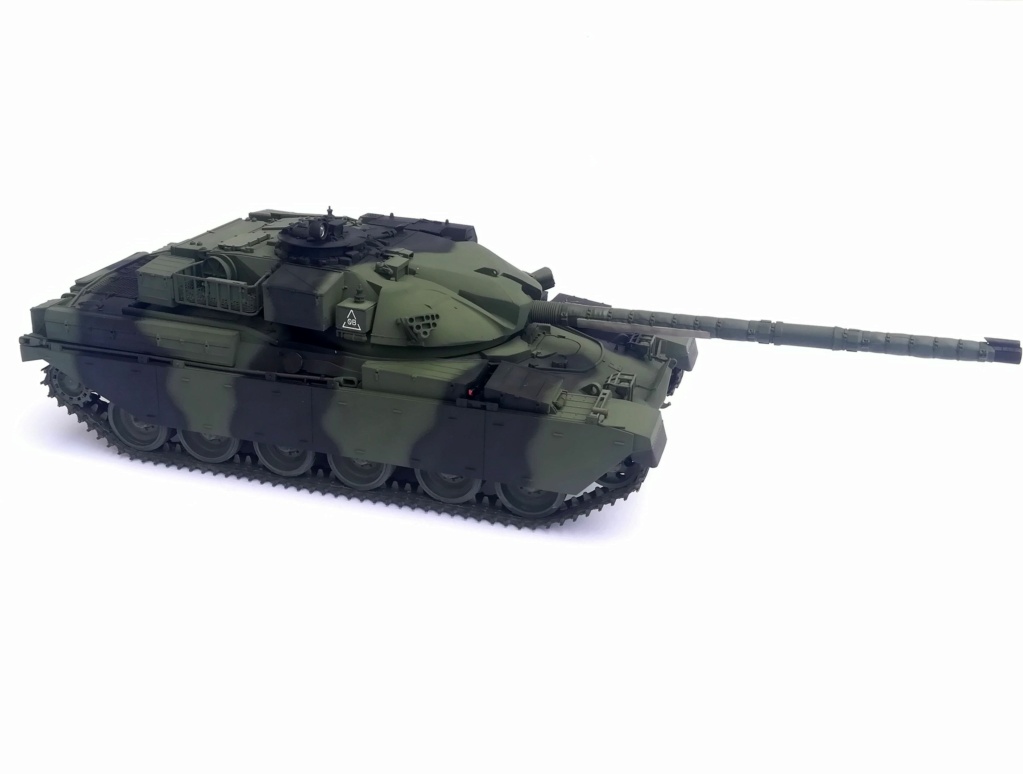
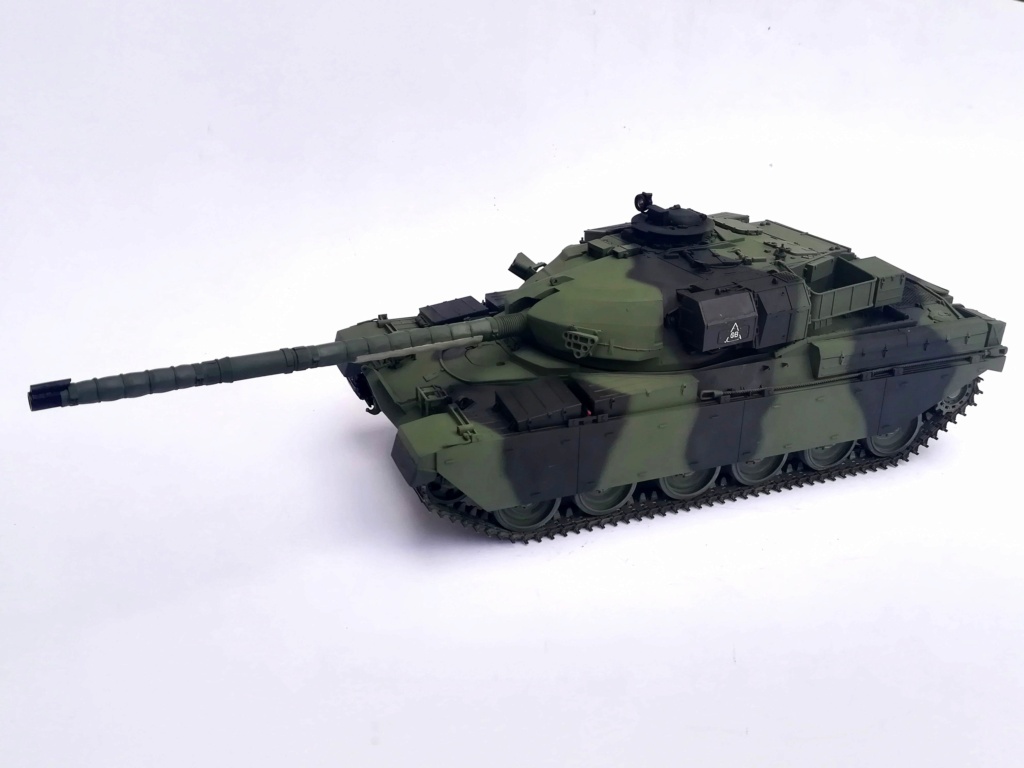
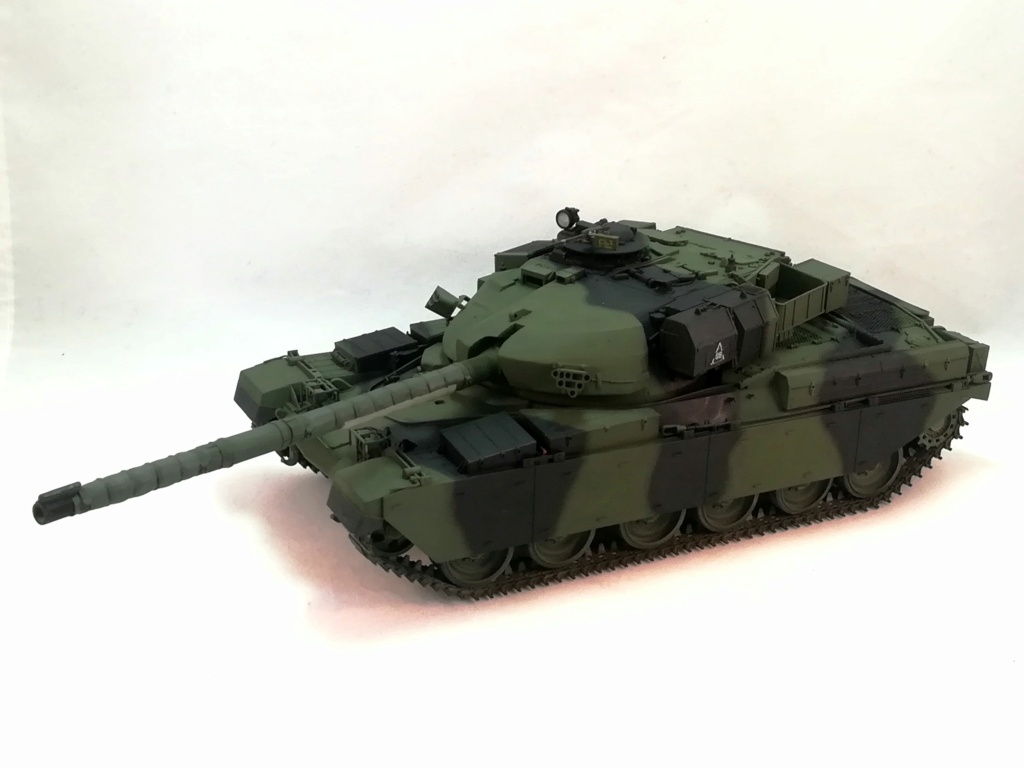
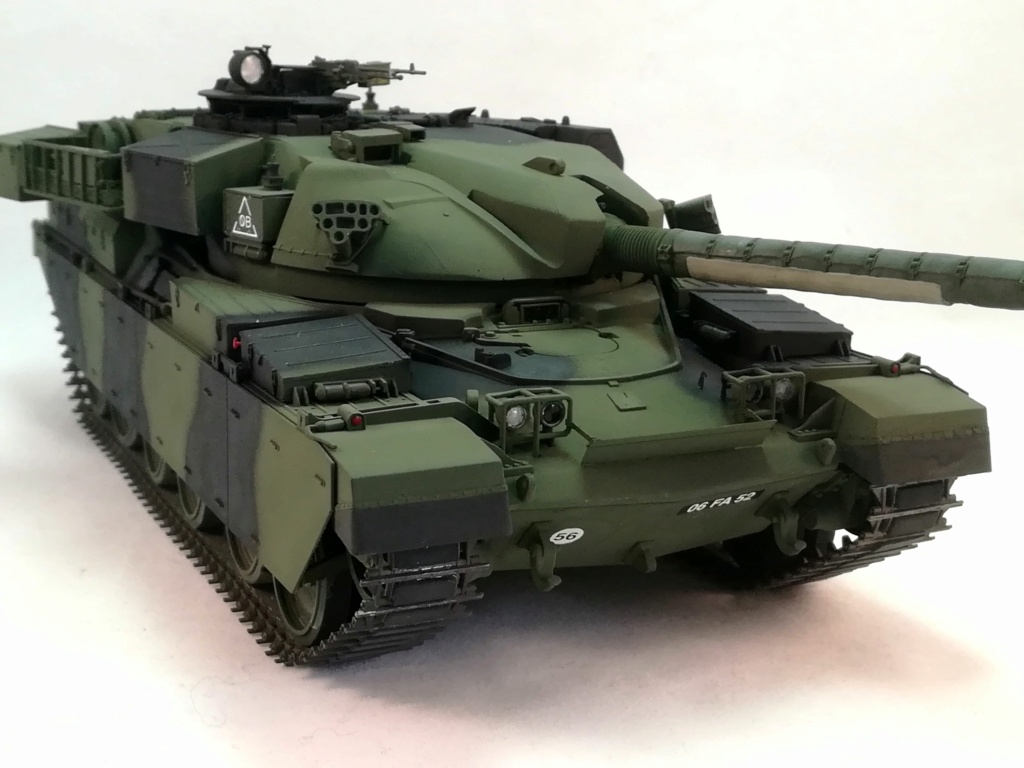
I made some progress. I painted the running gear and glued the upper hull so I can glue the various parts on the hull. The side skirts will be added the running gear is weathered.
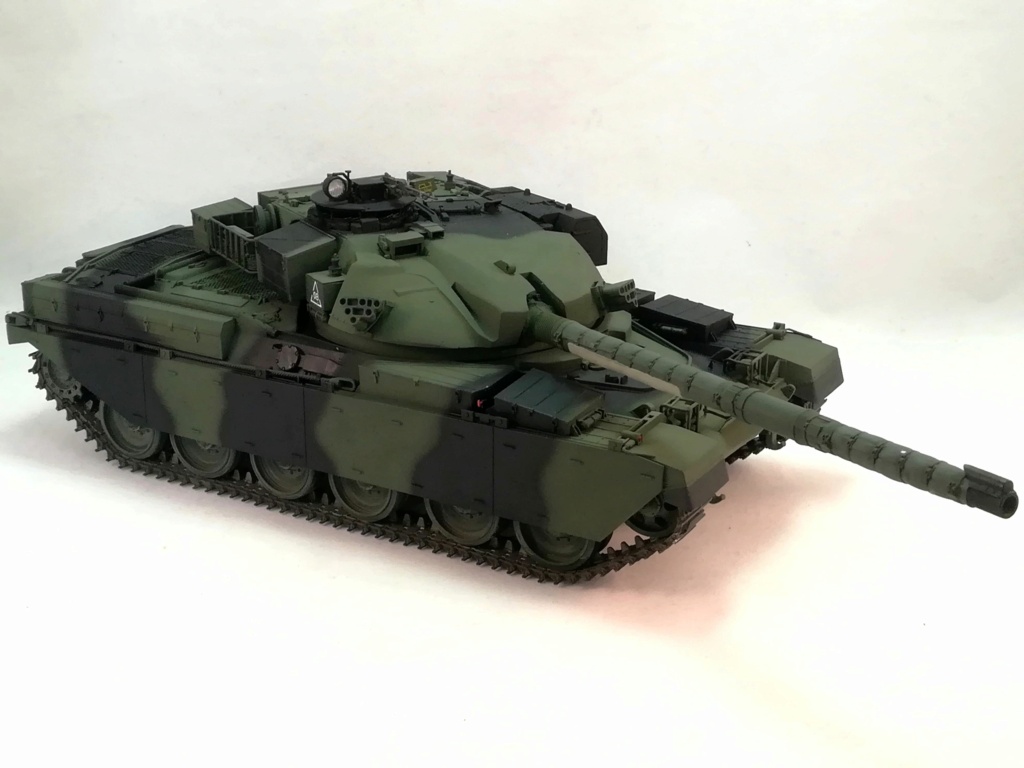
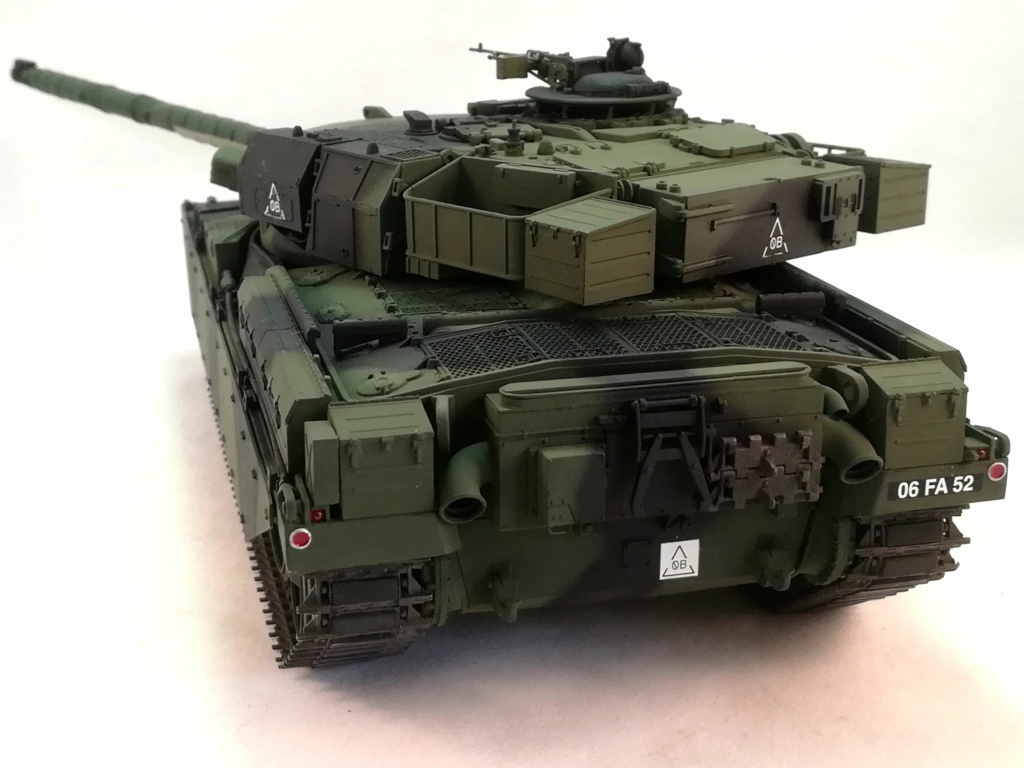
I used two more links per track than what the instructions tell and the fit is still tight.
Chieftain mk11 Takom
- Olivier Carneau
- Senior Site Contributor.....
- Posts: 1178
- Joined: 24 Jul 2014, 09:40
- Location: Corrèze, Southern France
- Contact:
- Olivier Carneau
- Senior Site Contributor.....
- Posts: 1178
- Joined: 24 Jul 2014, 09:40
- Location: Corrèze, Southern France
- Contact:
Re: Chieftain mk11 Takom
Slow progress on the front of the tank. The splash board "brackets" were as tedious to assemble as the instructions let guess. But I'm done with them.
The rear end is complete except for the mudguards which will be added after the tracks are fitted with the rubber pads and are weathered.
- Olivier Carneau
- Senior Site Contributor.....
- Posts: 1178
- Joined: 24 Jul 2014, 09:40
- Location: Corrèze, Southern France
- Contact:
Re: Chieftain mk11 Takom
The hull is nearly complete. I still need to add the engine grilles and the handles. I also intend to display the rear view mirrors folded. Any picture of such a configuration would be appreciated.
- Olivier Carneau
- Senior Site Contributor.....
- Posts: 1178
- Joined: 24 Jul 2014, 09:40
- Location: Corrèze, Southern France
- Contact:
Re: Chieftain mk11 Takom
The build is complete. The only missing part is the commander cupola MG which will be added after the painting. The supports for the rear view mirrors have been modified to be folded down.
- Olivier Carneau
- Senior Site Contributor.....
- Posts: 1178
- Joined: 24 Jul 2014, 09:40
- Location: Corrèze, Southern France
- Contact:
Re: Chieftain mk11 Takom
Beginning of the painting. The base green is XF-67 and the black is XF-1. Highlights have been made with some XF-57 added to the green base and with some XF-85 on the black. Still need to highlight with a brush the various details.
- Olivier Carneau
- Senior Site Contributor.....
- Posts: 1178
- Joined: 24 Jul 2014, 09:40
- Location: Corrèze, Southern France
- Contact:
Re: Chieftain mk11 Takom
Today I applied the decals and painted most of the details. The thermal sleeve is probably not enough contrasted. I painted the covers with XF-65 Field Grey and the lower part with XF-65 enlightened with XF-57 Buff. Tomorrow I'll apply a coat of Klir before starting the weathering. I'll try to fade the camo a bit and add a bit of dirt to the lower parts.
- Steve Hutchinson
- Senior Site Contributor.....
- Posts: 2263
- Joined: 20 Jul 2014, 08:27
- Location: Bradford West Yorkshire, UK
Re: Chieftain mk11 Takom
Looks good Olivier,
Always a positive step to get some paint on the plastic
Enjoy the weathering next
Regards
Steve H
Always a positive step to get some paint on the plastic
Enjoy the weathering next
Regards
Steve H
""I need to be creative, to feel ALIVE!""
Completed Campaigns:
- Olivier Carneau
- Senior Site Contributor.....
- Posts: 1178
- Joined: 24 Jul 2014, 09:40
- Location: Corrèze, Southern France
- Contact:
Re: Chieftain mk11 Takom
Thank you Steve.
I have added the very last details and removed all the masking of the clear parts. It is ready for the weathering now.
- Shawn Ramsey
- Senior Site Contributor.....
- Posts: 1987
- Joined: 20 Jul 2014, 00:26