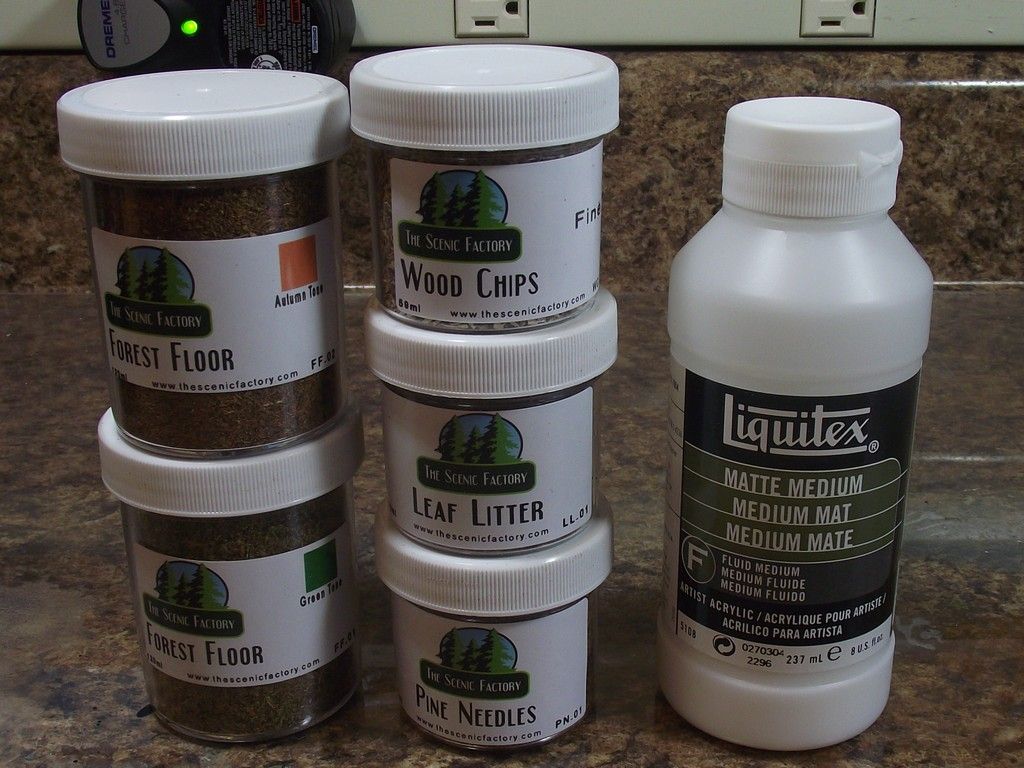
Finally the ground work. Most products for the ground work were purchased from the Scenic Factory here in the States. All I can say is they are some great products.
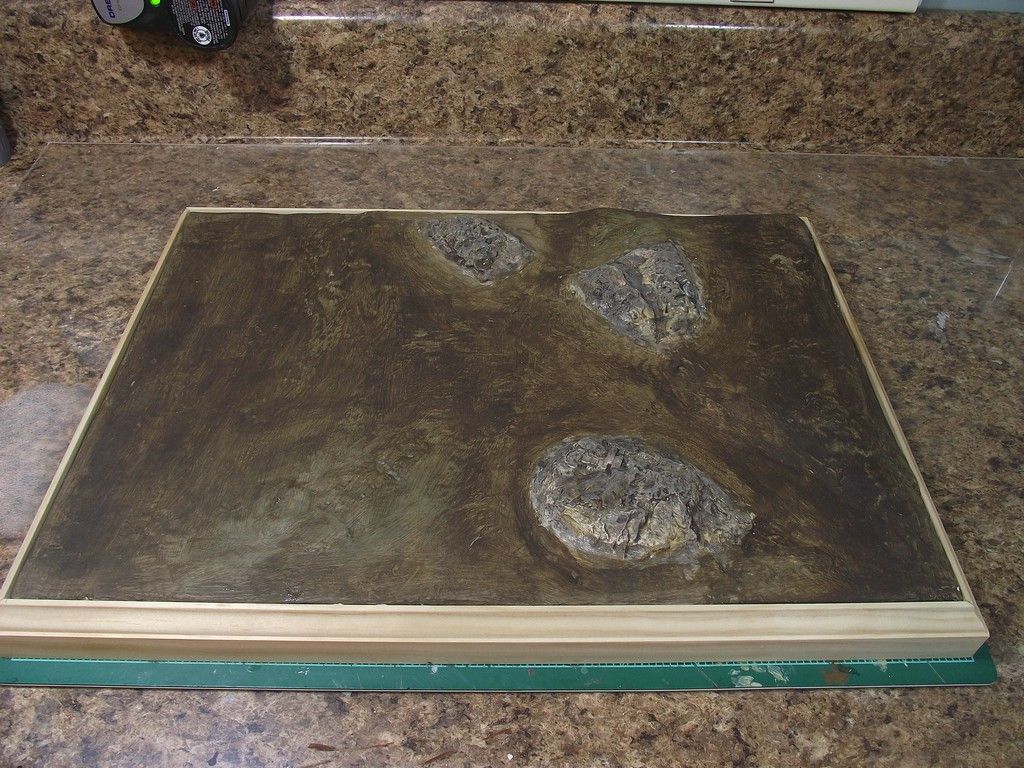
For the base I started with foam insulation. The wood frame was made from trim boards.
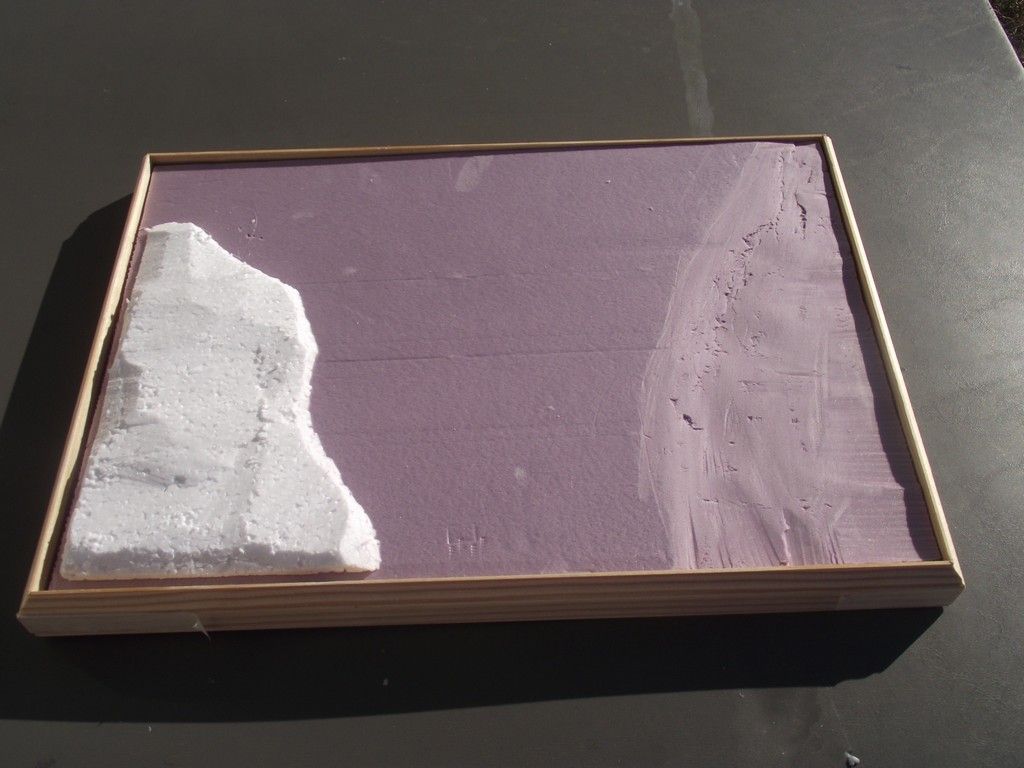
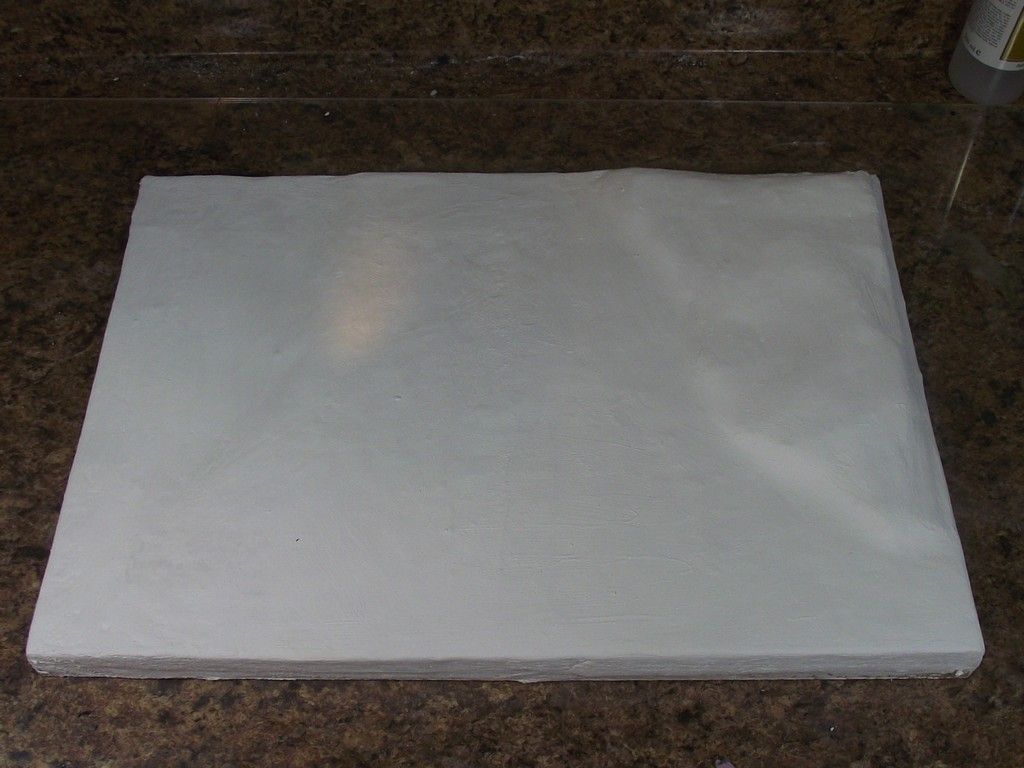
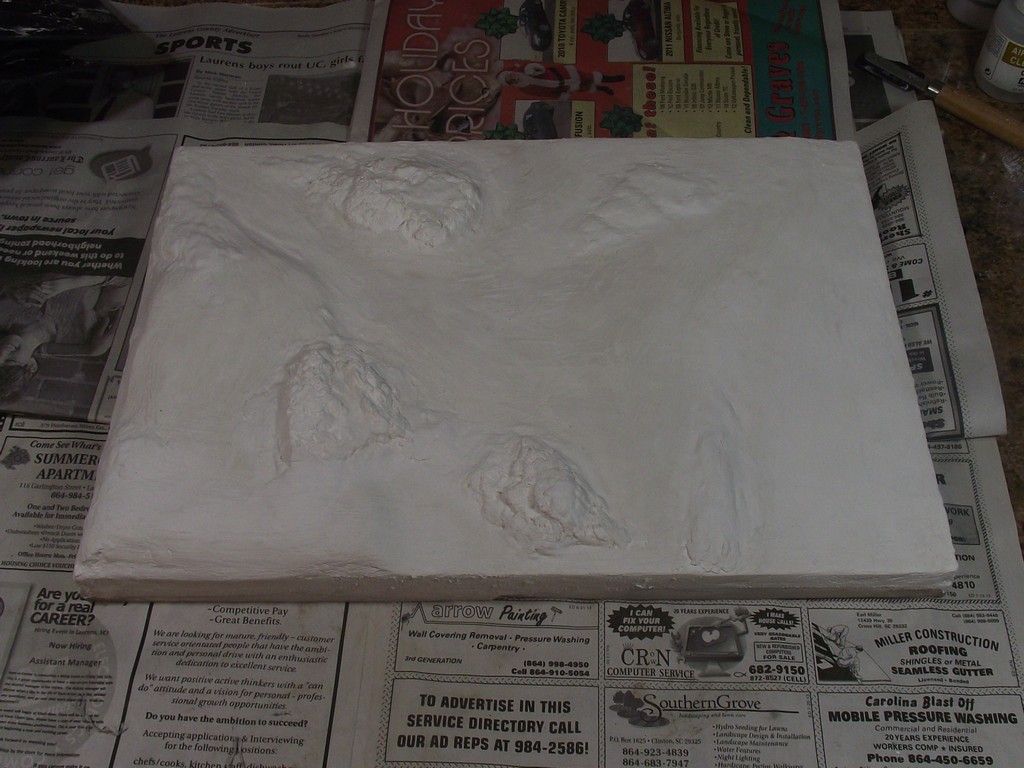
The foam was covered with plaster cloth from Woodland scenic. Then rock molds were used to form the rocks and Sculpt mold was used to attach the rocks.
Cheap acrylics paints were used to paint the ground. Washes of Burnt Umber , Orchard, black were applied to different areas of the rocks.
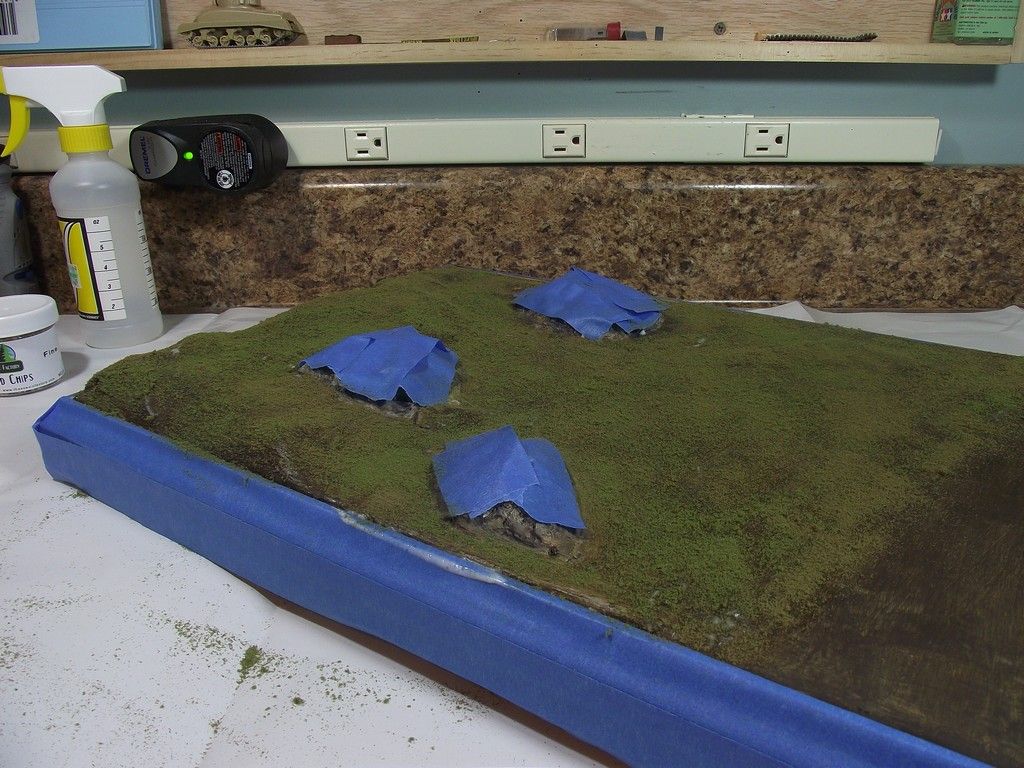
Brushing matt medium on the base Woodland Scenic fine turf was applied.
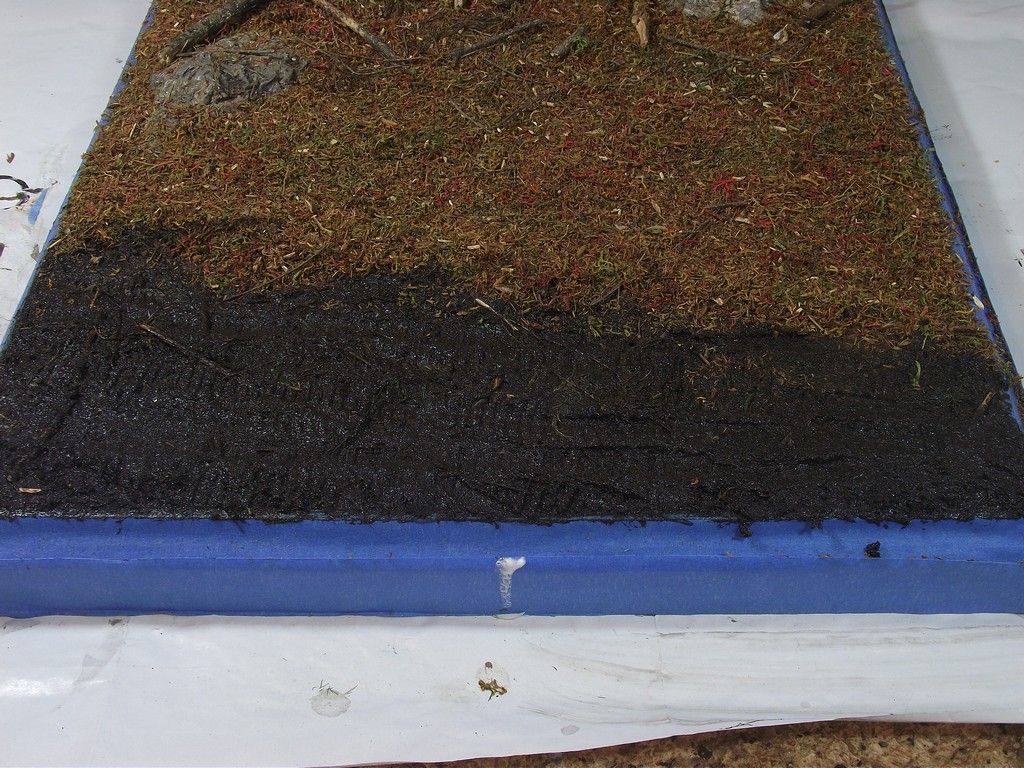
Using these great products they were applied randomly to the base. Again using Matt Medium mixed with water 50/50 sprayed over these to adhere them. Matt medium will dry completely flat so that is why this was used instead of white glue.
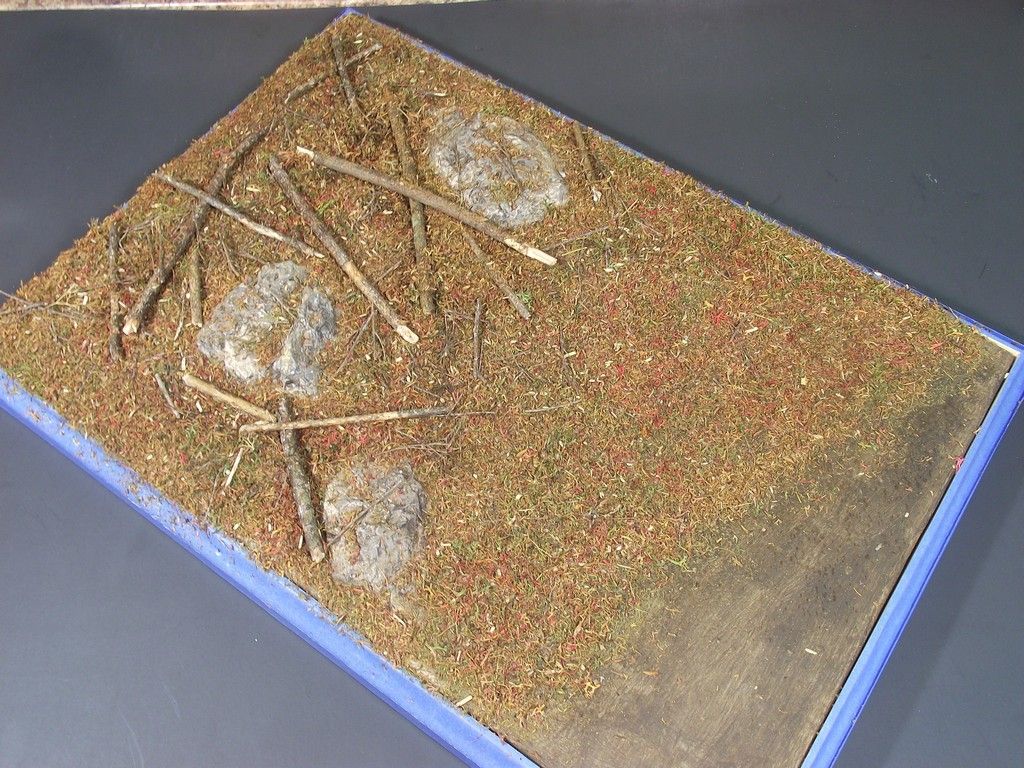
Mud was applied again using mud from the Scenic factory.