Thanks everyone!

With detail improvements on pretty much everything on the hull the overall pace has been a bit slow...here's a quick progress update:

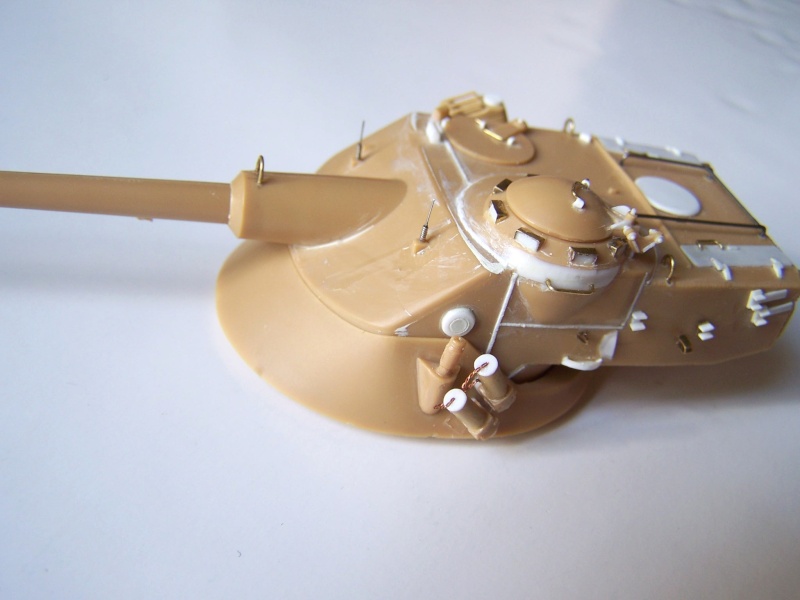
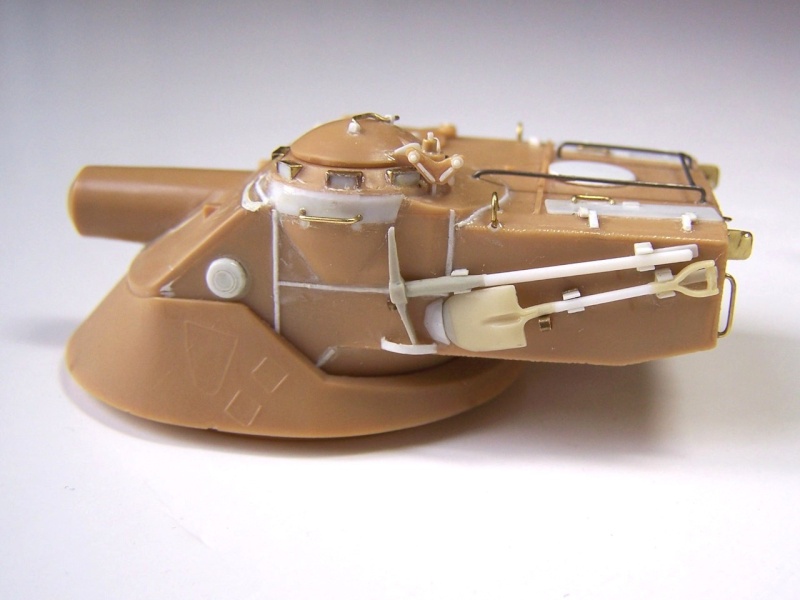
On the hull hatches the periscopes are moulded shut, so I drilled out the rotating mounts and added spare Dragon parts. Regrettably the entire hatch didn't fit, which would have made things a little easier. I also replaced the lifting eyes with better shaped Dragon parts. The dust cover mount was remade with wire, I'm still working on a method to recreate the little stubs on it

By the way, the cast texture was made with the traditional "glue and brush" method, mostly because I still don't have any fancy Mr Surfacer stuff...

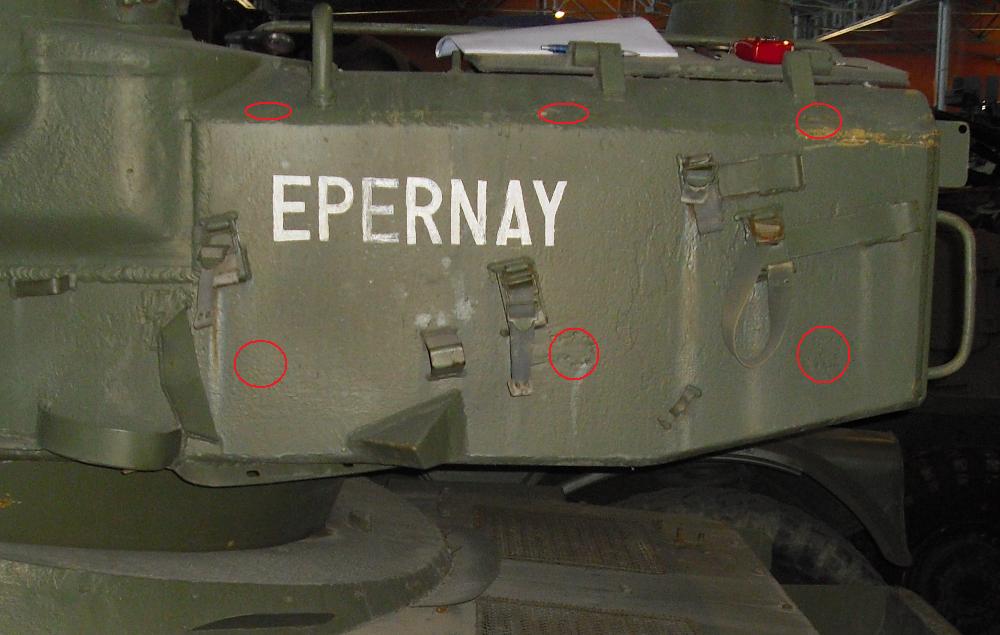
On the rear end I replaced the uncommon circular air filters with square Tamiya parts, also a bit of Eduard etch makes its debut. There's a lot more scratchbuilding to do around here since the French postwar mudguards look a lot different than the (very clunky) kit parts (
here's the real deal). Time to put all that sheet styrene I've hoarded to good use
For the air deflector I have a TMD resin part at hand, since it's
extremely delicate I'll put it on last.
Philipp


