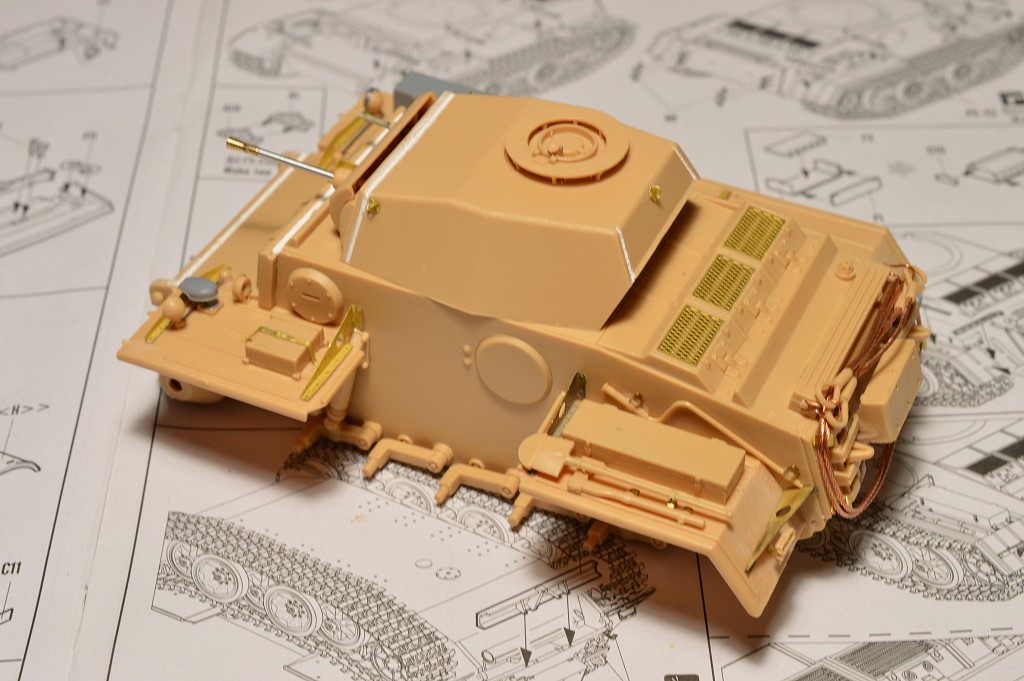
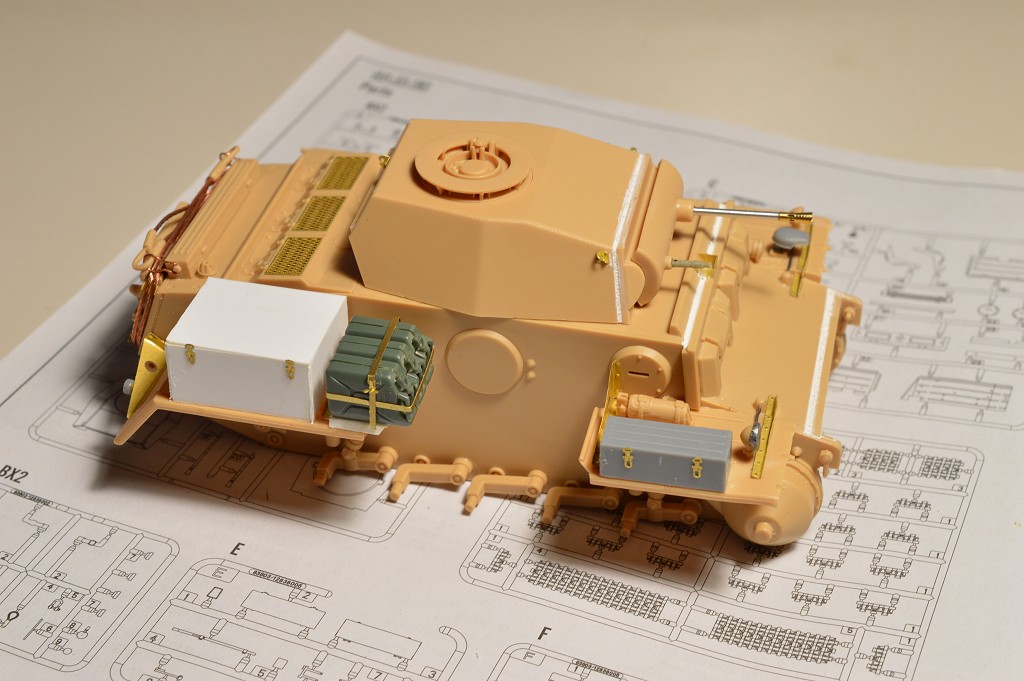
Oh well, the antenna was still missing...fixed that

The kit comes with a decent 1.4 m antenna, but using one by RB Model was a lot easier than cleaning up the attachment points:
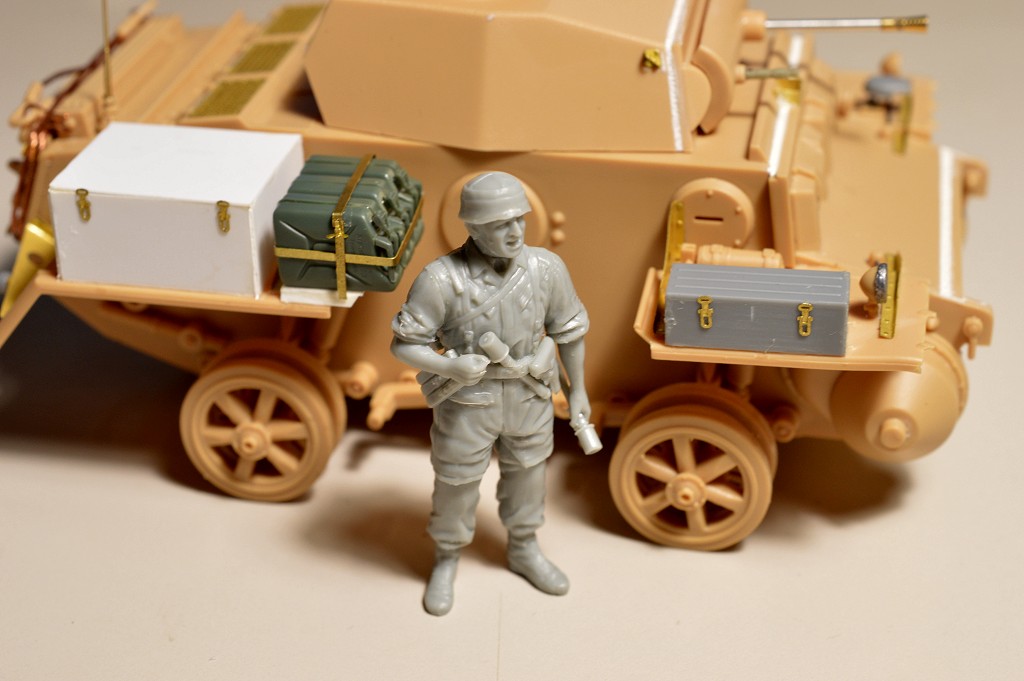
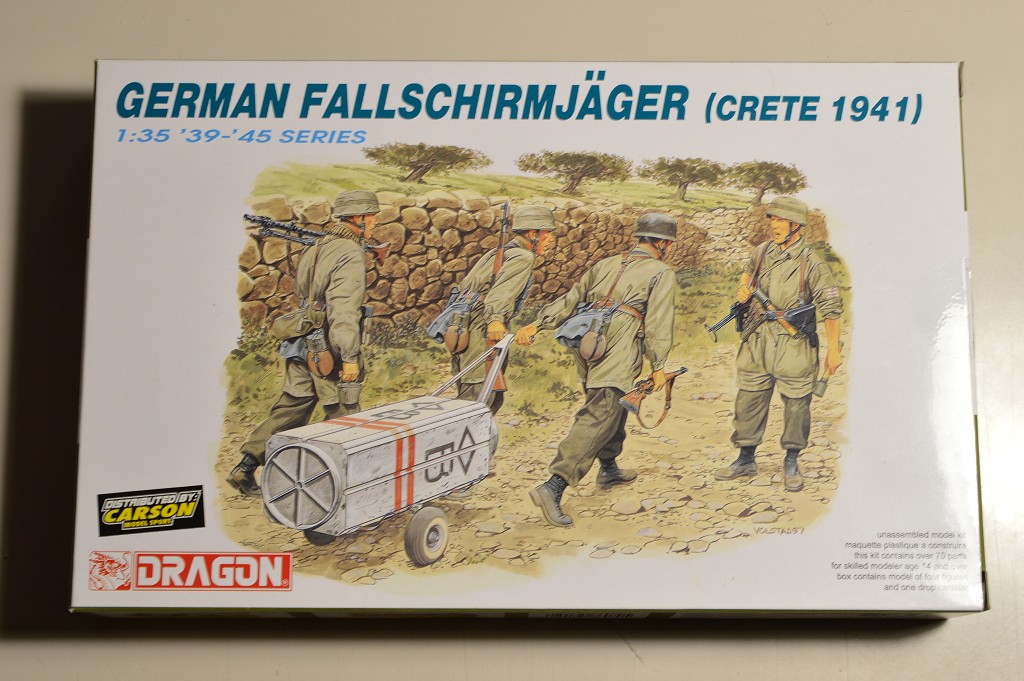
As for the surrondings, I've got a little scene planned with some Fallschirmjägers. Operation Herkules was, after all, scheduled to be the largest airborne assault of all times.
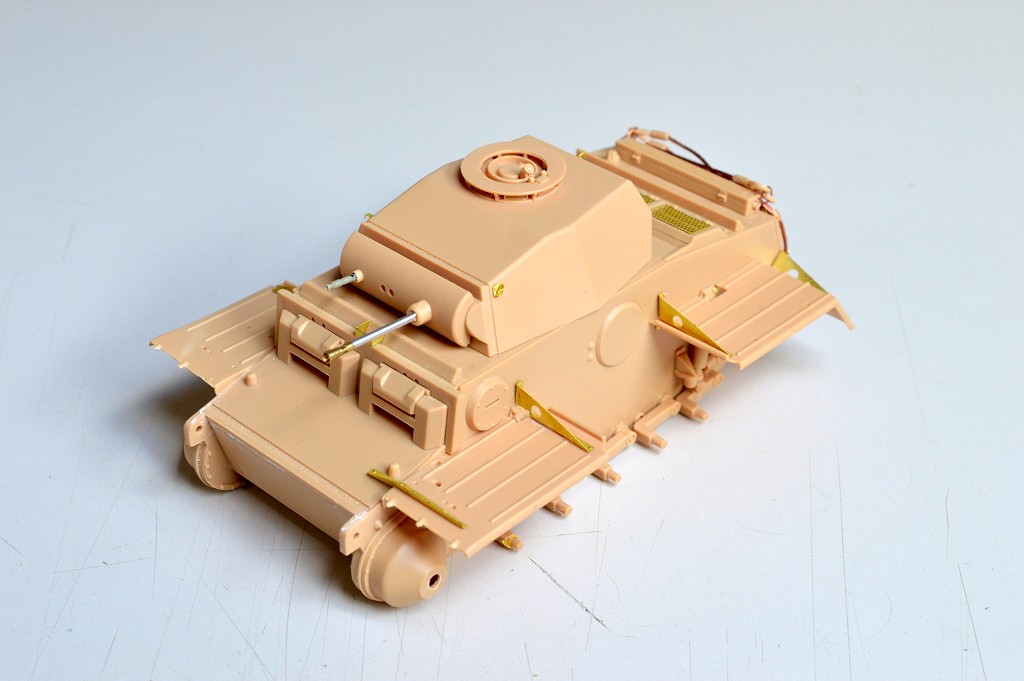
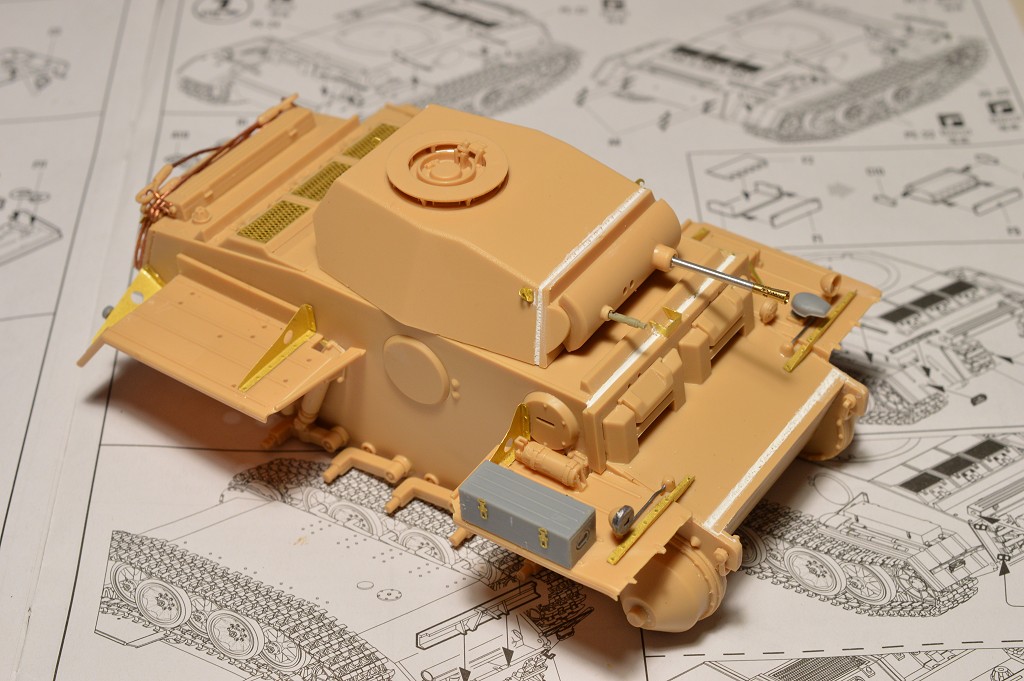
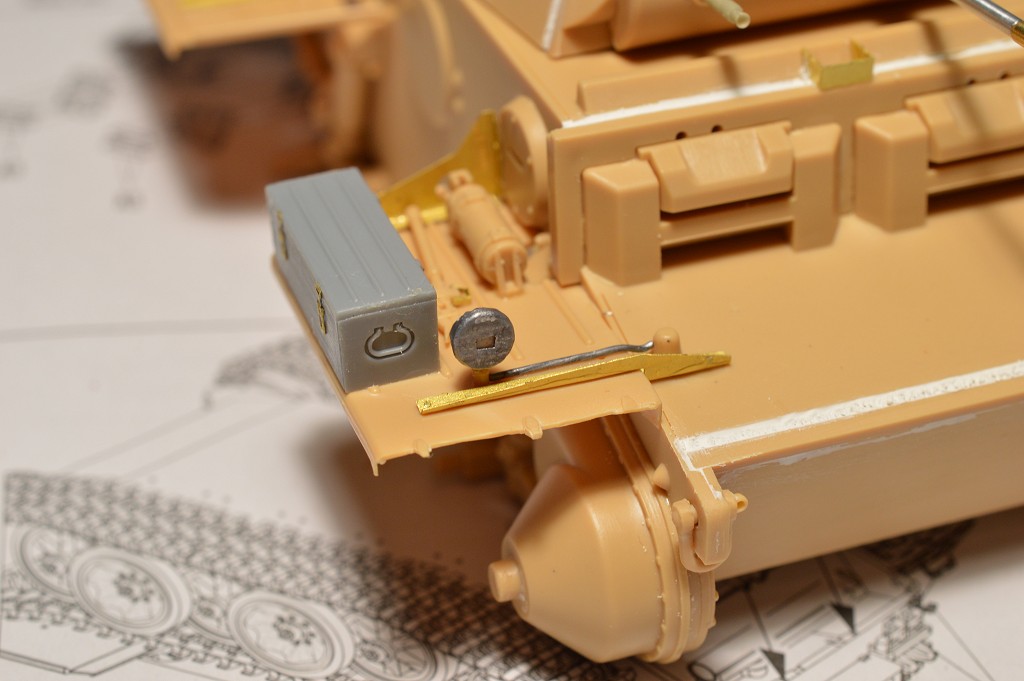
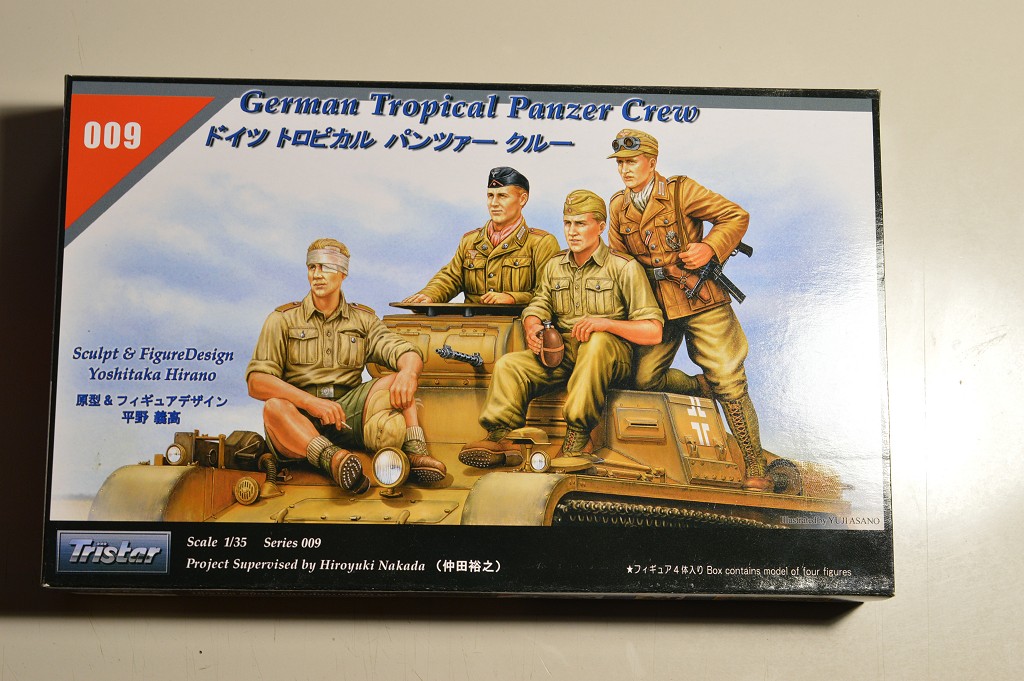
The ingredients:
Most likely I'll be using one or two of the sitting fellows. Maybe also the commander, depending on if he fits inside the cupola.
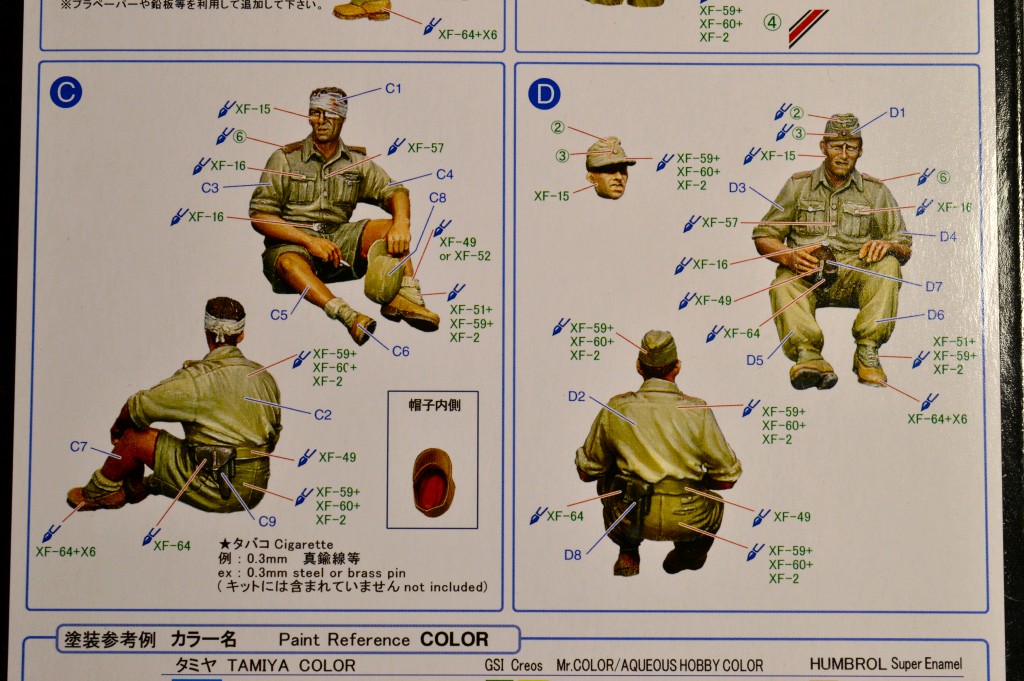
From these I'll be adding the NCO, with all the other folks on it this might get too large.
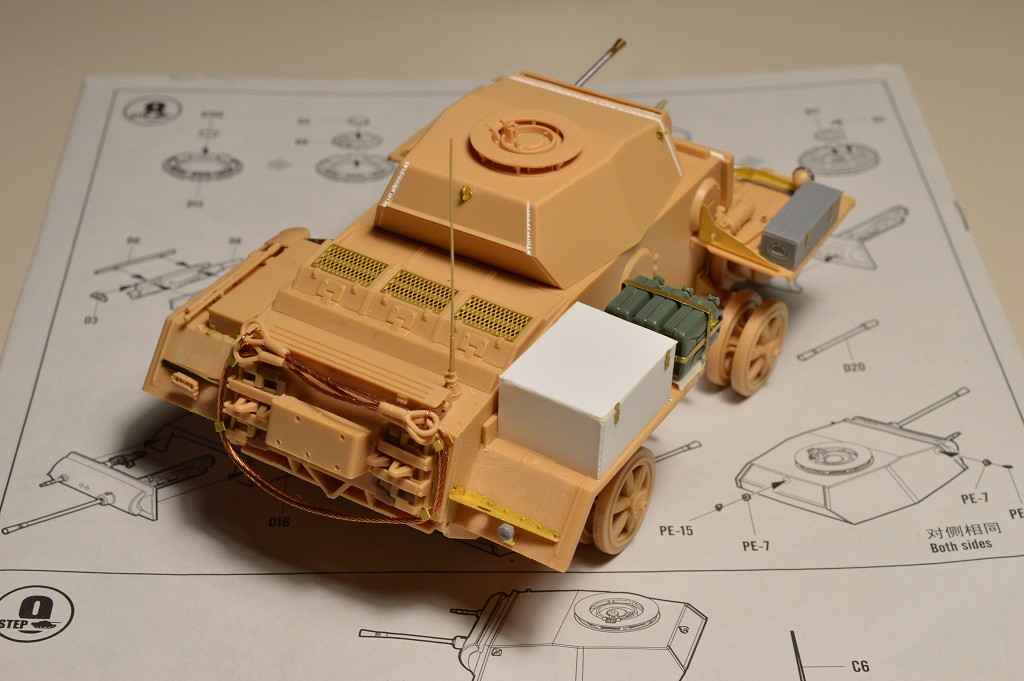
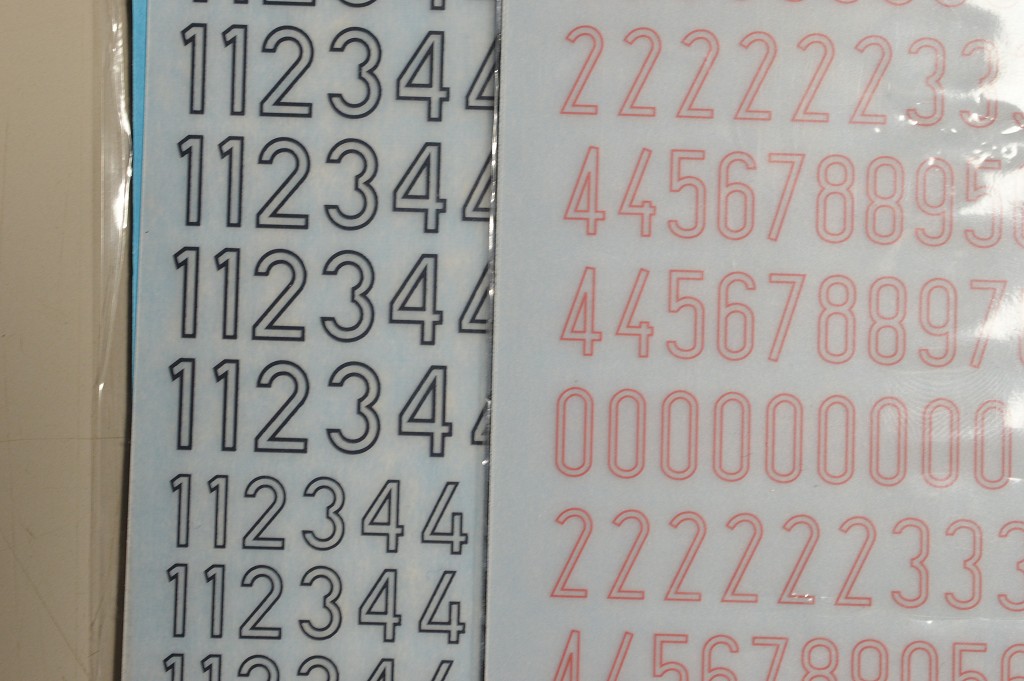
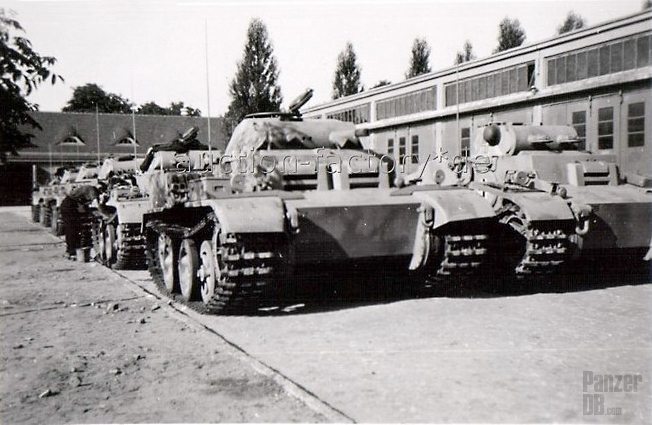
I also got these Archer transfers for the turret numbers. ZbV 66 used fairly narrow two-digit numbers in Russia, so it's only fair to assume they would have done so on Malta as well. In addition I'm fairly sure they were already in place back in Germany.
This is the only clear photo of a II J with a number in place:
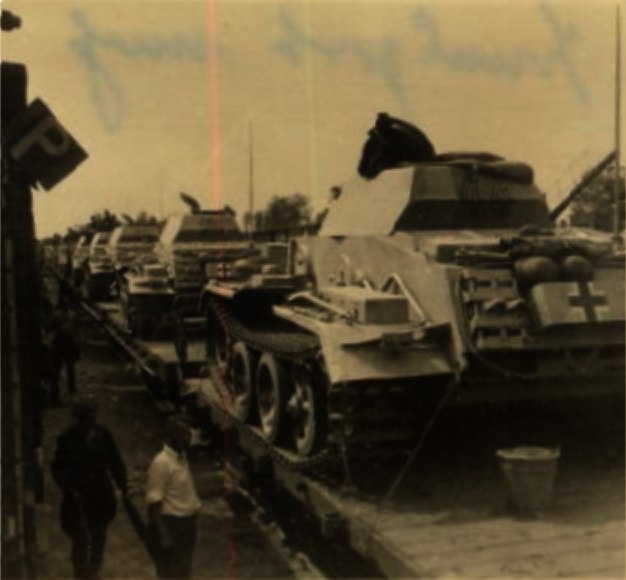
Also note the Panzer I F on the right:
No idea if they were black or red, I've seen both on colour plates and decal sheets. Opinions are most welcome

Philipp