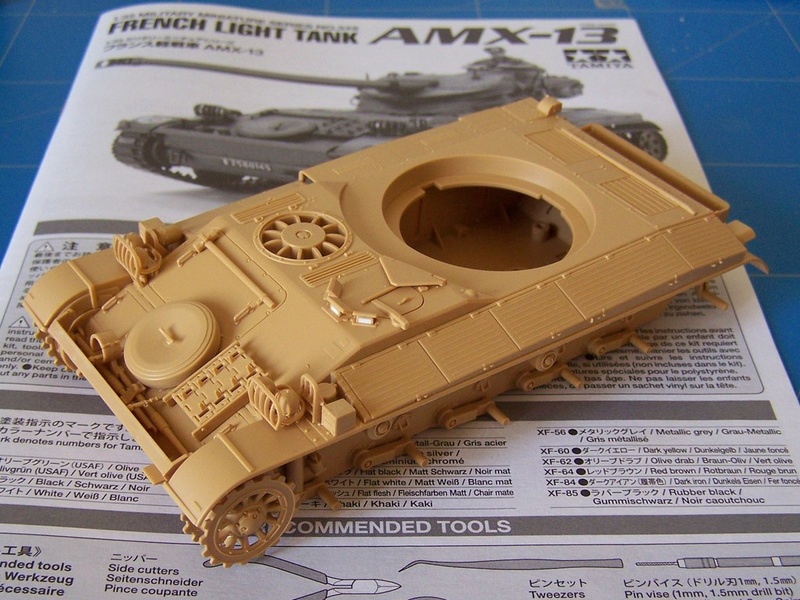
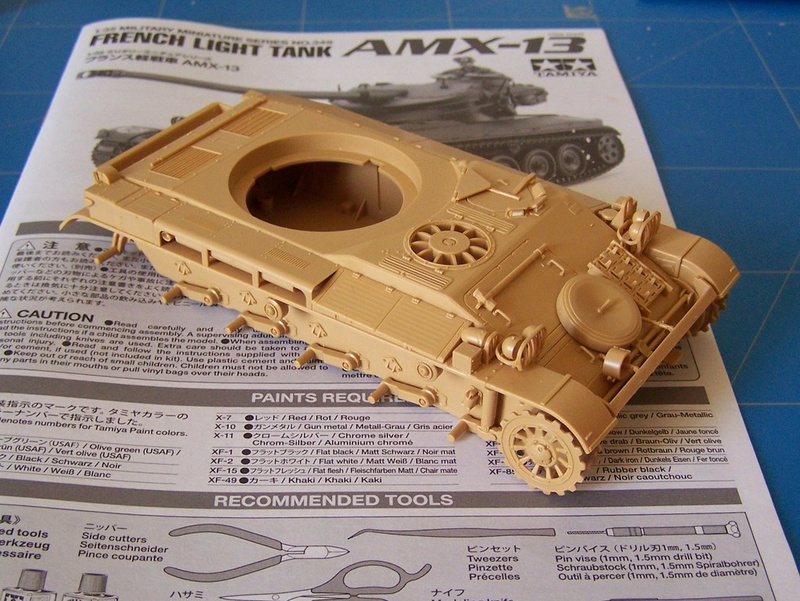
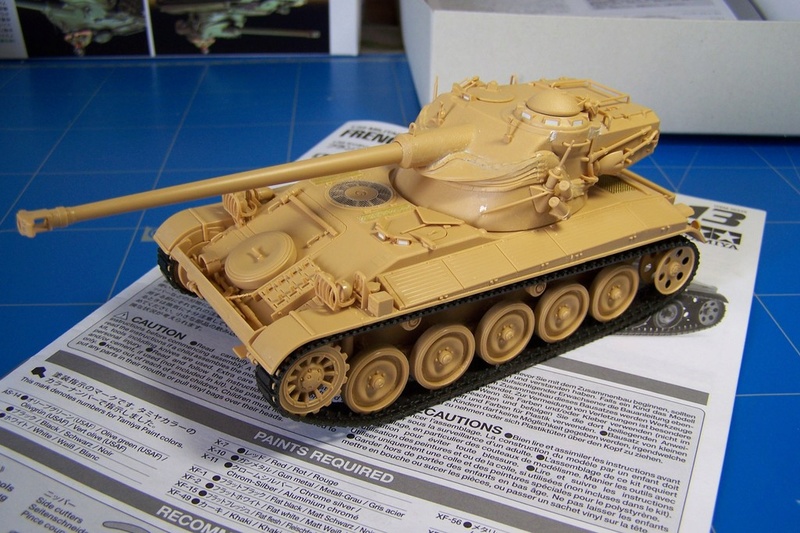
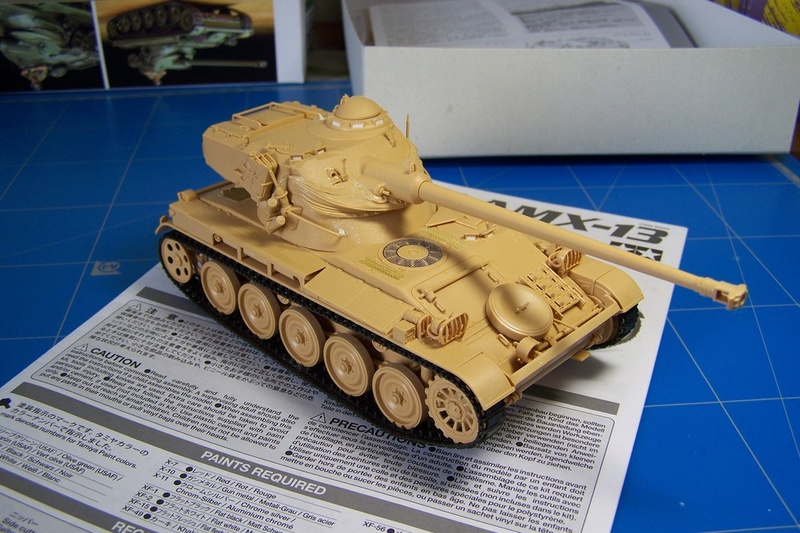
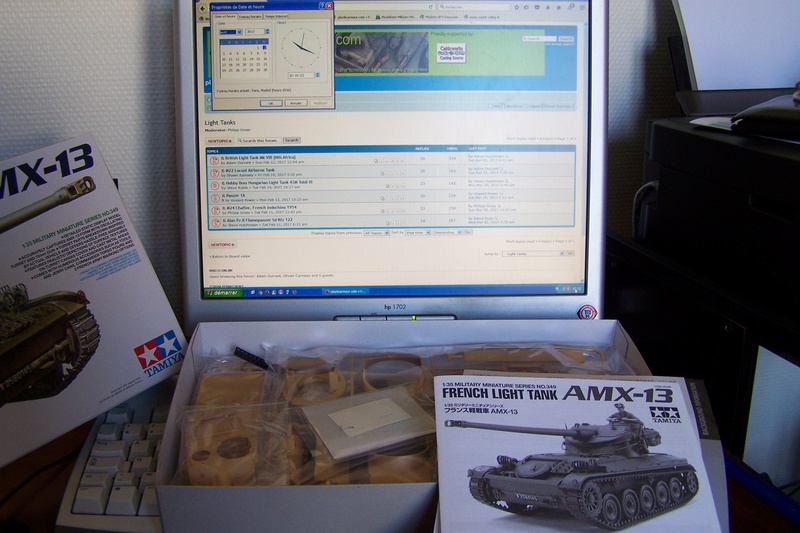
As I enlisted for this campaign, it's time to start my project! Considering the short period of time which till the end (yes the PRAM took me more time than expected at first), I chose the Tamiya AMX 13. It is not the most detailed but it will allow me to stay within the campaign timing.
Here is the box:
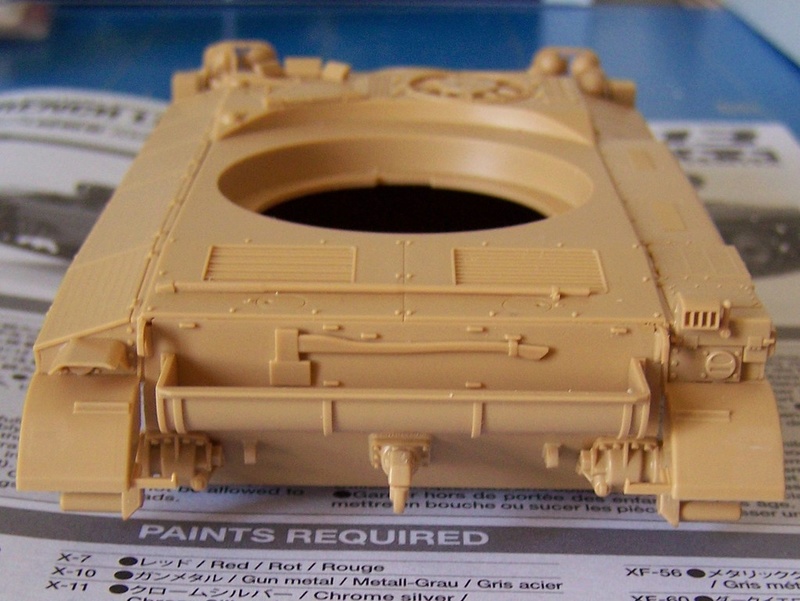
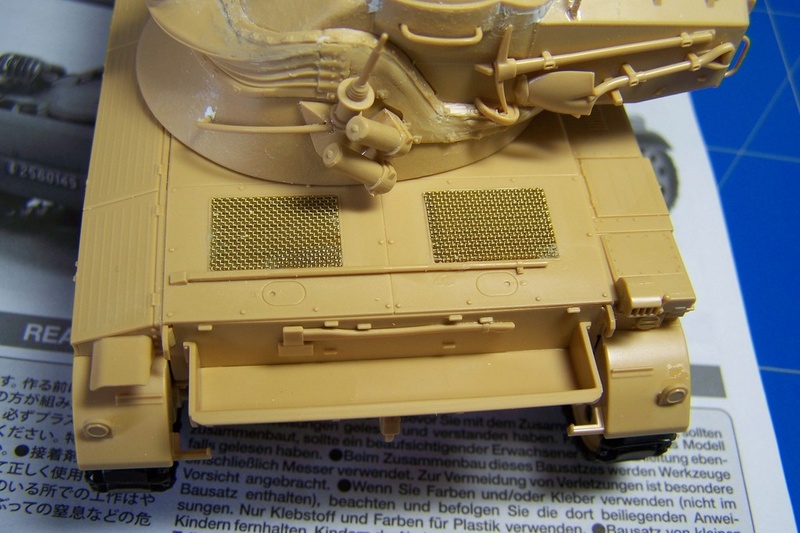
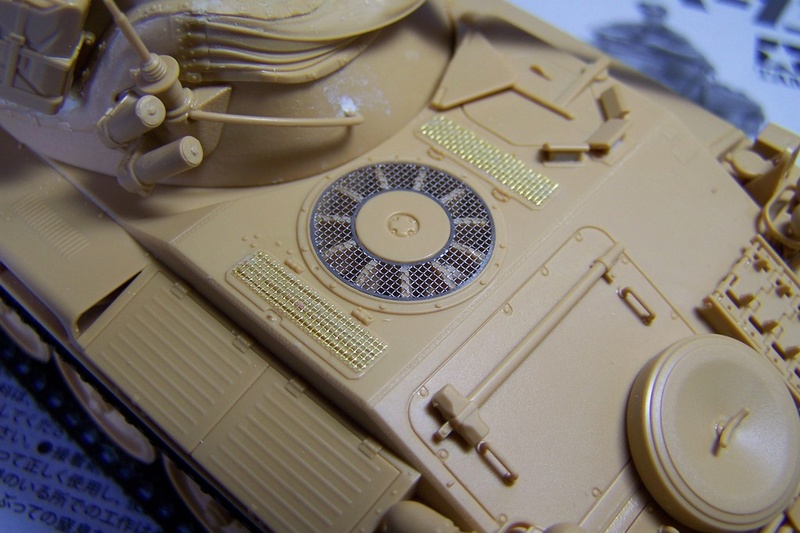
The main flaw of this kit is the lack of mesh covers on the engine grilles. So I'll use some extra PE mesh but I promise this will be my only "not in the box" addition.