Page 4 of 5
Re: Tamiya JSU-152
Posted: 03 Jun 2017, 13:46
by Adam Durrant
Busy week but filled in the bigger chips with "rust" and for the Archer dry transfers on. Will be using dry transfers as much as possible in the future, they are a huge step up on water slide decals

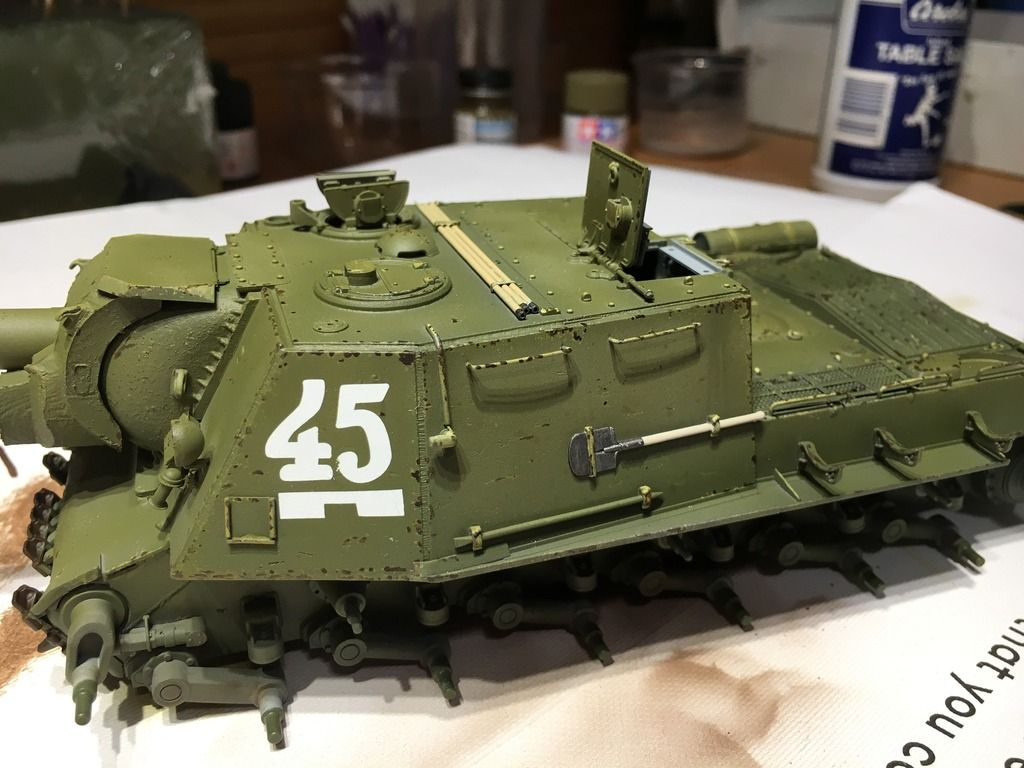
The finer chipping doesn't show at the moment. Got the tools painted and external fuel storage attached.
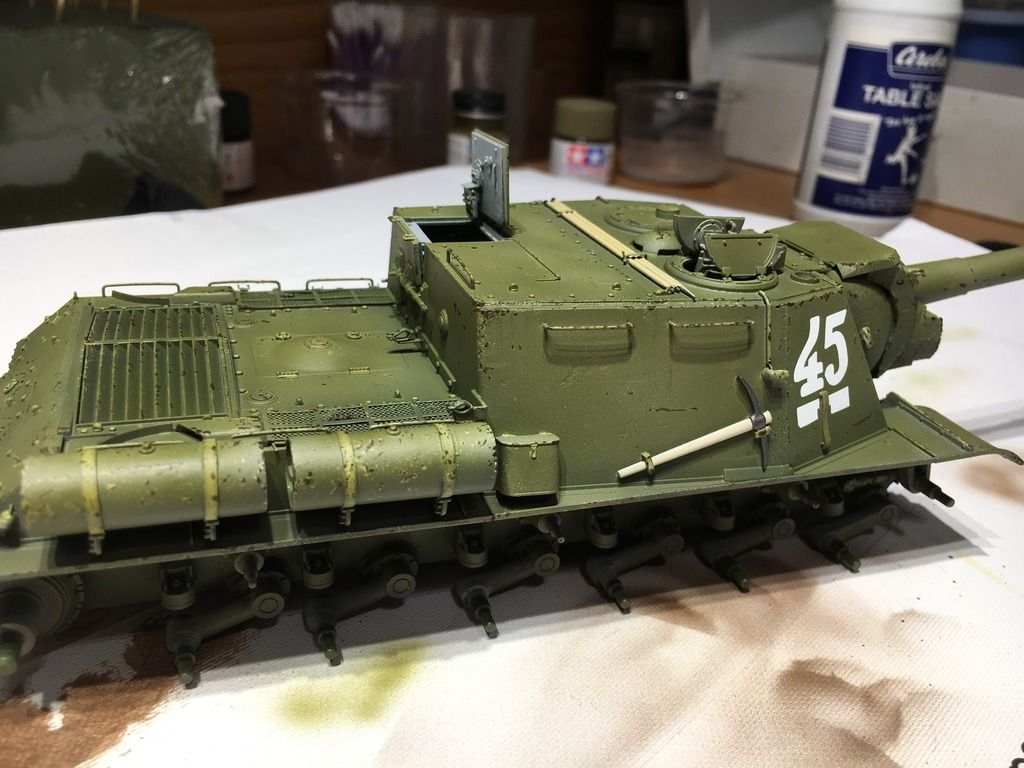
Coat of satin varnish from Mig has sealed it all. I'll let it harden overnight then on to oils.
Re: Tamiya JSU-152
Posted: 04 Jun 2017, 22:10
by Shawn Ramsey
I would be very happy with that for sure. Nice work.
Shawn
Re: Tamiya JSU-152
Posted: 05 Jun 2017, 06:34
by Steve Hutchinson
Very nice chipping Adam
Very nice indeed

Looking good and in time to finish the GB too
regards
Steve H
Re: Tamiya JSU-152
Posted: 11 Jun 2017, 02:04
by Adam Durrant
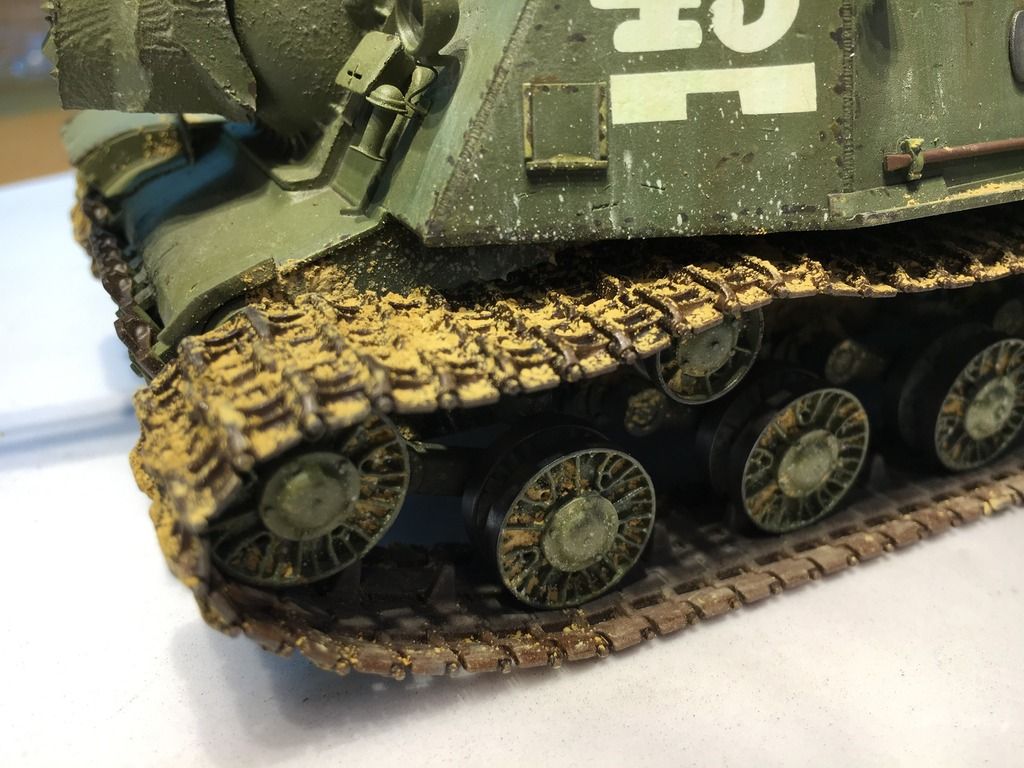
Filters, pin wash and oils all done. Significant progress this week with the running gear on and the tracks caked in dry mud.
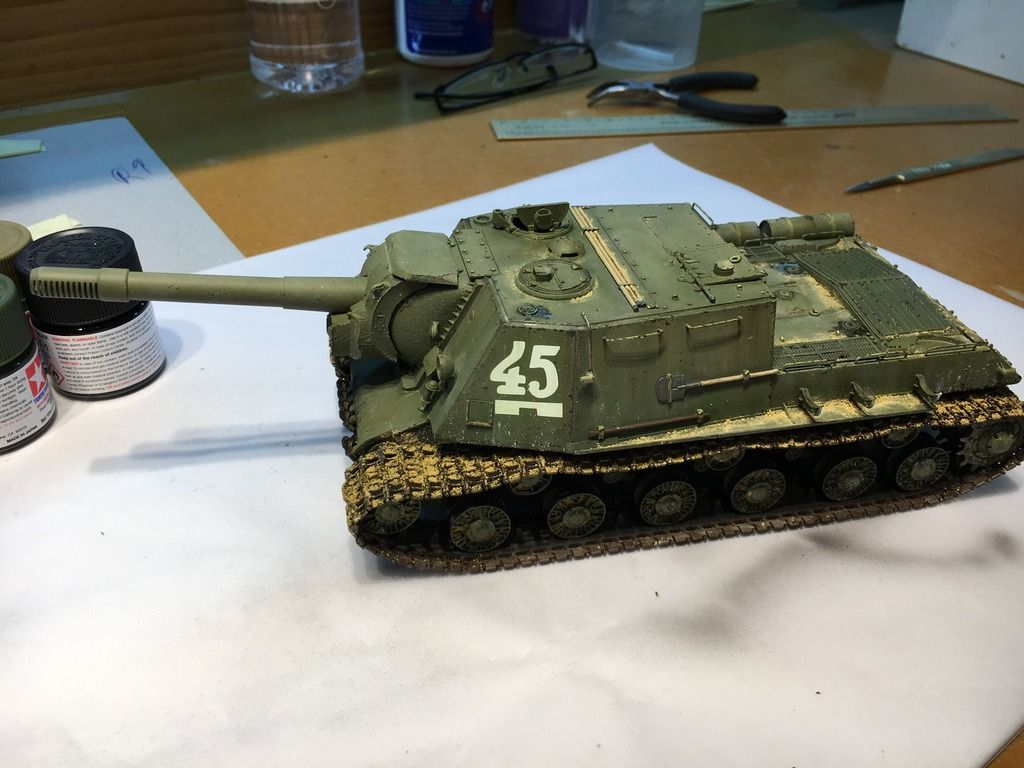
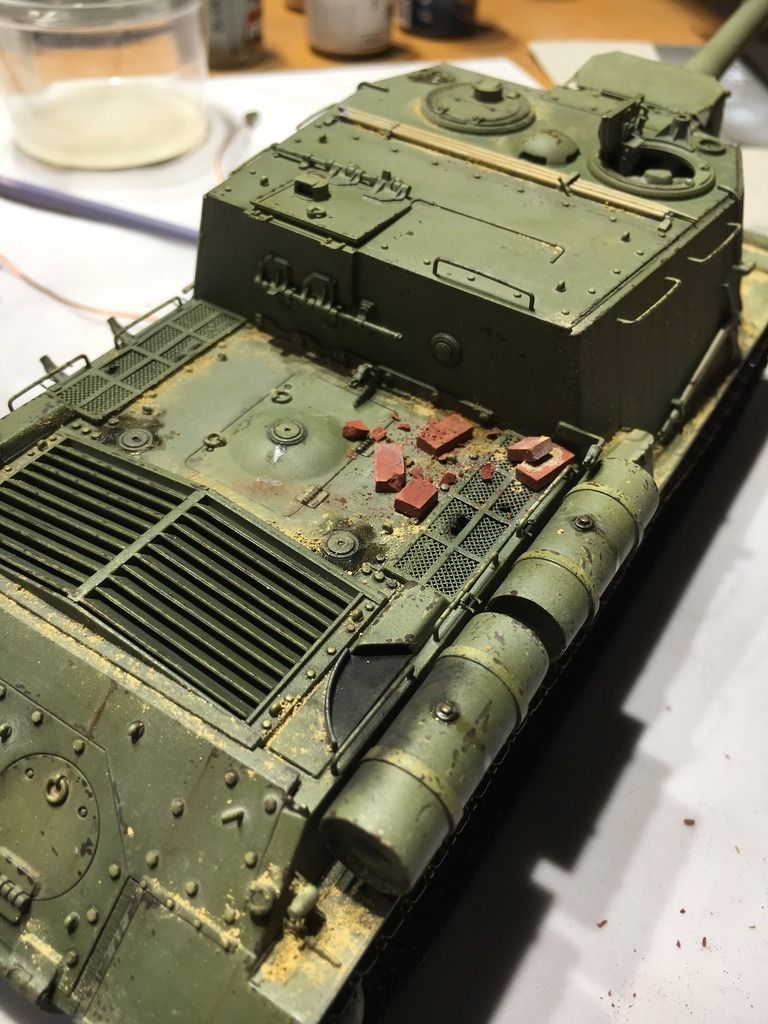
Dust on the rear deck and fenders, oil staining around the rear and drivers fuel tanks started. A bit more rubble to be added to the rear deck, I've got some ceramic bricks somewhere I'd like to use, just got to find them first!
No rubber tyres to paint so painted the rims in a dark rust then rubbed in gun metal pigment. Have done the same to the drive sprocket and areas of contact on the track. Still have to buff up the outer surface of the tracks.
Hope to get a whole lot done this week as the following weekend is going to be a bust.

Re: Tamiya JSU-152
Posted: 11 Jun 2017, 03:48
by Gary Boxall
Excellent work Adam. Are you going to show bare metal on the inside sections of the tracks too (such as guide horns)?
Gary
Re: Tamiya JSU-152
Posted: 11 Jun 2017, 06:03
by Adam Durrant
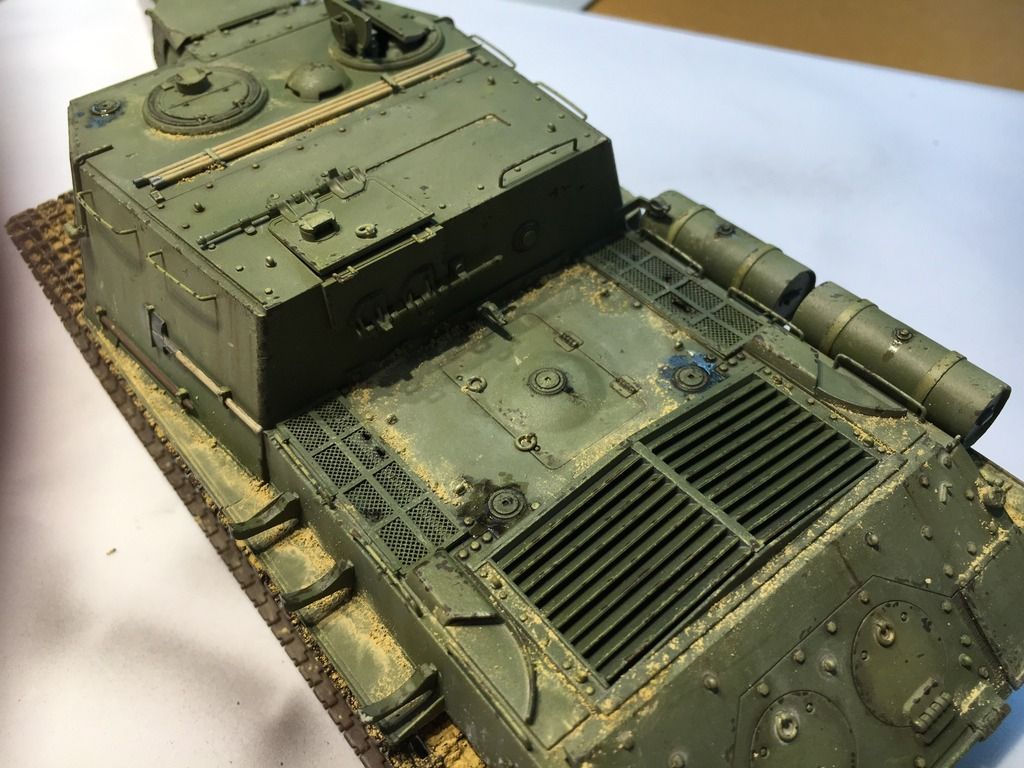
Yup, can't see it in the photos but the guide horns and the sections of track that contact the road wheels have been polished. Found my bricks and have crushed a couple and attached to the rear deck.
Re: Tamiya JSU-152
Posted: 11 Jun 2017, 09:44
by Adam Durrant
Debris on back deck. Bricks are from Green Line and behave just like real bricks when you smash 'em
Have used CA to glue the bigger chunks and sand and gravel glue from Mig for the smaller bits.
Not sure what to do with the muzzle brake, thinking a smoke coloured pigment with gunmetal highlights.
Any thoughts?
Re: Tamiya JSU-152
Posted: 11 Jun 2017, 11:06
by Gary Boxall
Not sure I'd use metal highlights on the muzzel. Where would the wear come from?
Try using Tamiya Smoke thinned down and applied via an AB. Gives the effect of burnt powder but not to the extent of an engine exhaust.
Gary
Re: Tamiya JSU-152
Posted: 11 Jun 2017, 11:09
by Philipp Gross
Very nice Adam
I agree with Gary, a thin dark shadow around the vent slits might be just enough, I did the same on mine.
Philipp
Re: Tamiya JSU-152
Posted: 11 Jun 2017, 12:06
by Adam Durrant
Thanks guys. I've used thinned Tamiya smoke for exhaust staining on aircraft so I'll give it a crack!


