Filters, pin wash and oils all done. Significant progress this week with the running gear on and the tracks caked in dry mud.
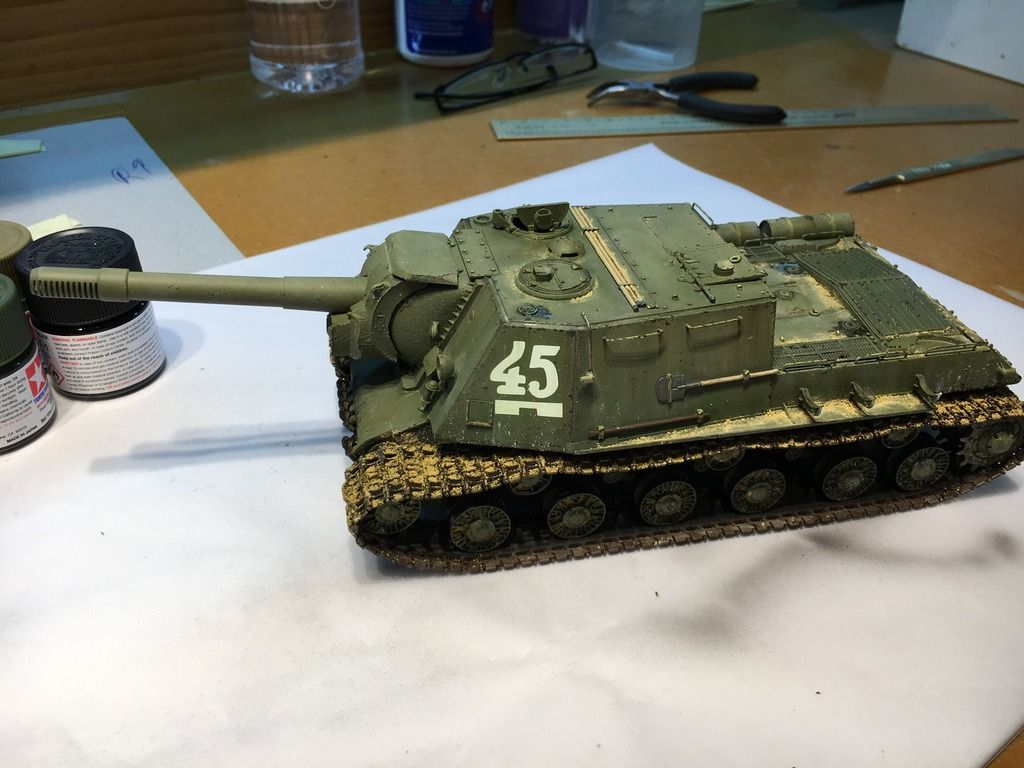
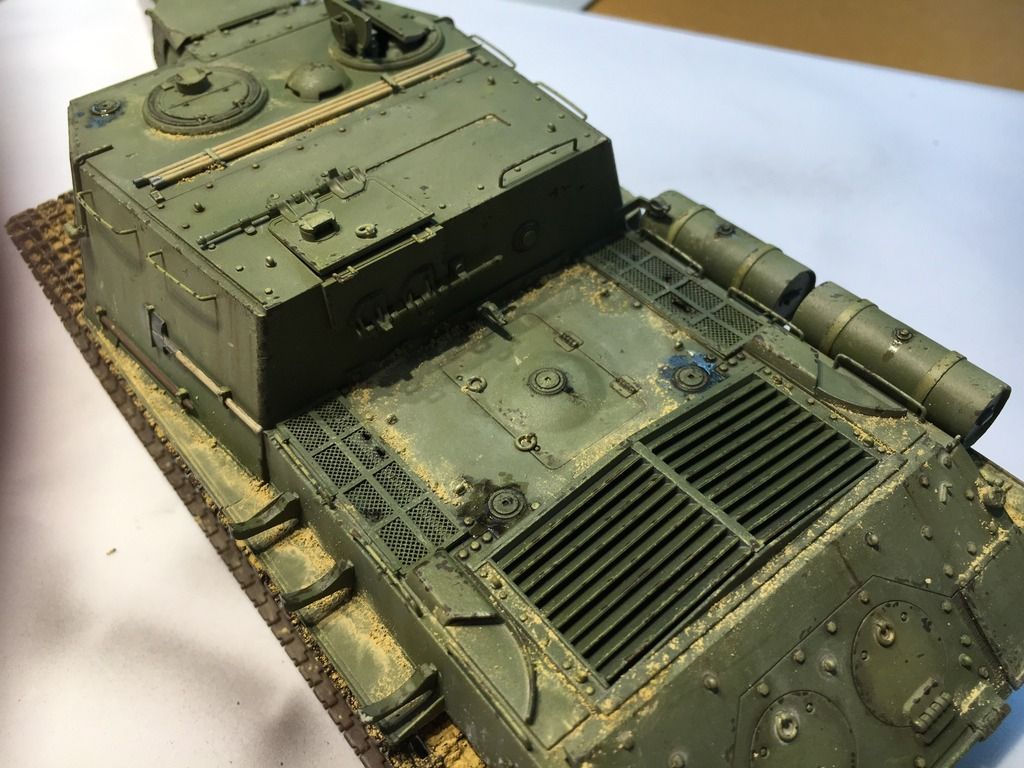
Dust on the rear deck and fenders, oil staining around the rear and drivers fuel tanks started. A bit more rubble to be added to the rear deck, I've got some ceramic bricks somewhere I'd like to use, just got to find them first!
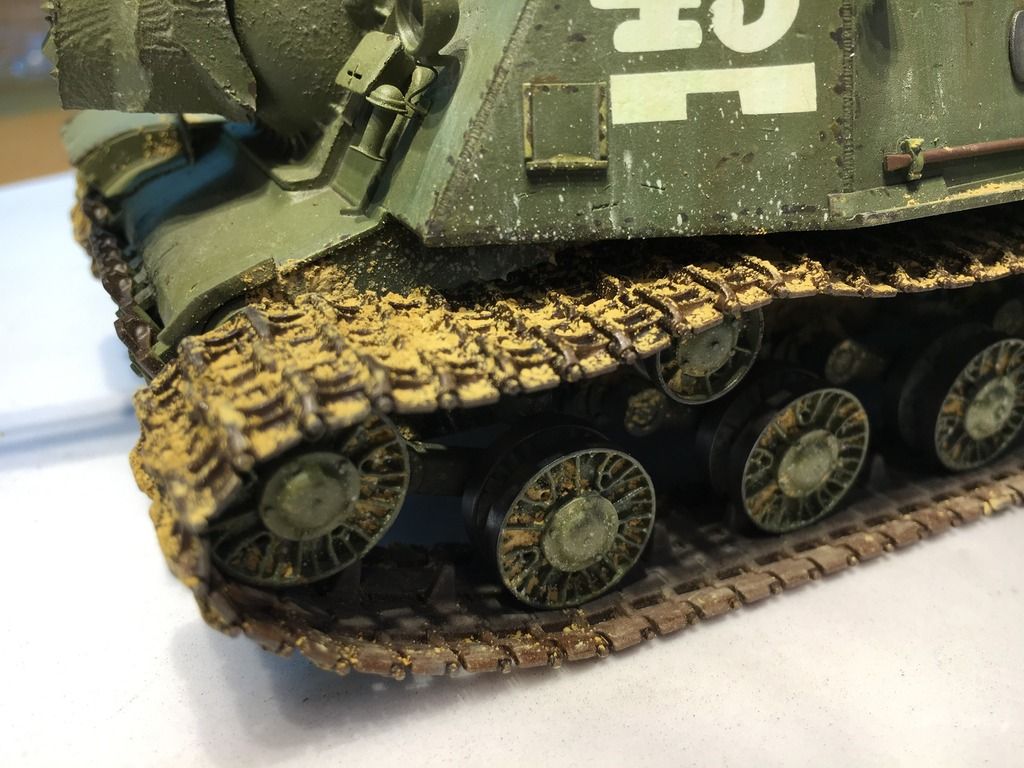
No rubber tyres to paint so painted the rims in a dark rust then rubbed in gun metal pigment. Have done the same to the drive sprocket and areas of contact on the track. Still have to buff up the outer surface of the tracks.
Hope to get a whole lot done this week as the following weekend is going to be a bust.


