Thanks for the kind words chaps, unfortunately its one of those things that doesn't go away quickly

but anyway there are worse off than me by far!
So I have a had a short break, got my mind working on a few things and am starting to produce my own range of wargaming scenery, nothing massively technical but small shoots and all that, currently the proud owner of a kg of rubber (ooo er missus) and 2kg of resin

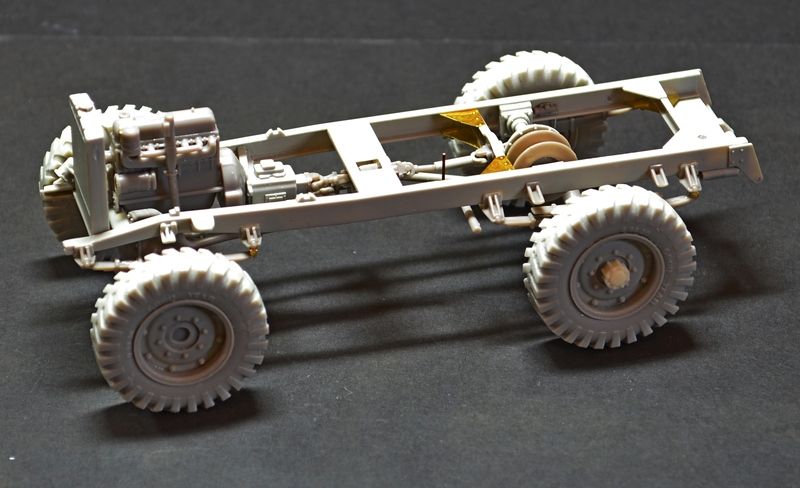
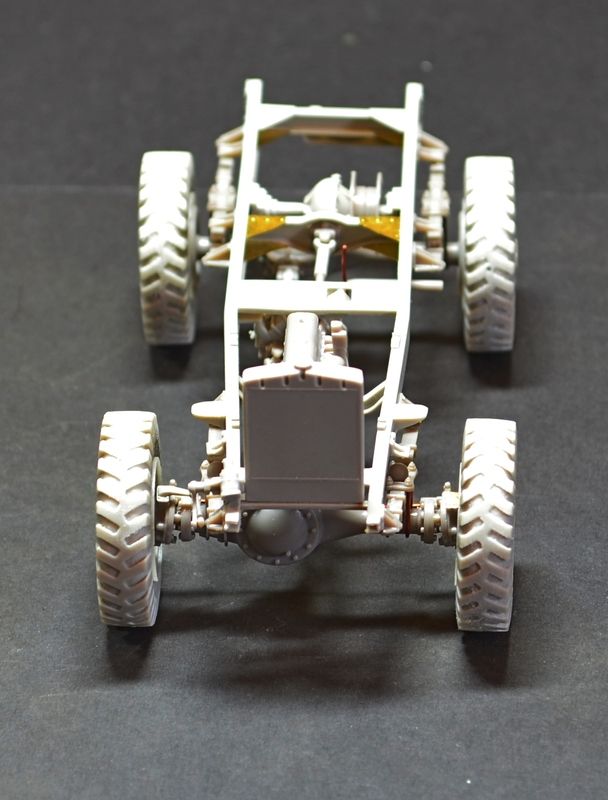
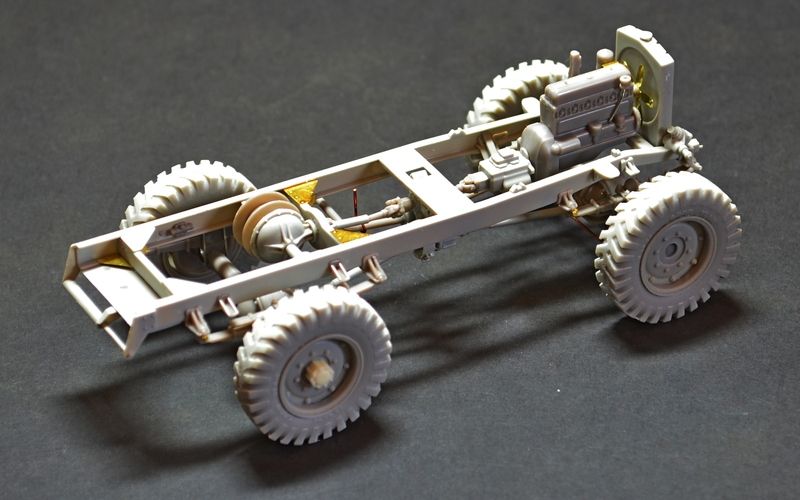
Right enough of that and on with the monster which is the FAT tractor, I have had a good blast at the chassis and finished off the drive trains, fitted the axle straps, radiator, steering linkages, exhaust, wheel hubs, and the very nice resin wheels that come as standard, its only at this point you find out if all four boots hit the floor!!!
Testament to my incredible skill level


or just plain bloody lucky (most likely) they all do

With that I will hush up and leave you some images.
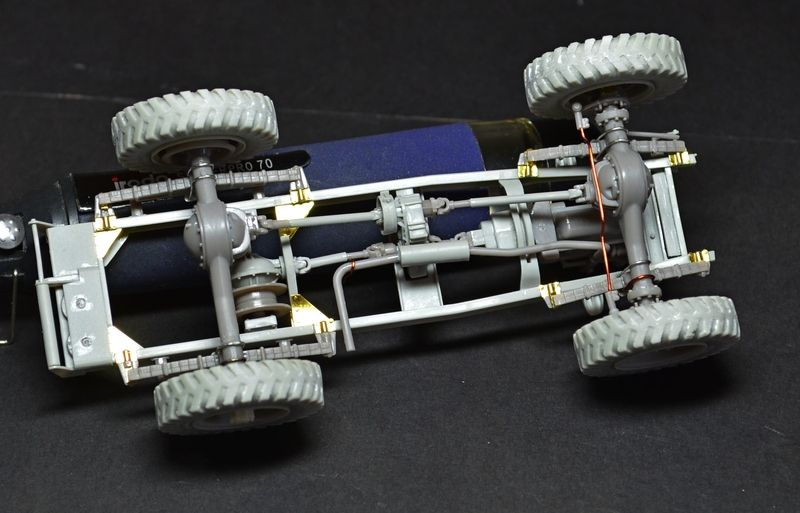
I still have the tow bar assembly to attach, glazing for the front cab doors and then its about ready for paint
phew!


