Vile enablerShawn Ramsey wrote:Just glad I could help.Vlad Seabrook-Smith wrote:Shawn Ramsey wrote:Vlad- That is some first rate work on the camo so far. Great idea using a circle template.
All this painting going on is making me want to paint something.
I have never used a grass mat so I cant help you there. Lots of stuff out there for sure. I think Ammo sells some.
As far as the Humber or Universal Carrier - build both then you don't have to decide.Not much help am I

Shawn
I laugh, but you are reading my mind
Shawn
QF 25pdr and FAT cab 13
-
Vlad Seabrook-Smith

- Posts: 615
- Joined: 19 Jul 2014, 22:57
Re: QF 25pdr and FAT cab 13
Completed Campaigns:

-
Vlad Seabrook-Smith
- Posts: 615
- Joined: 19 Jul 2014, 22:57
Re: QF 25pdr and FAT cab 13
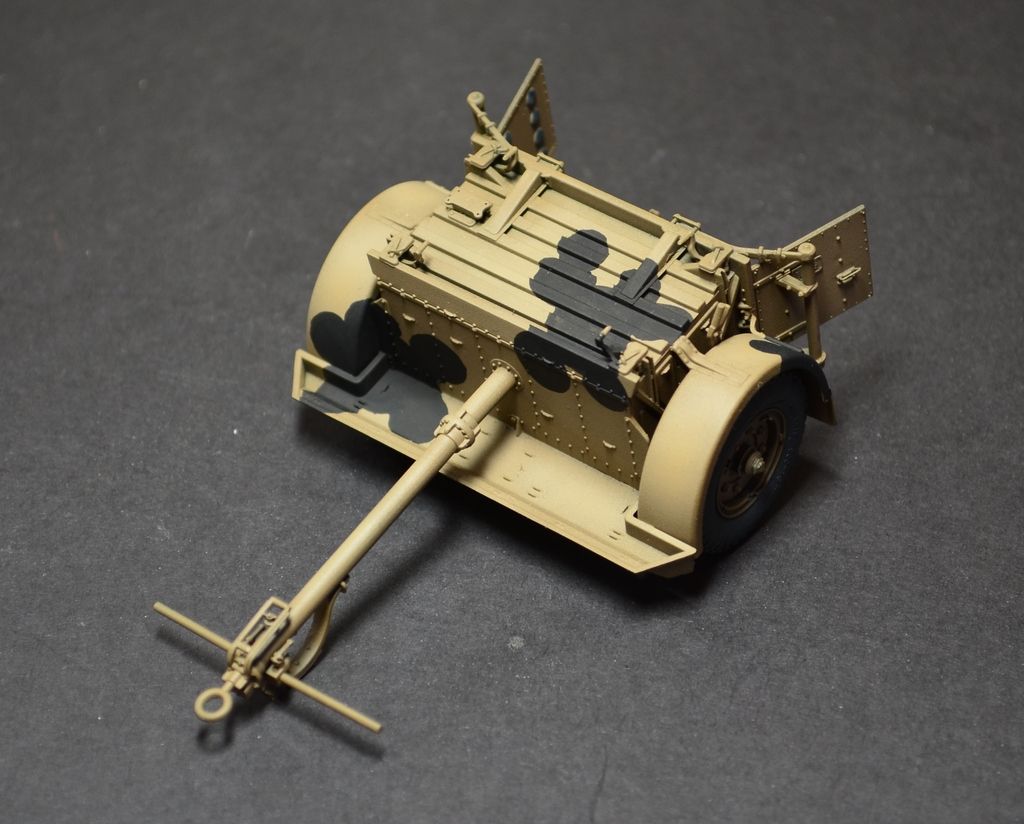
A little more progress.
Camo added to the Limber/caisson
Dragging my heels on this
 need to get back into the groove
Camo added to the Limber/caisson

Dragging my heels on this
Completed Campaigns:
-
Shawn Ramsey

- Senior Site Contributor.....

- Posts: 1987
- Joined: 20 Jul 2014, 00:26
Re: QF 25pdr and FAT cab 13
I drag my heels on every thing.
Almost four months into the year and I have only built one Kettenkrad, a couple small artillery pieces and 4 figures. None of which have been fully completed yet. I really need to change something with my building for sure.
Shawn
Almost four months into the year and I have only built one Kettenkrad, a couple small artillery pieces and 4 figures. None of which have been fully completed yet. I really need to change something with my building for sure.
Shawn
Completed Campaigns:


-
Vlad Seabrook-Smith
- Posts: 615
- Joined: 19 Jul 2014, 22:57
Re: QF 25pdr and FAT cab 13
Managed to get some time on this project.
Started picking out details and pin washing, then added a dust wash to the chassis
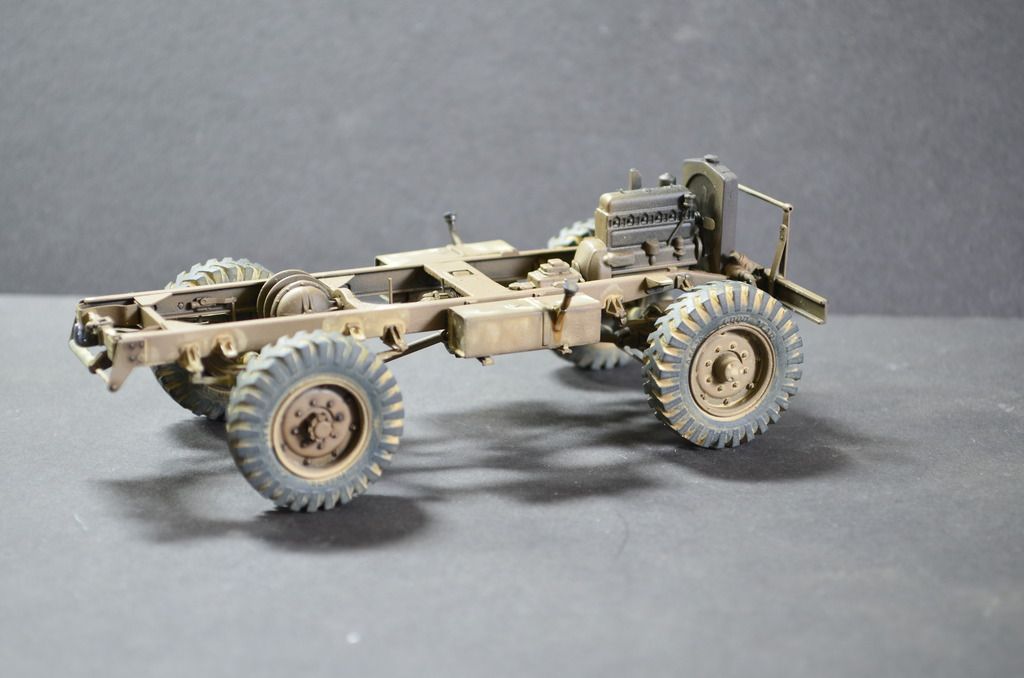
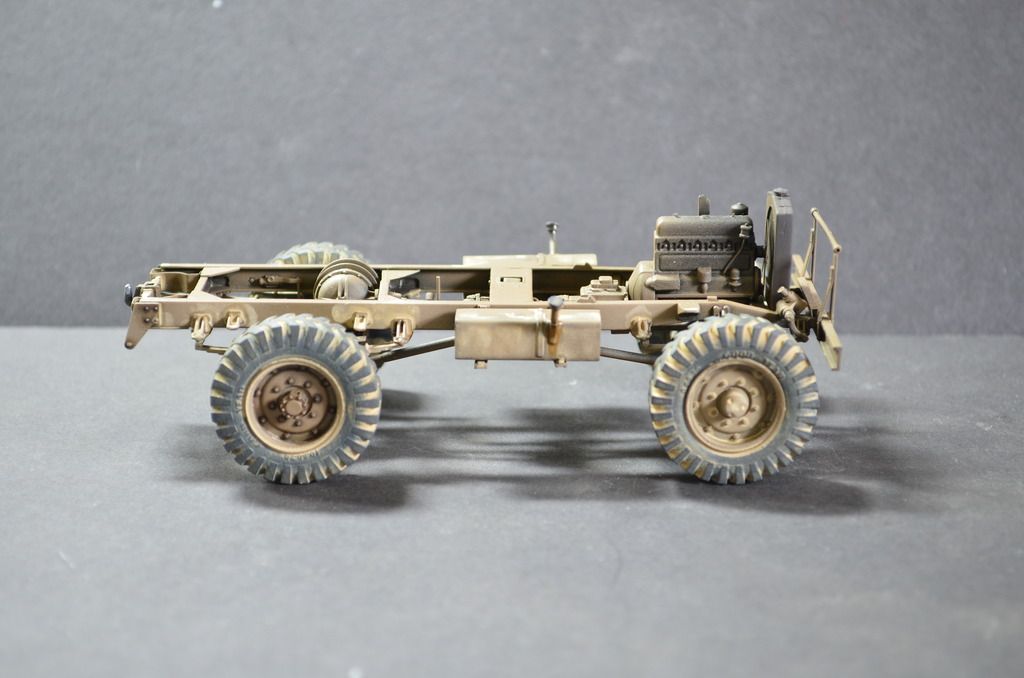

Quite pleased with how its starting to look... then it was time to attach the bug body to the chassis, I was expecting problems, but fortunately none presented!
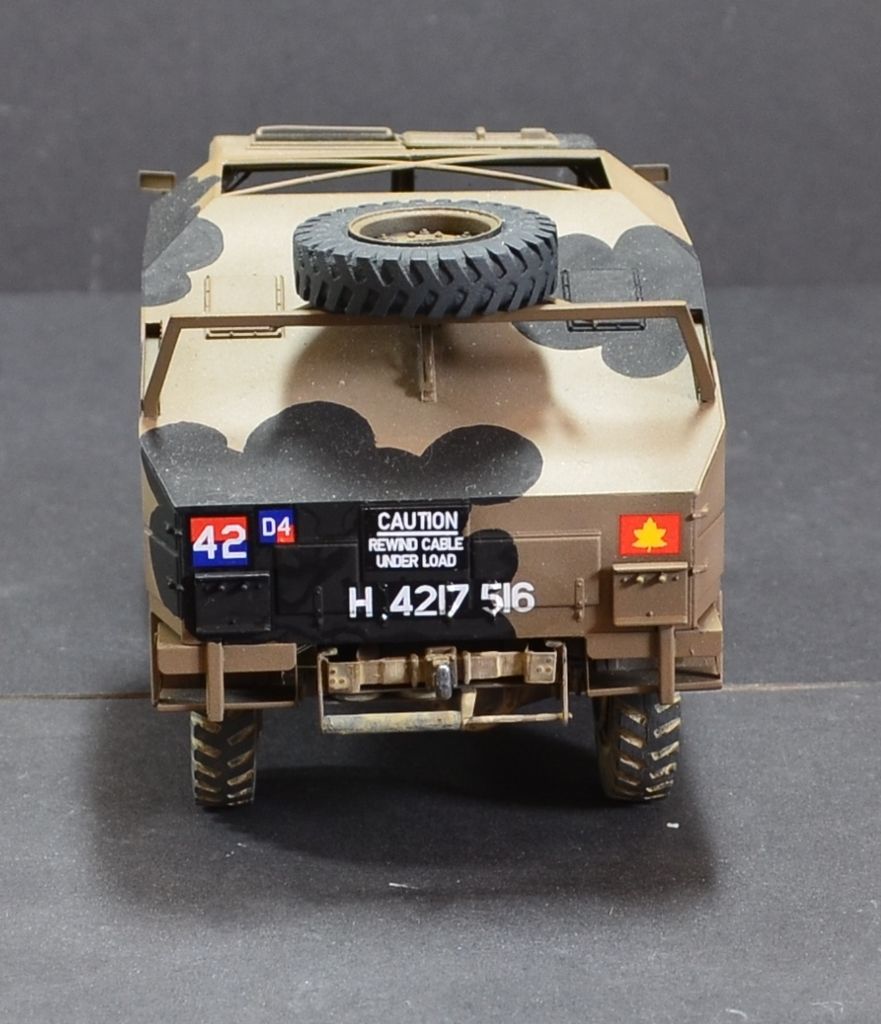
Oh and a decals happened, adding a welcome splash of colour
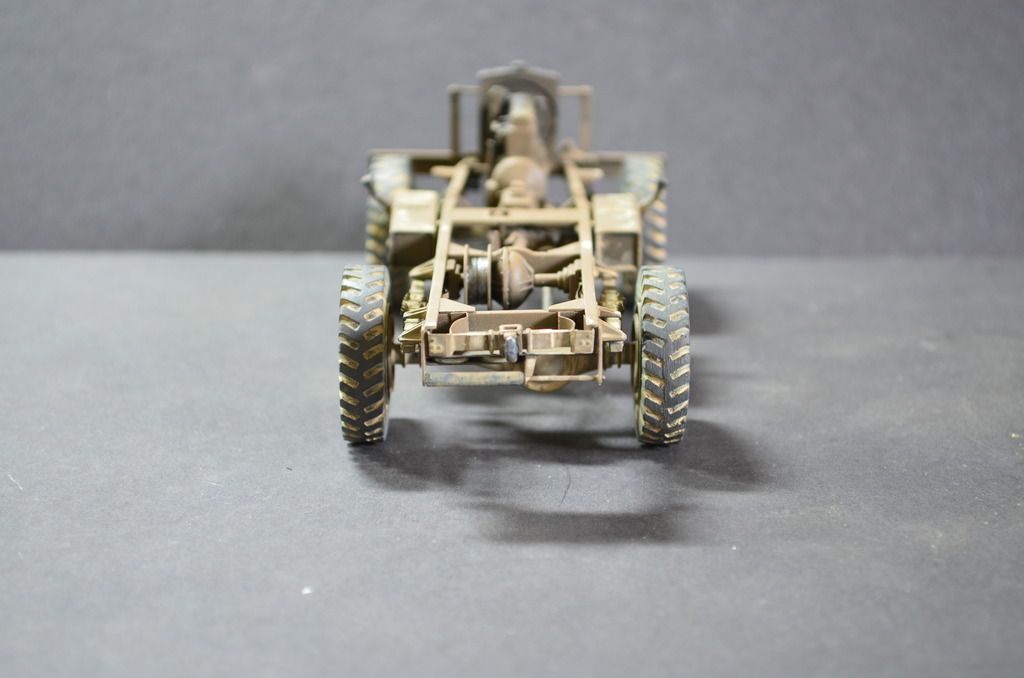
The yellow decal with the No. 10 decided to shift whilst setting, so that's coming off and being painted, hopefully I have a suitable decal in one of my old Dragon number jungle sheets
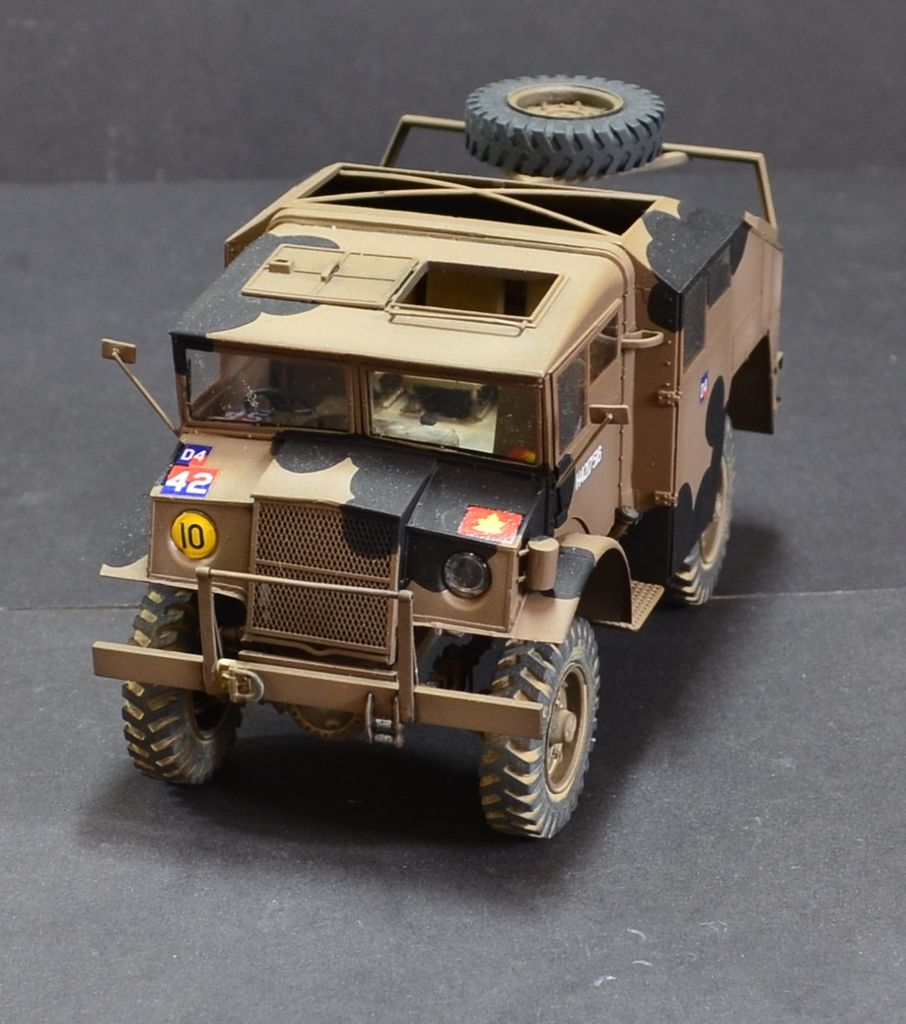
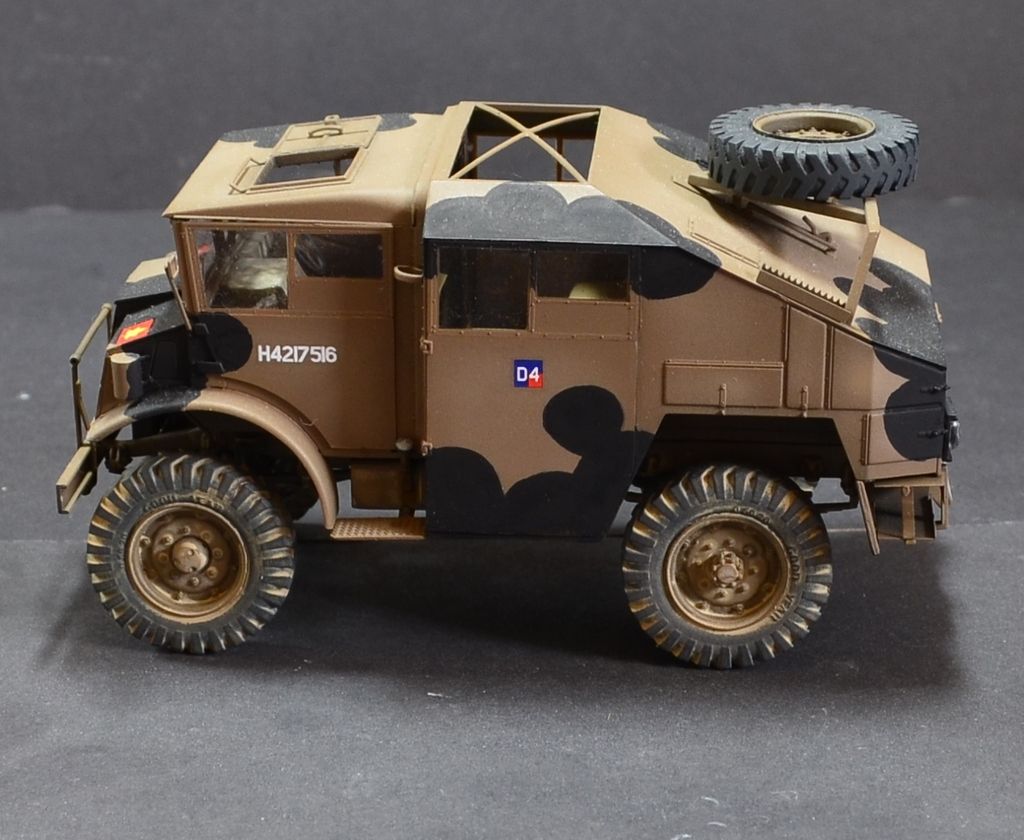
The rear looks raw at the moment, but should settle in with some weathering
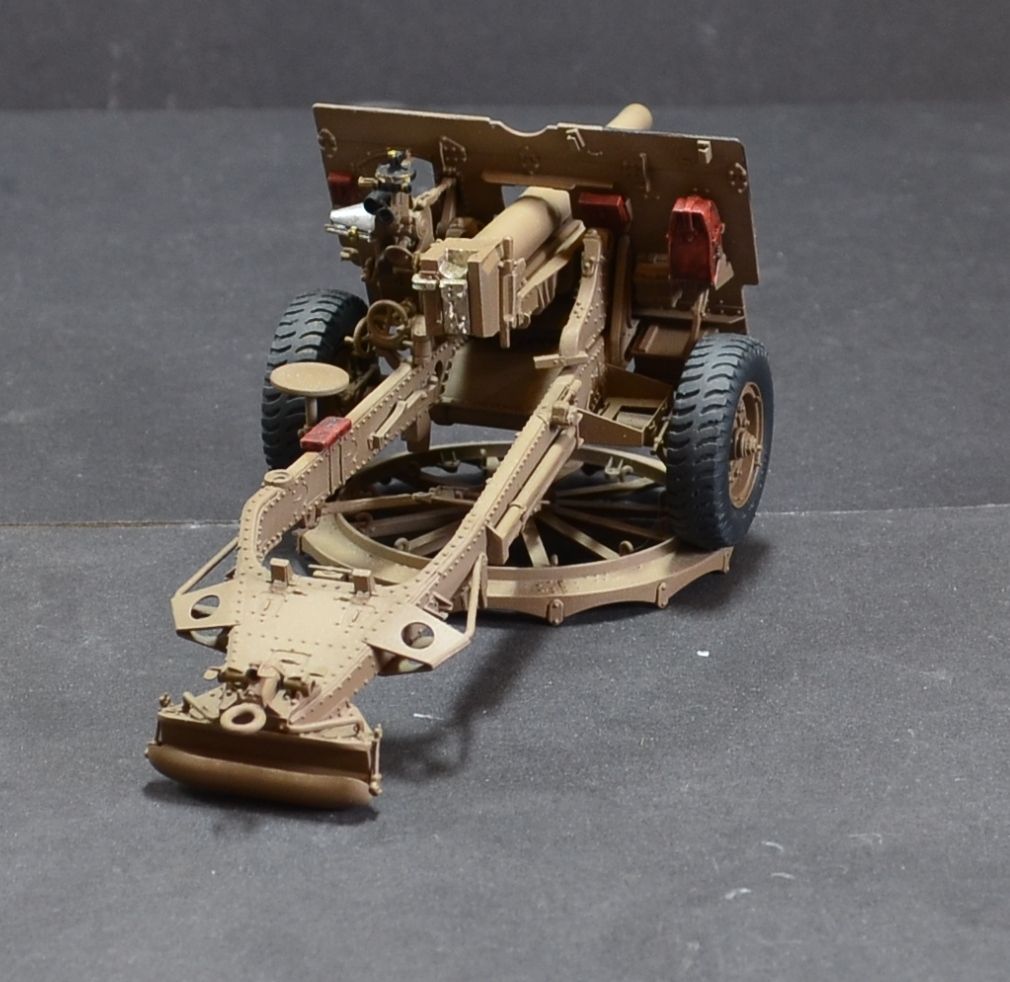
Whilst I was in the groove, the 25pdr received its camo and everything was finally assembled, onto the weathering etc now.
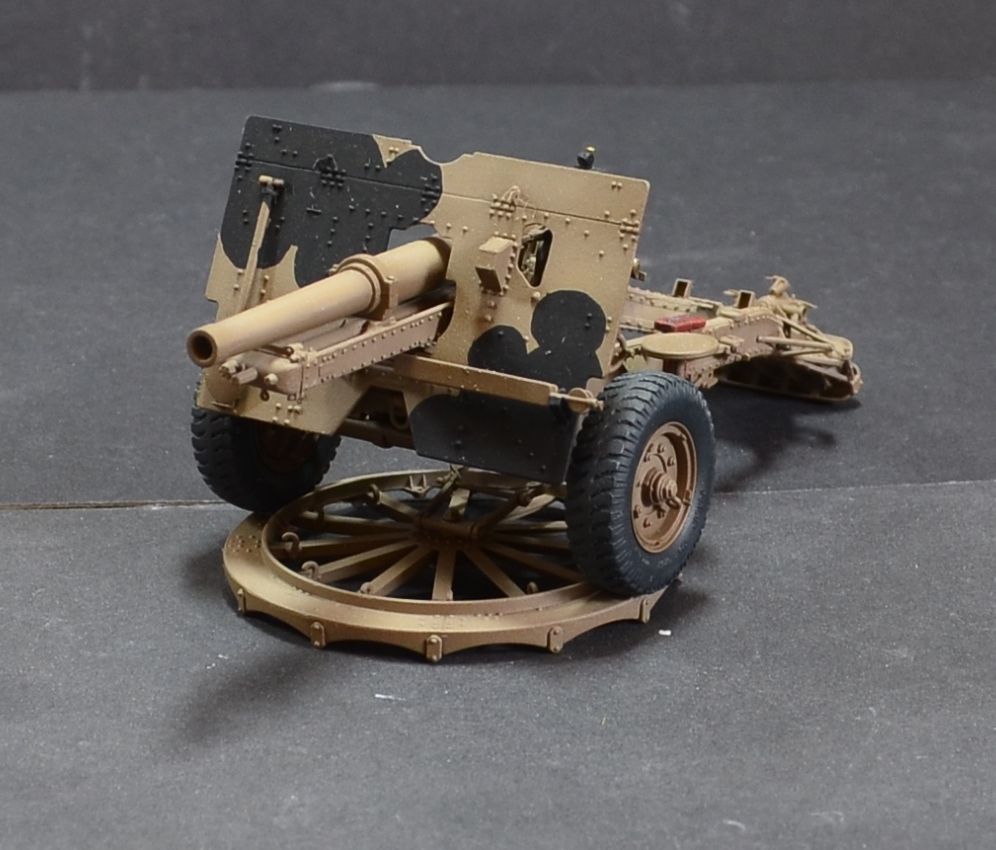
Apart from a missing an image (really boring bit) I made a start on painting all of the shells there are lots and its fiddly
Started picking out details and pin washing, then added a dust wash to the chassis


Quite pleased with how its starting to look... then it was time to attach the bug body to the chassis, I was expecting problems, but fortunately none presented!
Oh and a decals happened, adding a welcome splash of colour
The yellow decal with the No. 10 decided to shift whilst setting, so that's coming off and being painted, hopefully I have a suitable decal in one of my old Dragon number jungle sheets


The rear looks raw at the moment, but should settle in with some weathering

Whilst I was in the groove, the 25pdr received its camo and everything was finally assembled, onto the weathering etc now.


Apart from a missing an image (really boring bit) I made a start on painting all of the shells
Completed Campaigns: