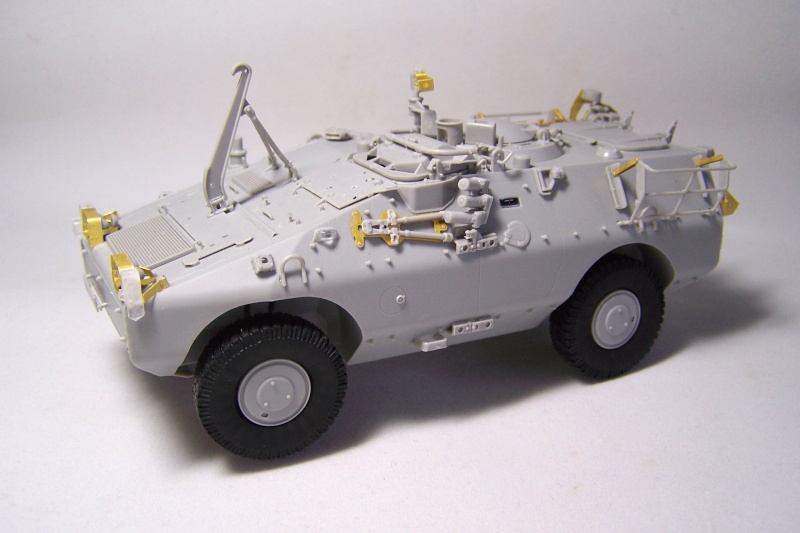
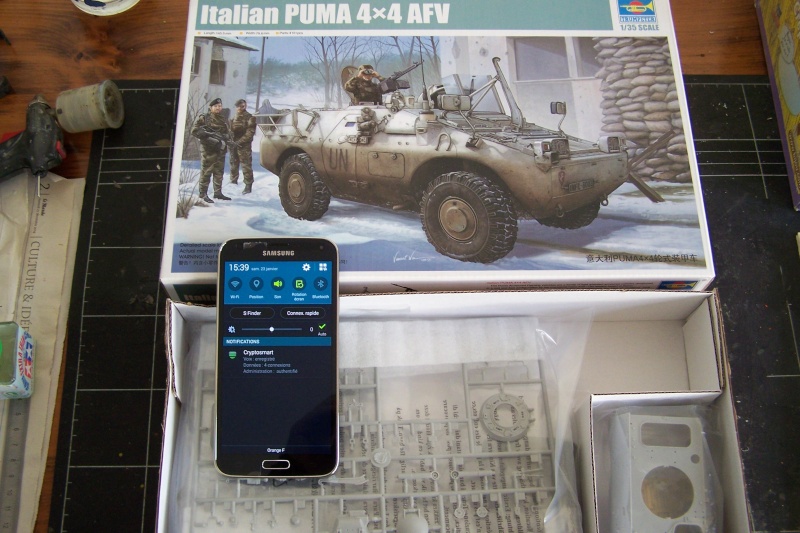
here is my entry for the GB. The Iveco Puma in the 4x4 version. I still haven't decided yet which decoration I will choose but I have a little preference for the UNIFIL one.
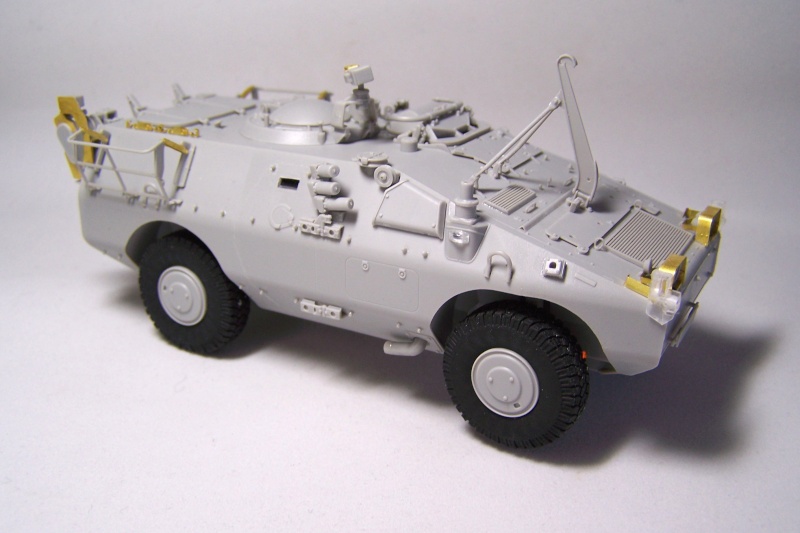
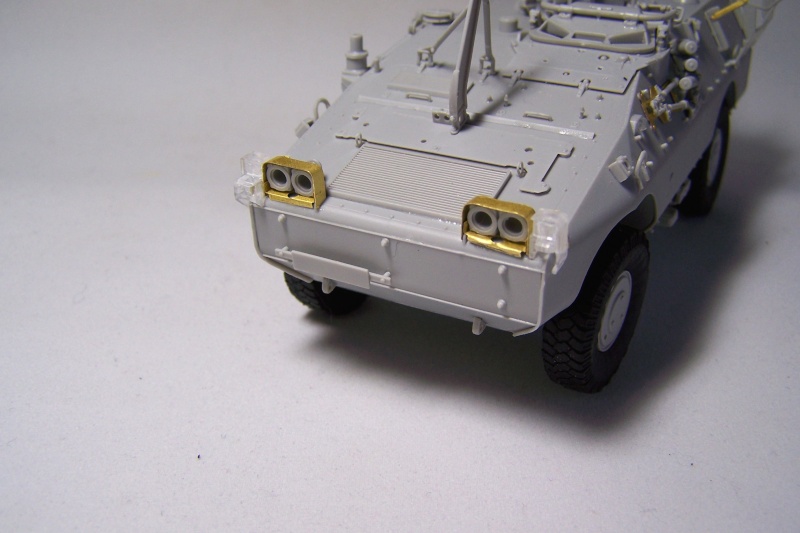
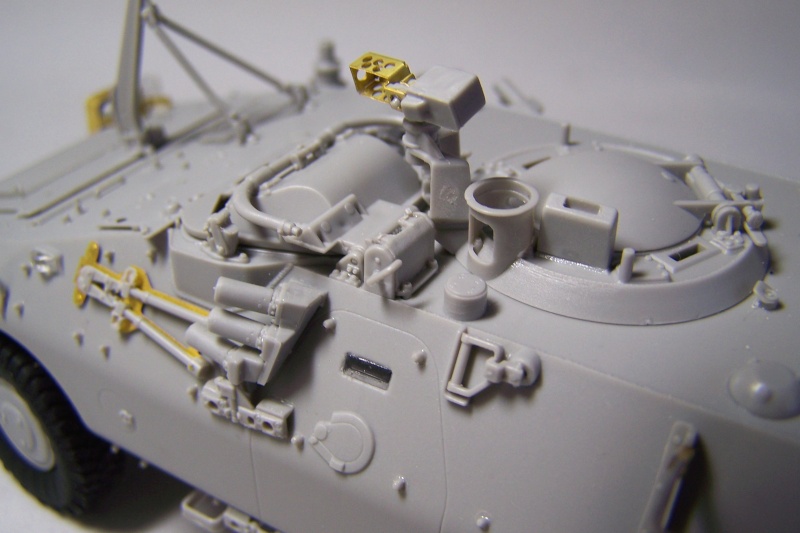
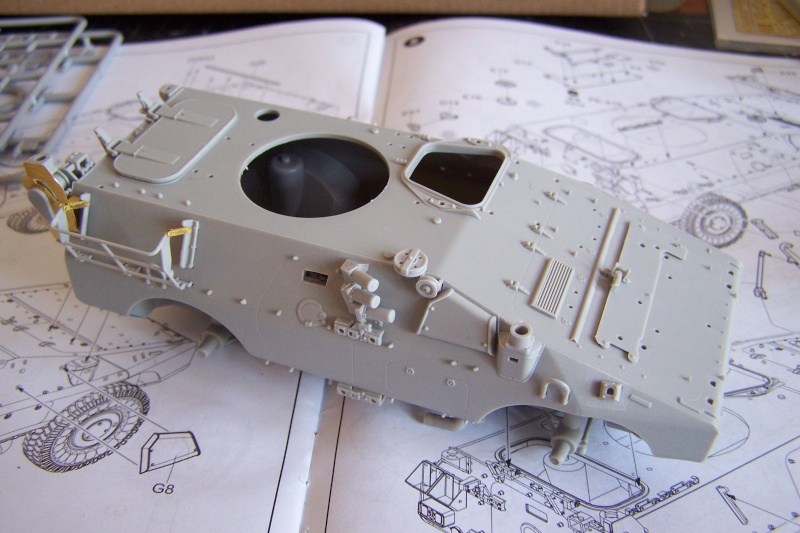
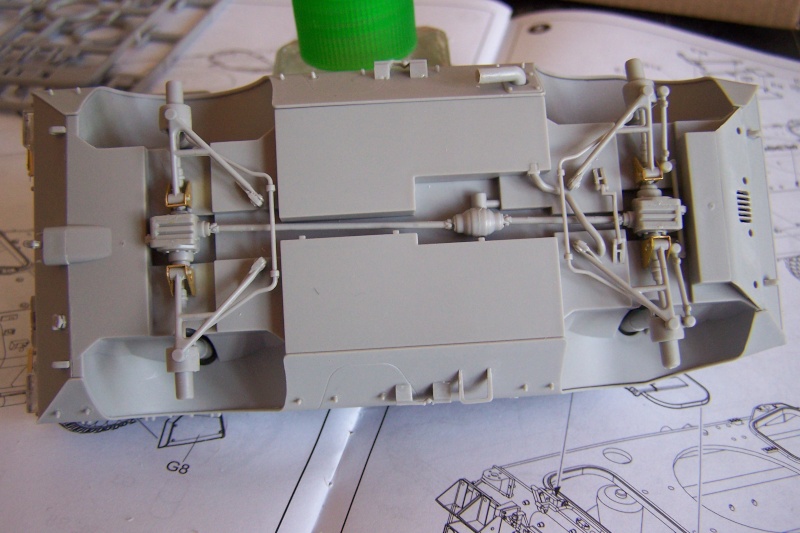
I started it Saturday and after a couple hours I managed to get the running gear done as well as the back plate with the winch which is a kit in the kit. The fit is good. Some location holes are a bit large so some putty will be required in the end. The instructions are clear so far.
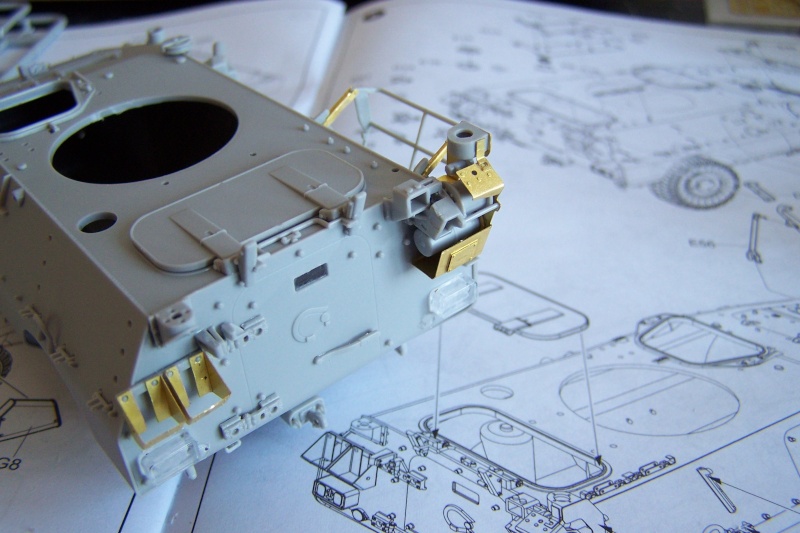
The main lowpoint is the stiffness of the PE and the lack of real folding lines which makes the bending process somehow harder than needed.
Olivier