Opel Blitz

Participants in the 2015 4/6/8 WHEELED VEHICLES Group Build post here.
User avatar
Philipp Gross
Site Admin/Founder
Posts: 5122
Joined: 19 Jul 2014, 23:40
Location: Frankfurt
Contact:

Re: Opel Blitz

Post by Philipp Gross »

Vincent Power wrote: I thought the same when I started it Philipp, then I heard a little voice telling me to go for it. :oops: At least I had fun doing it :lol:
As you know, I'm interested in the railway stuff too so you are not alone ;) By the way, you wouldn't know what colours these Gondolas were painted would you?

Vincent
Sorry, I'm not used to the thought of anyone else sharing this particular obsession :lol:

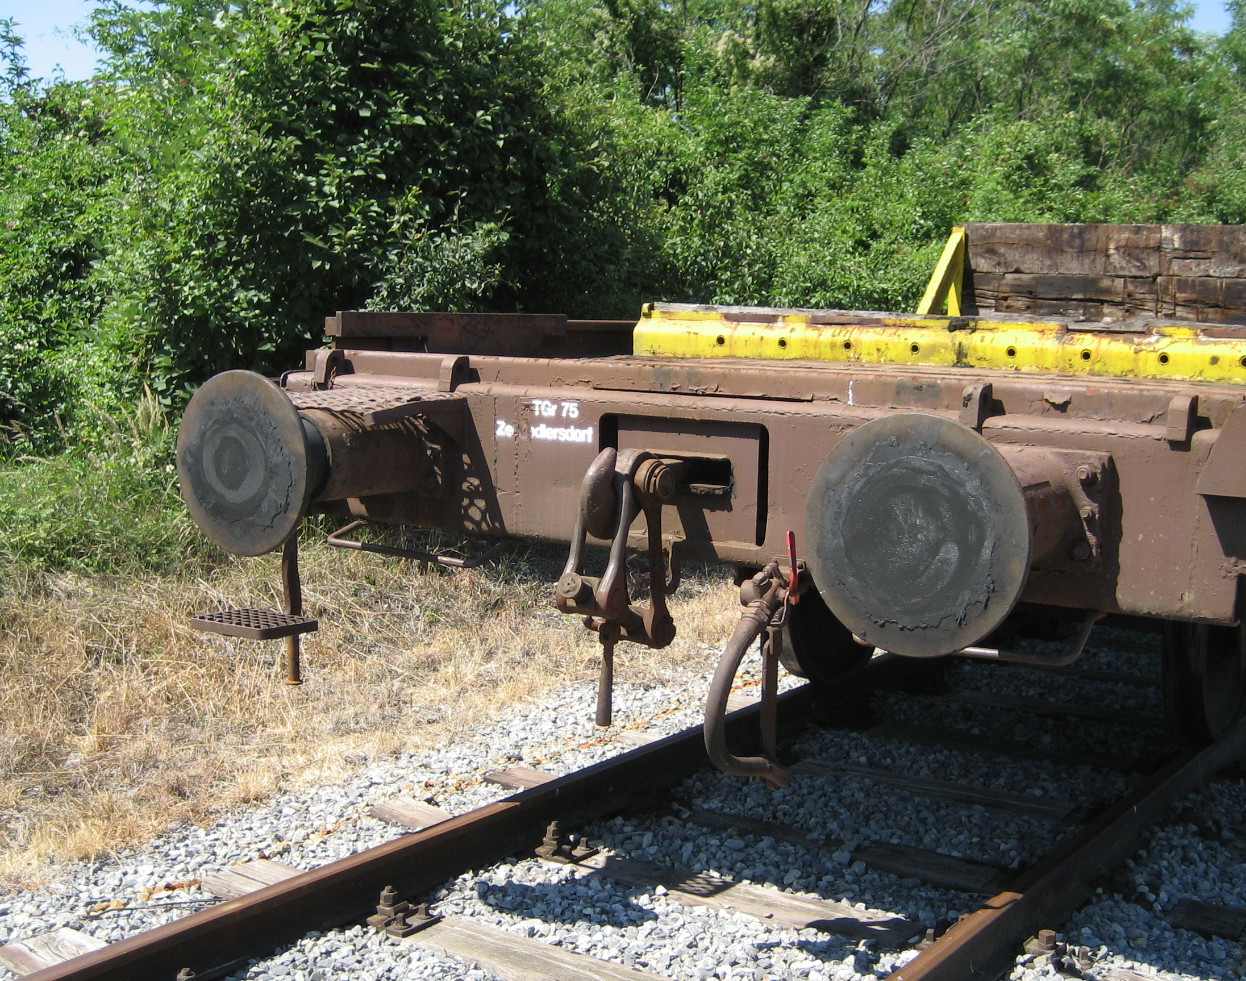
As for the colours, black for the undercarriage, but completely stained with a fine layer of rusty iron particles. That stuff gets everywhere on any rail vehicle, and freight cars are rarely cleaned anyway. The wood parts were usually brown, with the iron fittings in black (or brown too if the painters were lazy).

Philipp
Completed Campaigns:
ImageImageImageImageImageImageImageImageImageImageImage

User avatar
Vincent Power
Senior Site Contributor.....
Posts: 2634
Joined: 31 Jul 2014, 23:49
Location: Melbourne Australia

Re: Opel Blitz

Post by Vincent Power »

Thanks Philipp, that's very helpful. :D

Cheers,
Vincent
Completed Campaigns:
ImageImageImageImageImageImageImageImage

User avatar
Vincent Power
Senior Site Contributor.....
Posts: 2634
Joined: 31 Jul 2014, 23:49
Location: Melbourne Australia

Re: Opel Blitz

Post by Vincent Power »

Time to paint the woodwork. :) I used the AK set and some filters for different tones.
deck painted.jpg
deck painted.jpg (65.08 KiB) Viewed 58512 times
I also tried to show how hard the Gondola has been used by putting some damage into the wood. ;)
deck damage.jpg
deck damage.jpg (66.43 KiB) Viewed 58512 times
Finally I applied a dark wash over it to highlight the woodgrain.
deck painted3.jpg
deck painted3.jpg (74.96 KiB) Viewed 58512 times
deck painted4.jpg
deck painted4.jpg (97.04 KiB) Viewed 58512 times
Next up I'll paint the chassis. :D

Thanks for stopping by.

Cheers,
Vincent
Last edited by Vincent Power on 02 Mar 2021, 03:41, edited 1 time in total.
Completed Campaigns:
ImageImageImageImageImageImageImageImage

User avatar
Vincent Power
Senior Site Contributor.....
Posts: 2634
Joined: 31 Jul 2014, 23:49
Location: Melbourne Australia

Re: Opel Blitz

Post by Vincent Power »

The Gondola chassis is mostly done. I have just got some detail painting left to do. ;)
I started out with Vallejo black primer then a light mist of Vallejo Rust. After that I used a wash of Ammo Engine Grime followed with Mig pigments. I used Cargo Dust, Industrial Dirt and Russian Earth in no particular order until I was satisfied with the look. :)
paint2.jpg
paint2.jpg (62.44 KiB) Viewed 58511 times
paint.jpg
paint.jpg (62.46 KiB) Viewed 58511 times
I ended up with this :D
chassis done.jpg
chassis done.jpg (64.88 KiB) Viewed 58511 times
I still have to add a shiny metal look to the wheels and some rust to the brakes.

Cheers
Vincent
Last edited by Vincent Power on 02 Mar 2021, 03:45, edited 1 time in total.
Completed Campaigns:
ImageImageImageImageImageImageImageImage

User avatar
Philipp Gross
Site Admin/Founder
Posts: 5122
Joined: 19 Jul 2014, 23:40
Location: Frankfurt
Contact:

Re: Opel Blitz

Post by Philipp Gross »

Niiiiiice :D

[railway geek mode on]

Don't forget a generous helping of grease around the buffers (this and this might help), the axle bearing covers and generally everything else that is supposed to move. :lol:

I should also mention that there are some issues with the kit's decals. For a German vehicle, the lettering should be some variation of the DIN 1451 font, which has its origins with the Royal Prussian Railway Administration during the 1900s. The Nazi eagle symbols weren't used on freight cars at all. However you can avoid all of this by giving it generic markings for any other European railway company. Rolling stock was scattered all over Europe during the war, and it took years afterwards to get everything back to its legitimate owner.

[railway geek mode off]

( :lol: )

Philipp
Completed Campaigns:
ImageImageImageImageImageImageImageImageImageImageImage

User avatar
Vincent Power
Senior Site Contributor.....
Posts: 2634
Joined: 31 Jul 2014, 23:49
Location: Melbourne Australia

Re: Opel Blitz

Post by Vincent Power »

Thanks Philipp, I appreciate your advice. :D The pics are a big help too.

Cheers,
Vincent
Completed Campaigns:
ImageImageImageImageImageImageImageImage

User avatar
Shawn Ramsey
Senior Site Contributor.....
Posts: 1987
Joined: 20 Jul 2014, 00:26

Re: Opel Blitz

Post by Shawn Ramsey »

You are a great modeler for sure. You get some of the best painting and wood finishing results I have seen.

Shawn
Completed Campaigns:
ImageImage

User avatar
Vincent Power
Senior Site Contributor.....
Posts: 2634
Joined: 31 Jul 2014, 23:49
Location: Melbourne Australia

Re: Opel Blitz

Post by Vincent Power »

Shawn Ramsey wrote:You are a great modeler for sure. You get some of the best painting and wood finishing results I have seen.

Shawn
Thank you Shawn. I really appreciate that. :D


Cheers,
Vincent
Completed Campaigns:
ImageImageImageImageImageImageImageImage

User avatar
Vincent Power
Senior Site Contributor.....
Posts: 2634
Joined: 31 Jul 2014, 23:49
Location: Melbourne Australia

Re: Opel Blitz

Post by Vincent Power »

After a break from this build I thought I should get back to it and finish it off. :) So I started the base. I bought an appropriate sized picture frame and filled it with packaging foam.
base1.jpg
base1.jpg (107.38 KiB) Viewed 58510 times
I worked in some "artists" air dry clay in and around the rails for the groundwork.
base.jpg
base.jpg (96.32 KiB) Viewed 58510 times
Once that had dried overnight I decided to give the rail sleepers a base coat of paint.
base2.jpg
base2.jpg (92.55 KiB) Viewed 58510 times
Then I gave the clay a light base coat
base3.jpg
base3.jpg (92.79 KiB) Viewed 58510 times
For the dirt I used an earth powder from Treemendus. I've never used it before and to be honest I have no idea how I'm supposed to use it either. :lol: What I did was to apply some white glue and water mix on the areas I wanted dirt and sprinkled it on. I'm not sure how it will work out yet, only time will tell. ;)
base4.jpg
base4.jpg (135.15 KiB) Viewed 58510 times
base5.jpg
base5.jpg (150.13 KiB) Viewed 58510 times
I haven't worked out how to fix the gravel onto the base yet but I'm sure I will. :roll:
Well, that's where I'm at. I still have a fair way to go yet. :)
Thanks for looking in.

Cheers,
Vincent
Last edited by Vincent Power on 02 Mar 2021, 03:49, edited 1 time in total.
Completed Campaigns:
ImageImageImageImageImageImageImageImage

User avatar
Philipp Gross
Site Admin/Founder
Posts: 5122
Joined: 19 Jul 2014, 23:40
Location: Frankfurt
Contact:

Re: Opel Blitz

Post by Philipp Gross »

Good to see you back with this one :D

The "standard receipe" for fixing gravel to model railway tracks is diluted white glue with a few drops of liquid soap added. The soap helps it creep into the gaps better. I used it on my Pak 36 diorama, works perfectly fine :)

Philipp
Completed Campaigns:
ImageImageImageImageImageImageImageImageImageImageImage

Post Reply