
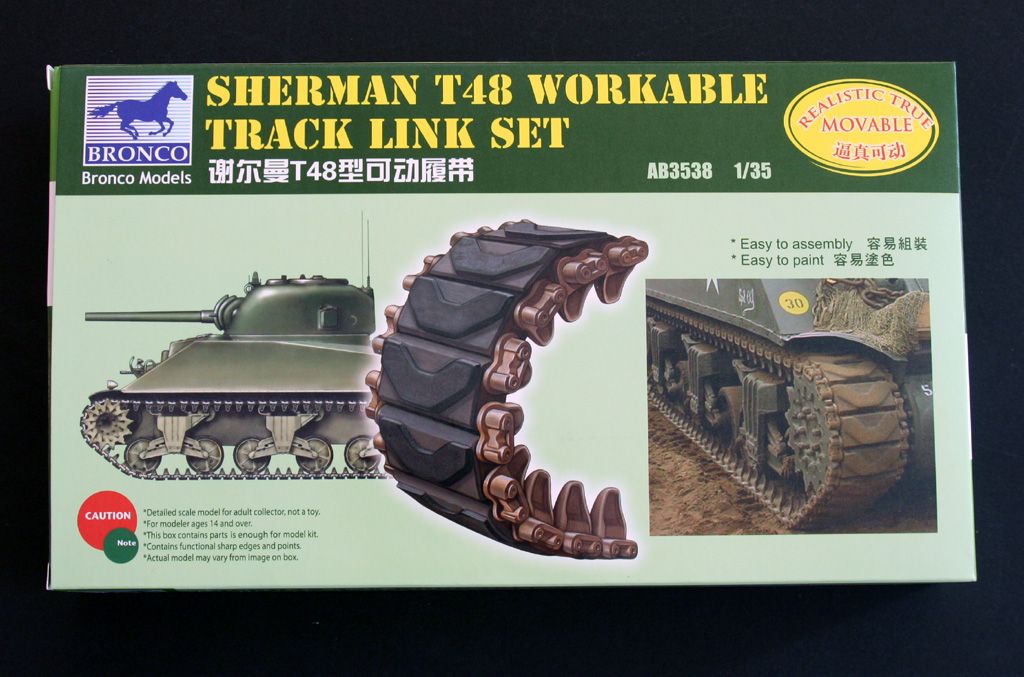
Being 'live' tracks, the one thing you don't need to worry about on Shermans is creating the sag often see on the likes of Pz IVs or JS2s for example. This means you can use vinyl or DS tracks supplied with most kits and achieve a decent result. However, the do have their limitations and getting the correct length can often be an issue. One way around this is to use individual links and Bronco offer a wide range of Sherman tracks covering just about every type used.
Building tracks which often have a parts count higher than the actual vehicle itself can be a bit daunting, but with patience and care, the end result is well worth the effort. Here is how I construct these tracks....
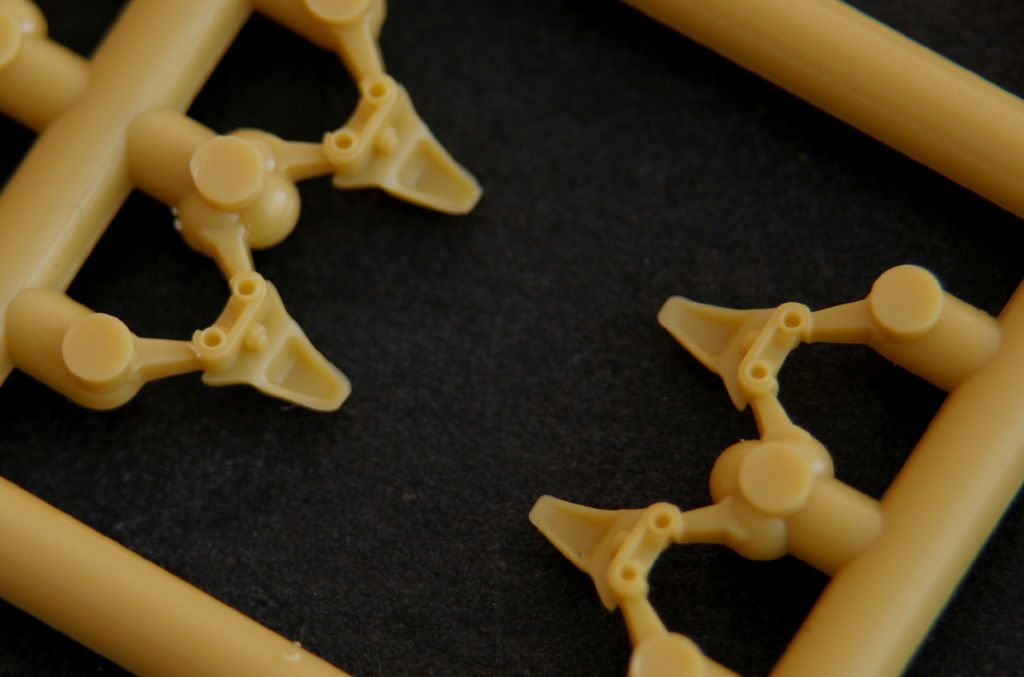
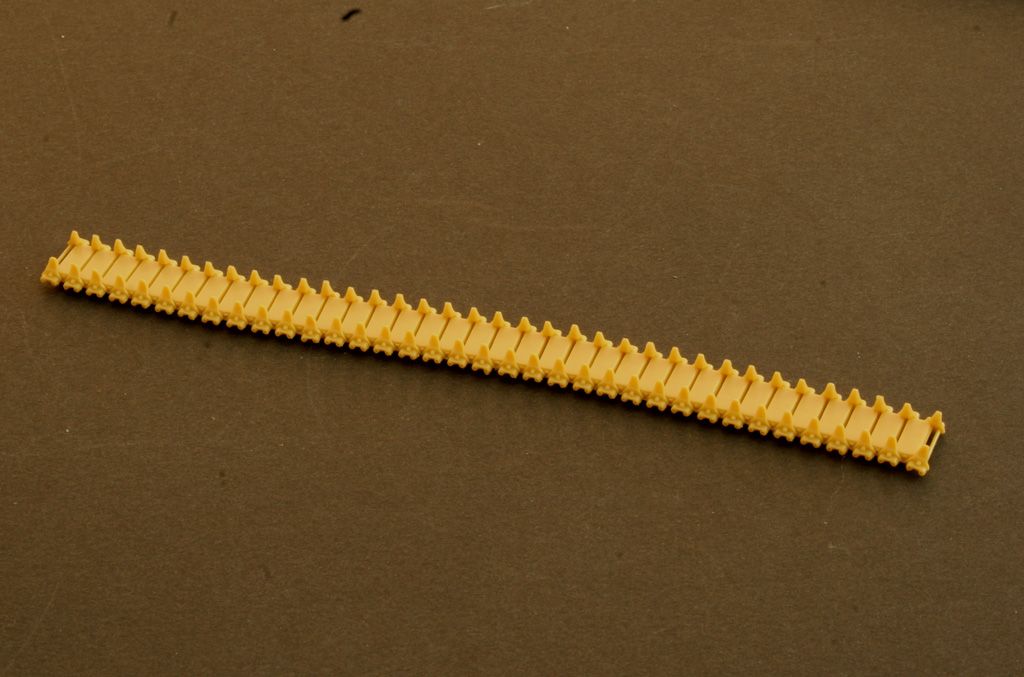
For this SBS, I'm using the rubber padded T48 style....
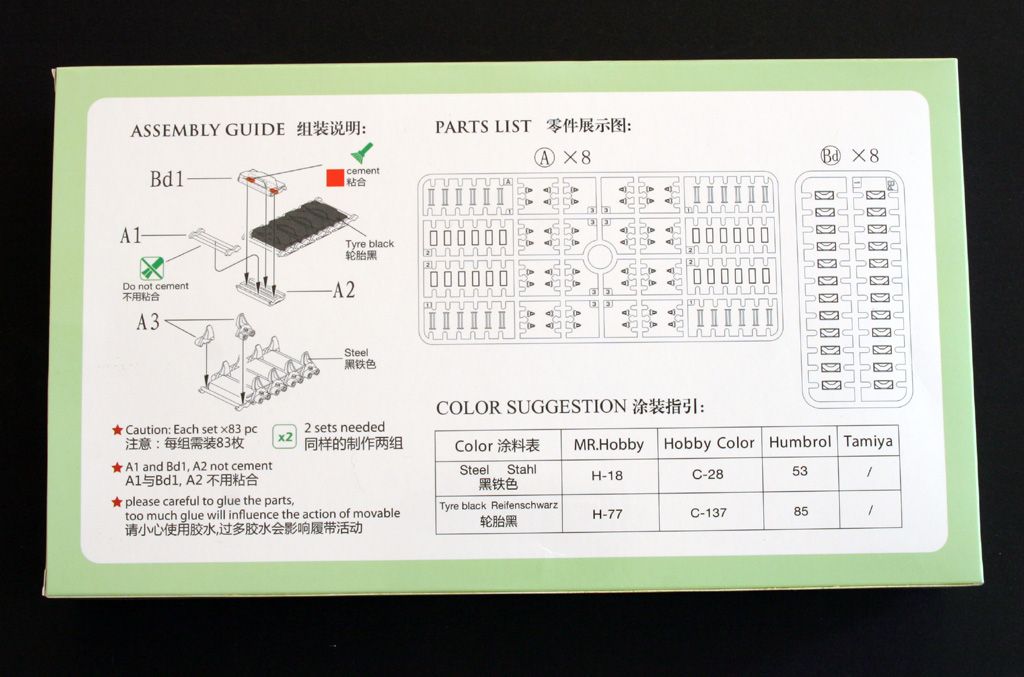
Directions are on the back, but the sequence is altered as you will see when you read on....
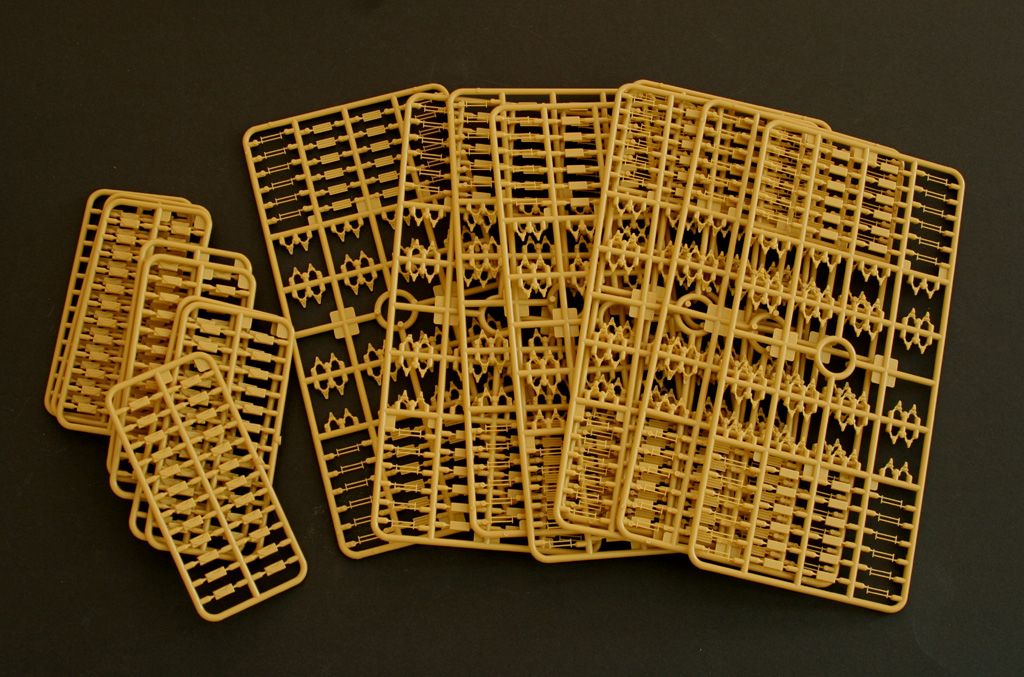
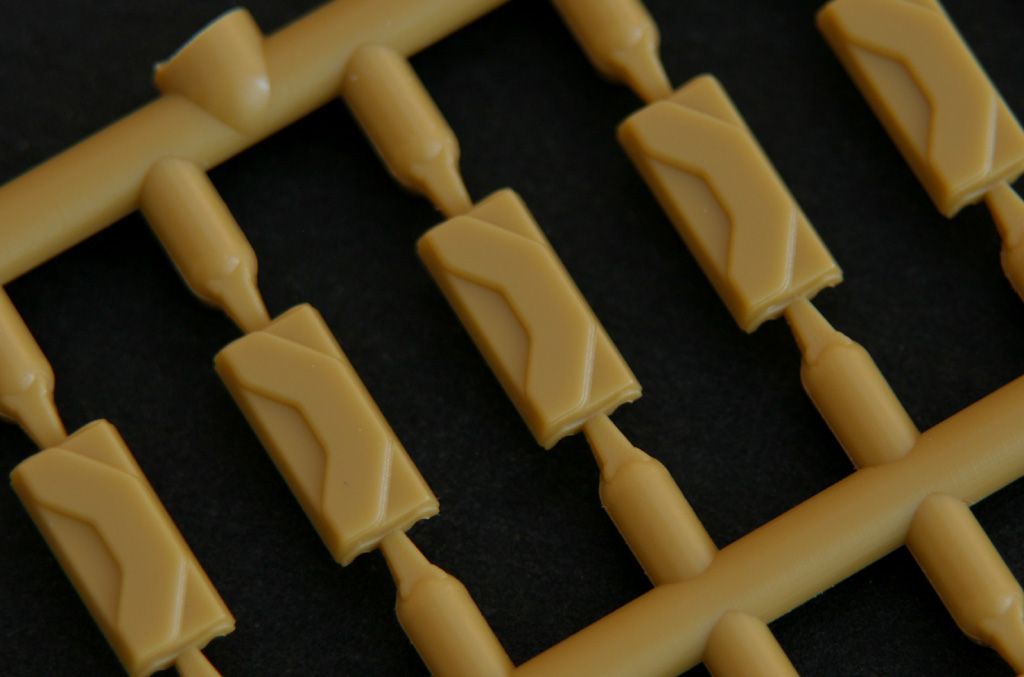
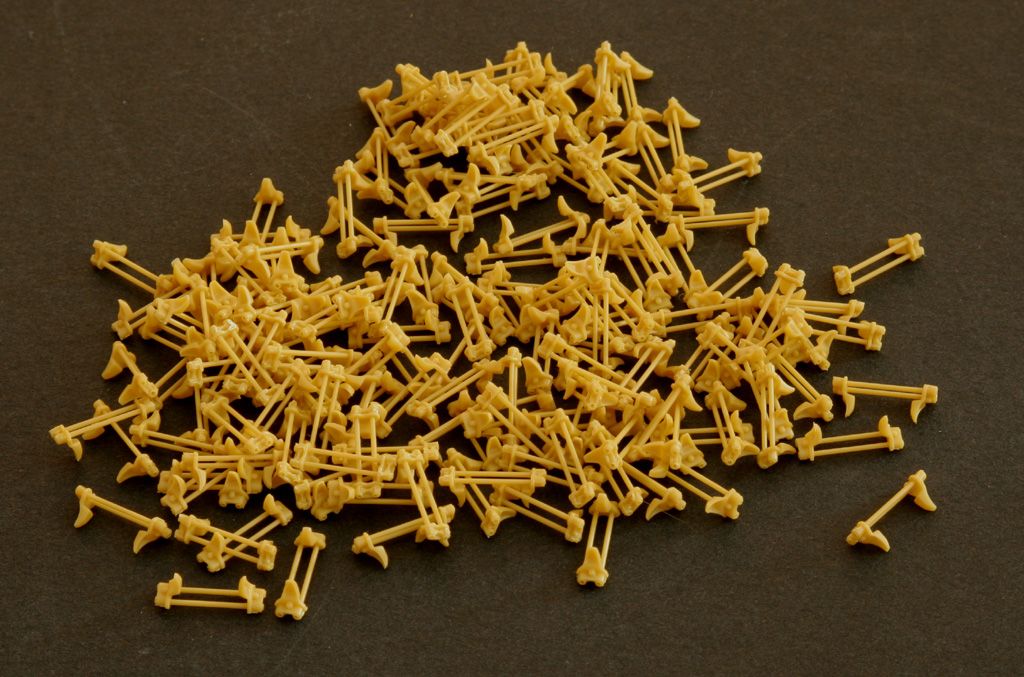
You get several sprues containing the pads, pins and guide teeth...
The sets tend to vary only with the track pads itself depending on which type you are using. Otherwise construction is pretty much the same for all.
Details is pretty good....
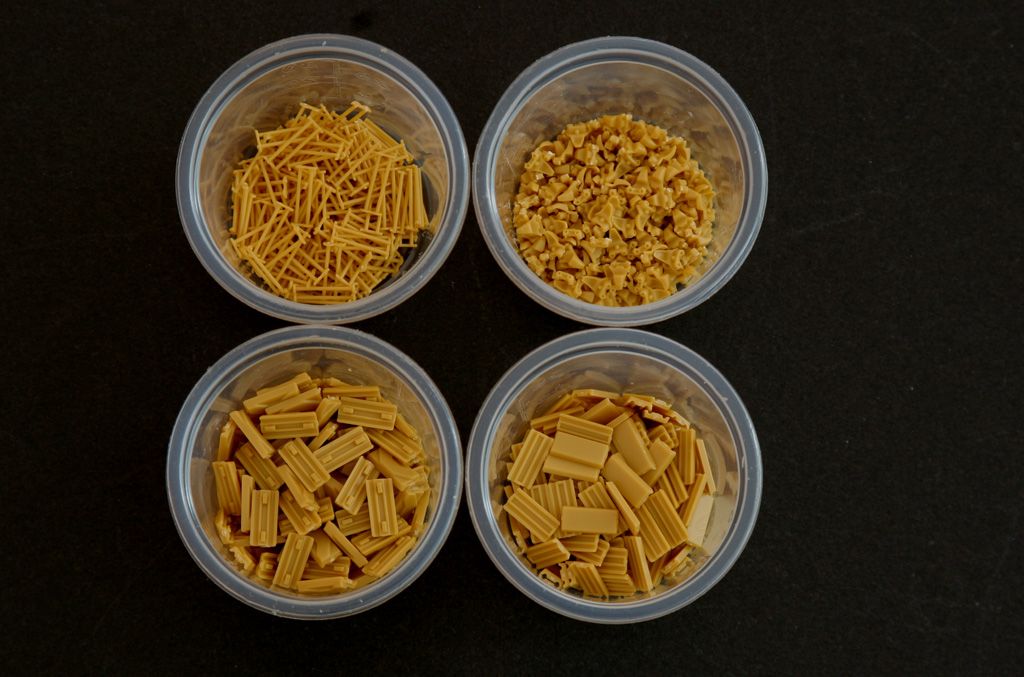
I start by removing the parts from the sprues and placing them in individual containers....
First step of construction is to cement the end connectors/guide teeth to the track pins....
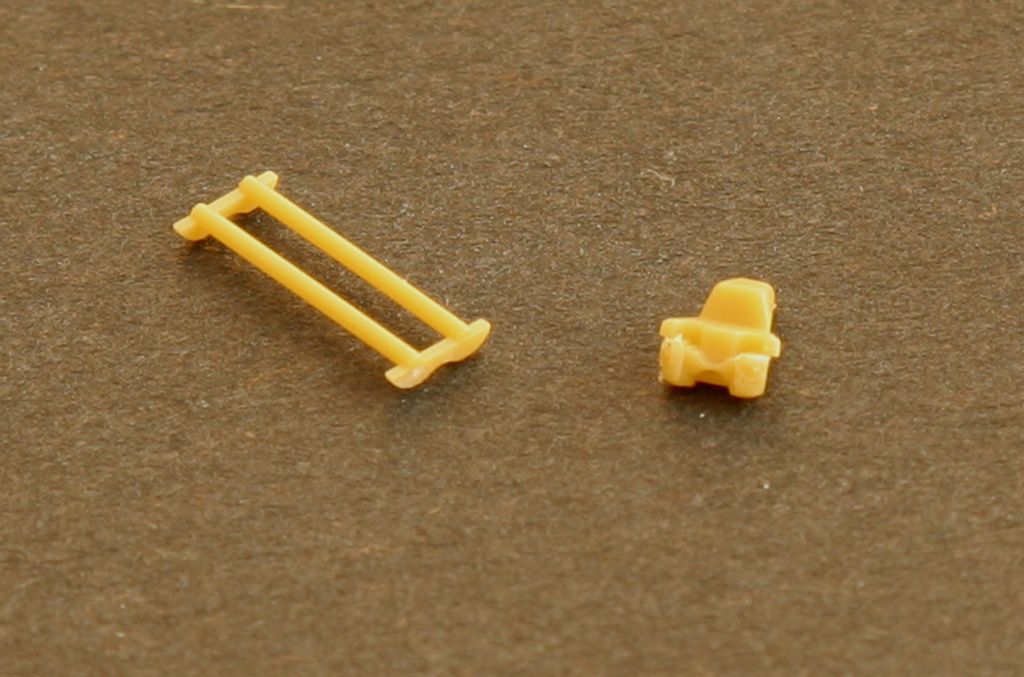
A small amount of cement is applied to the track pin end and the end connector attached. Same for the other end....
Repeat until you have sufficient numbers (usually around180) and set aside to fully cure. Here they are all done...
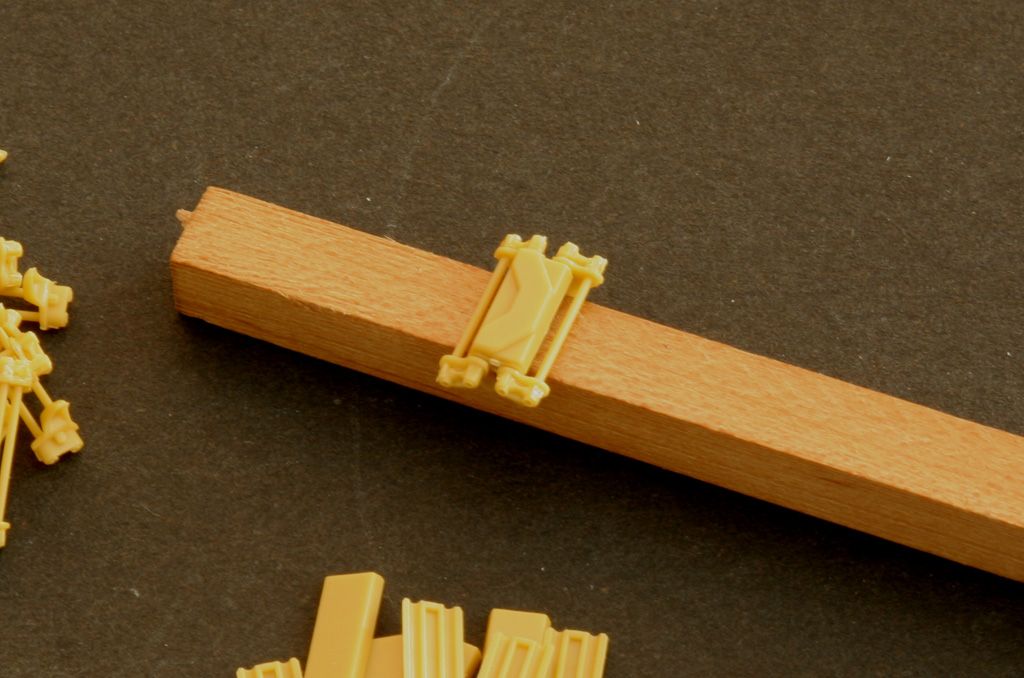
This is my track assembly tool. A piece of 6mm x 6mm wood....
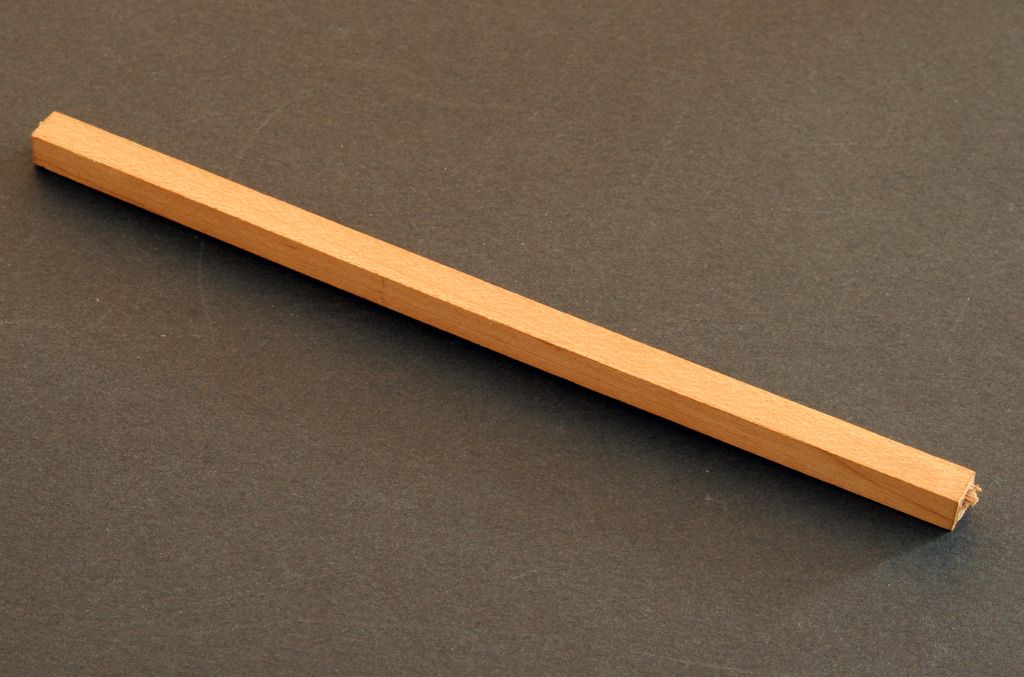
Perfect size...
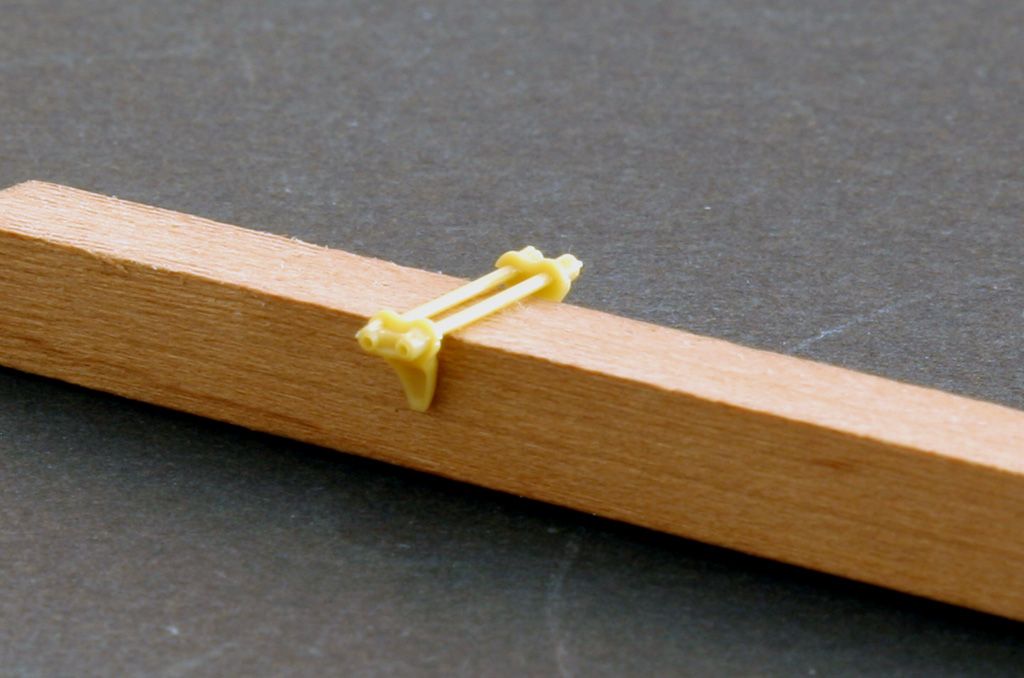
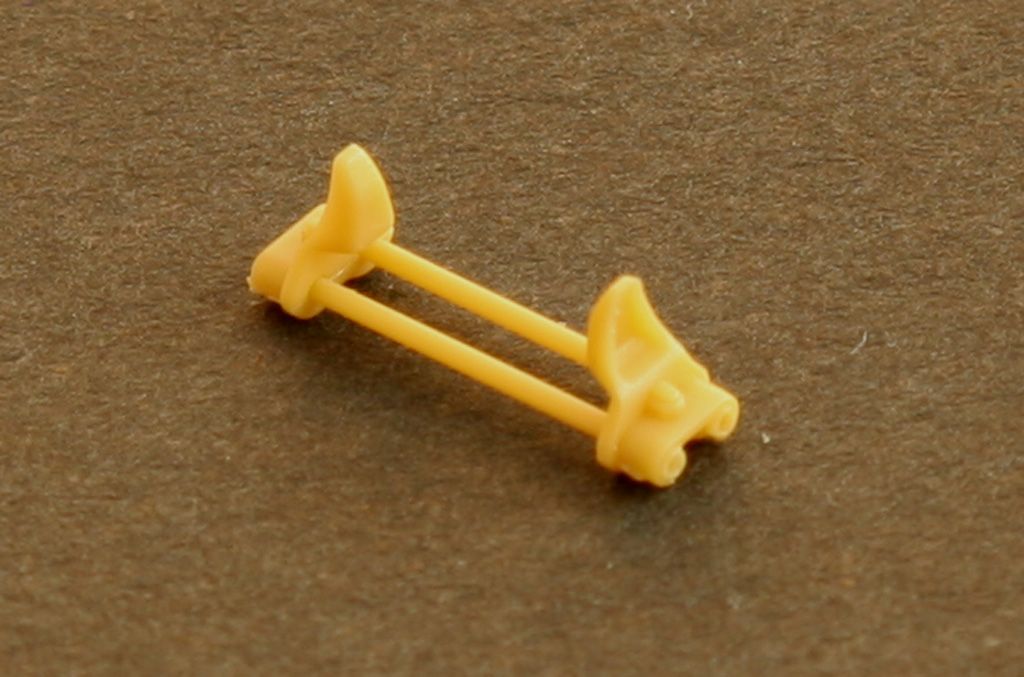
First up, place two of the track pin sections over the wood and then one of the inner facing pads between then so the pins locate into the recesses...
Then, carefully add some cement into the centre recess. It is vital that you do not allow the cement to overflow onto the pins if you wish to retain articulation of the tracks at the end....

The press the out facing pad into place.
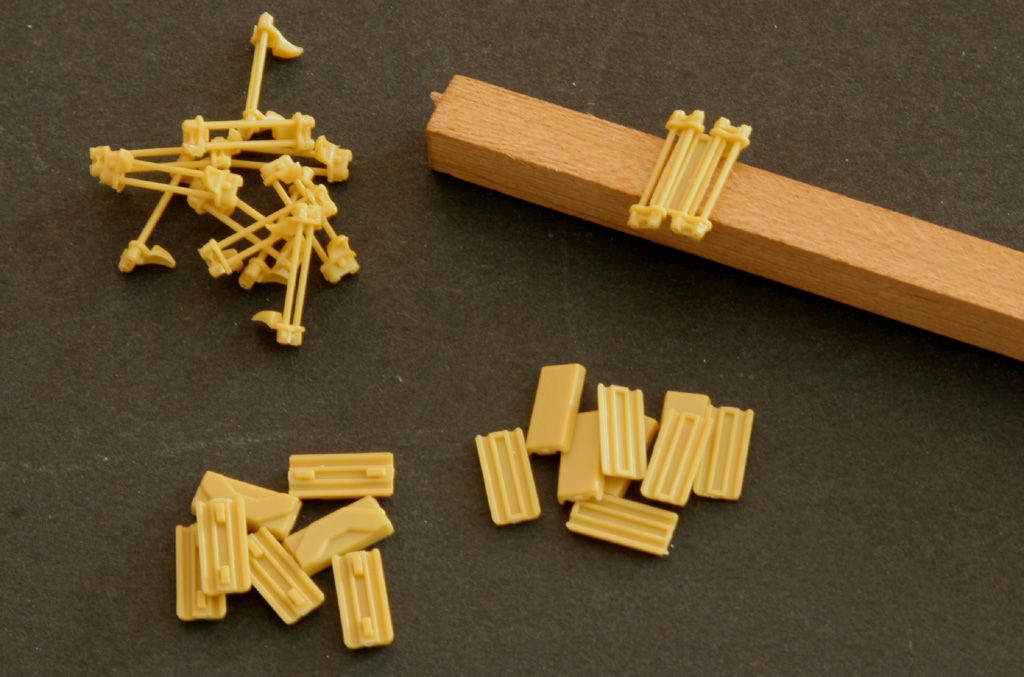
Repeat....
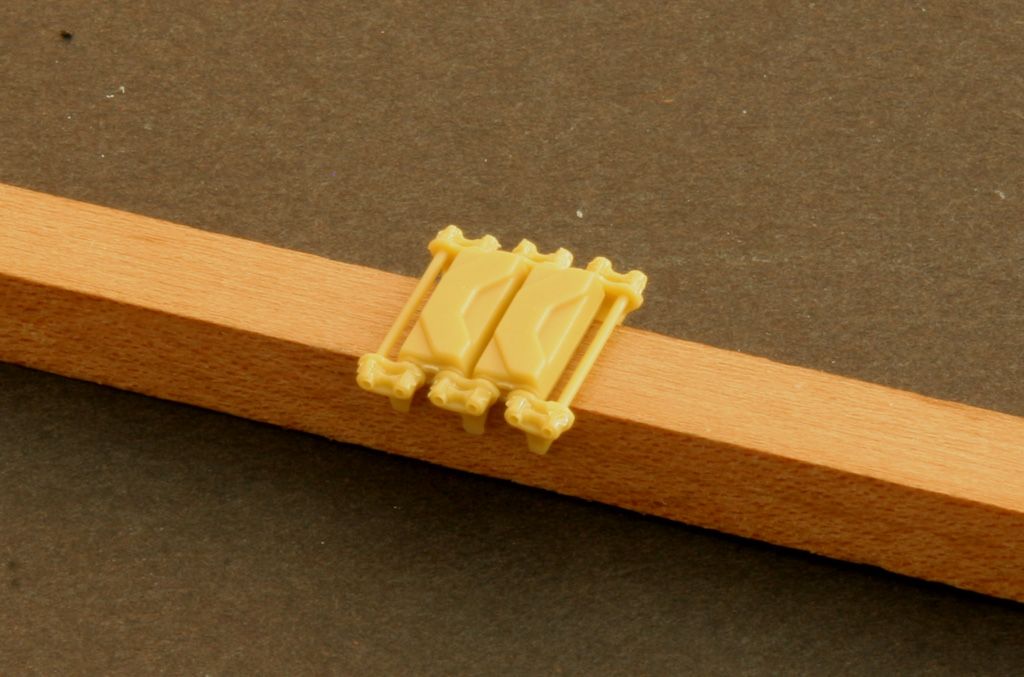
And repeat....
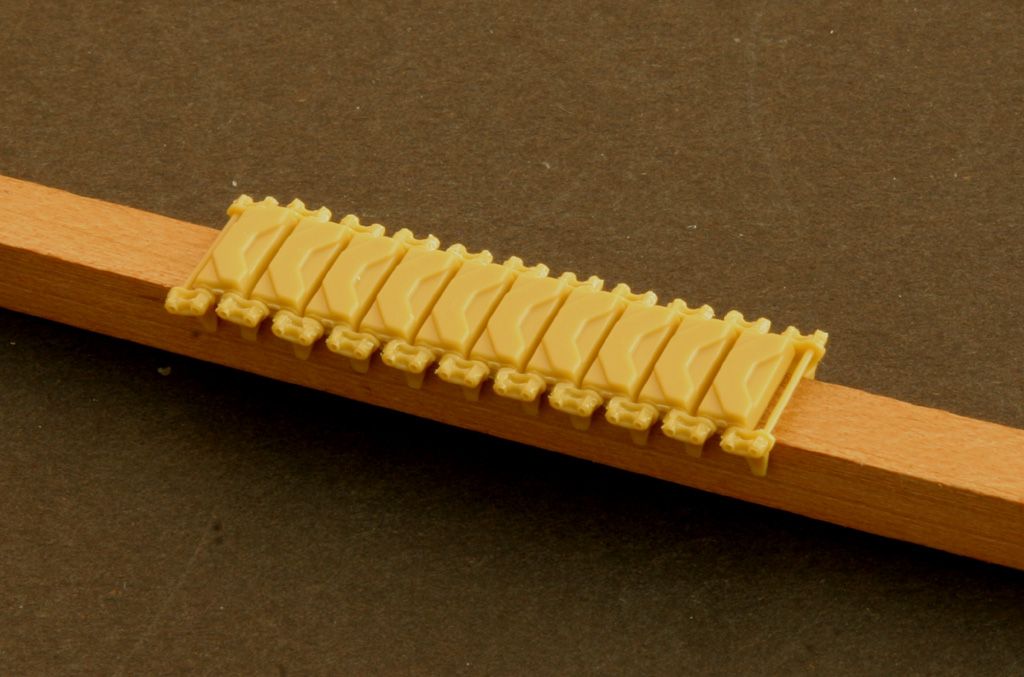
Until you achieve the desired length. Leave for a while to allow the cement to fully cure before any heavy handling....
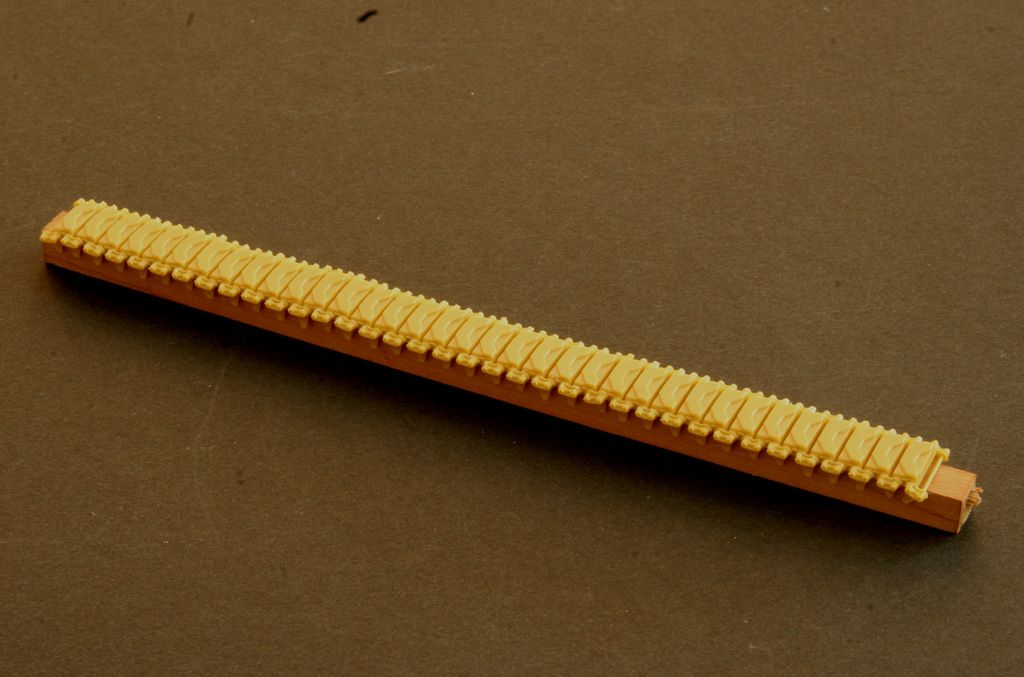
The links should fully articulate providing you've been careful with the cement...
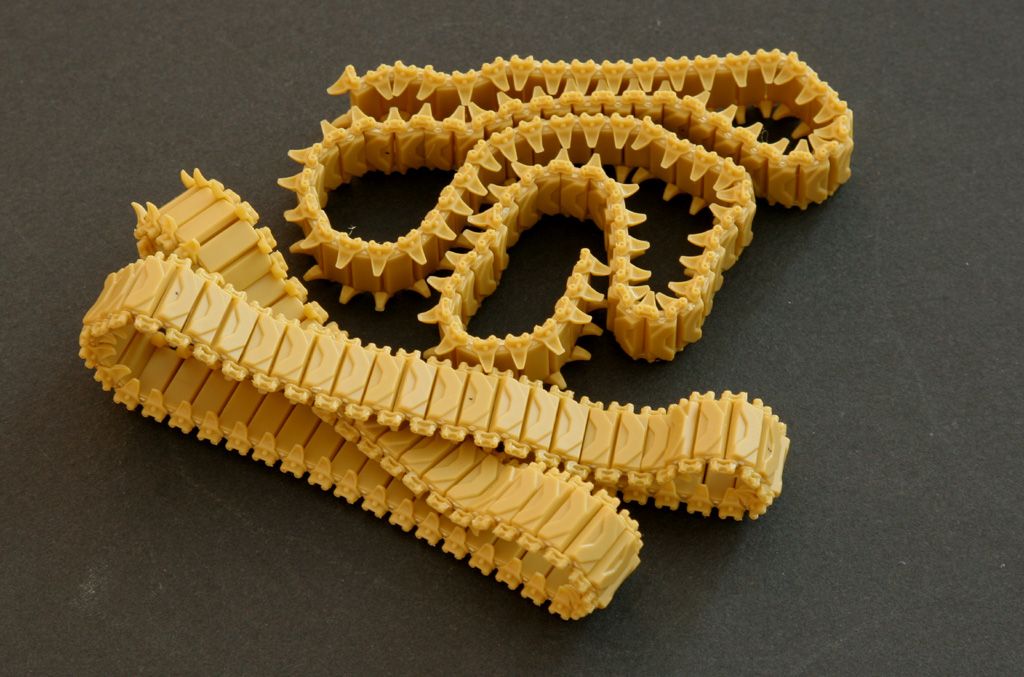
The number of links will depend on which version you are making. The M4A4 type requiring more due to it's lengthened hull...
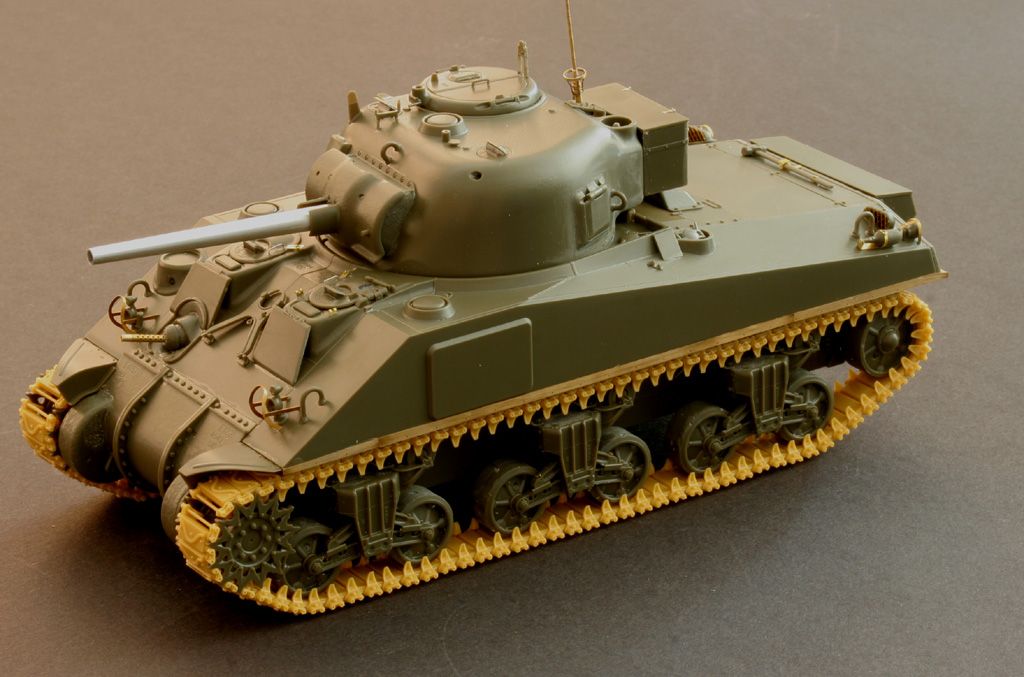
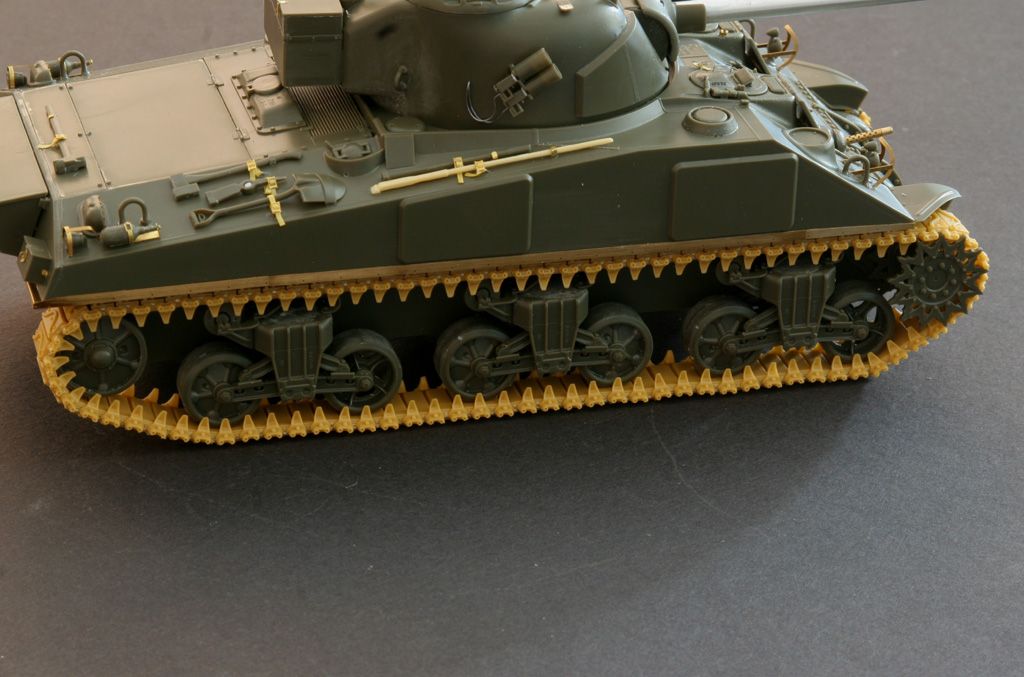
My preference is to paint and weather the tracks - fit to the tank and add the last pair of pads and then finalise the paint etc.
It's not as daunting as you may think. I can usually knock up a pair of tracks over a few evenings. A craft knife and cutting mat in front of the TV usually helps reduce the tedium
Gary


