I've had the Dieppe Churchill in my stash for a little while and grabbed one of the ITA conversion kits before they closed down. This build will be one of the original flame thrower versions which preceeded the well known Crocodile which was based on the Mk.VII version.
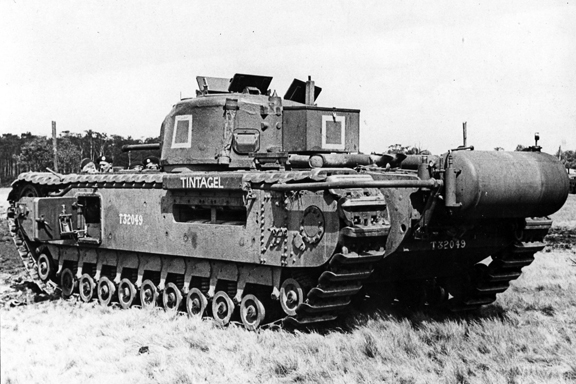
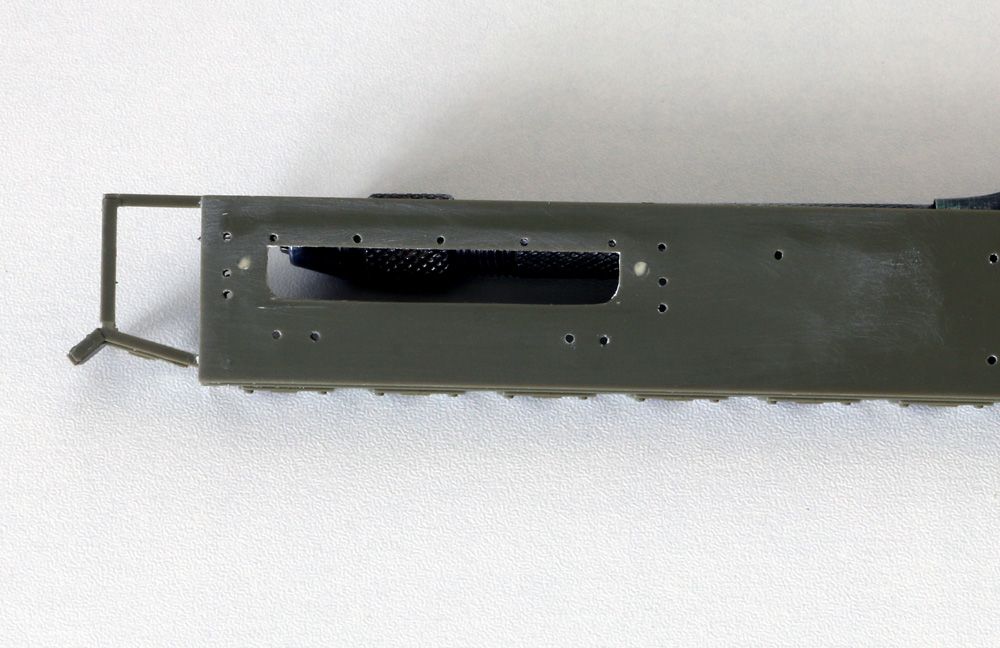
The Oke first appeared in May 1942 and was the brainchild of Major J.M. Oke, after whom this Mk.II Churchill version was named. The conversion consisted of Ronson flamerthrowing equipment with a fuel tank mouned on the rear with an external pipe leading to the front fixed angle mounting with the BESA MG remaining in its original place.
Three vehicles, Bull, Beetle and Boar all saw action during the Dieppe raid but were all knocked out before they could be effectively used. The ITA kit covers these three vehicles as well as Tintagel, which remained on English shores. It is this version that I will build.
We all pretty much know how good the AFV Club Churchills are so the base kit doesn't really need an introduction. Whilst some versions come with vinyl tracks, this kit comes with their excellent styrene indi links...

The included deep wading gear will not be required so can be saved for a future project.
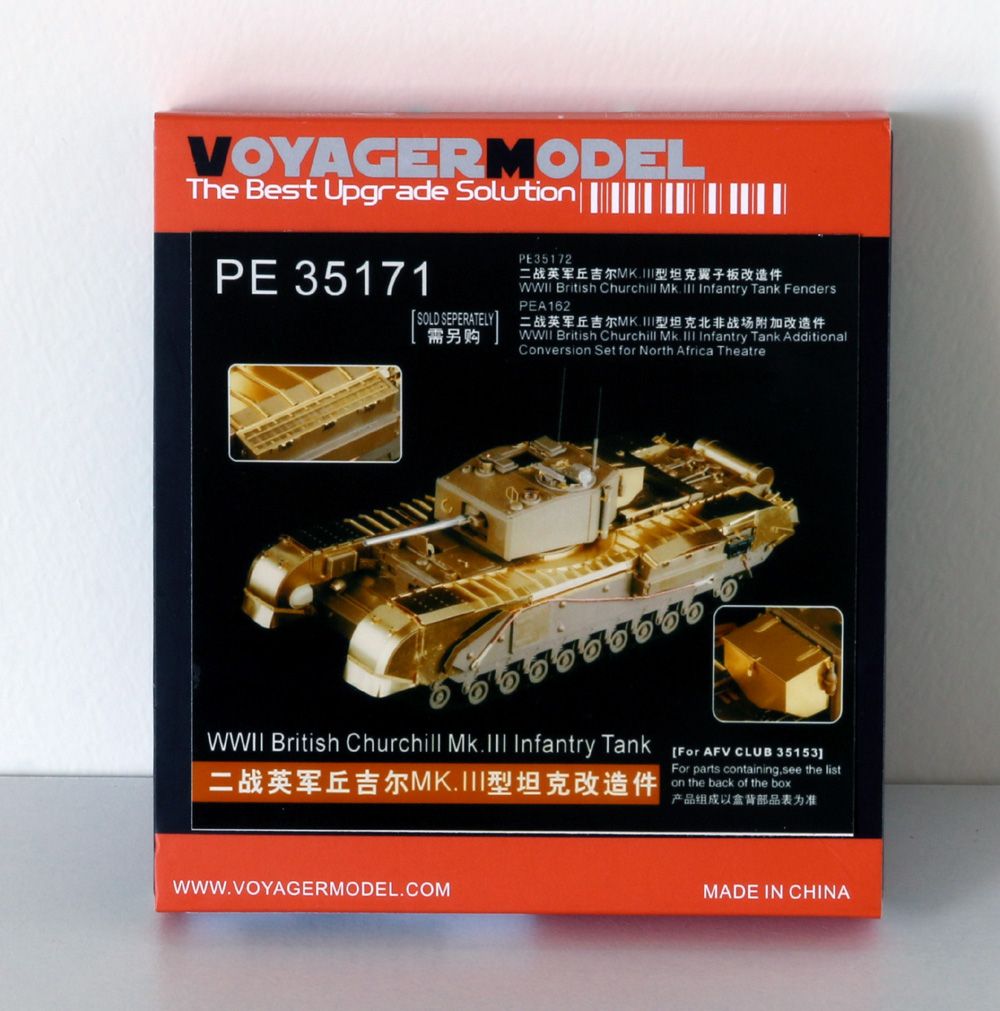
A 'must' IMHO, is Voyager's PE set.....
Then there is the ITA kit itself....
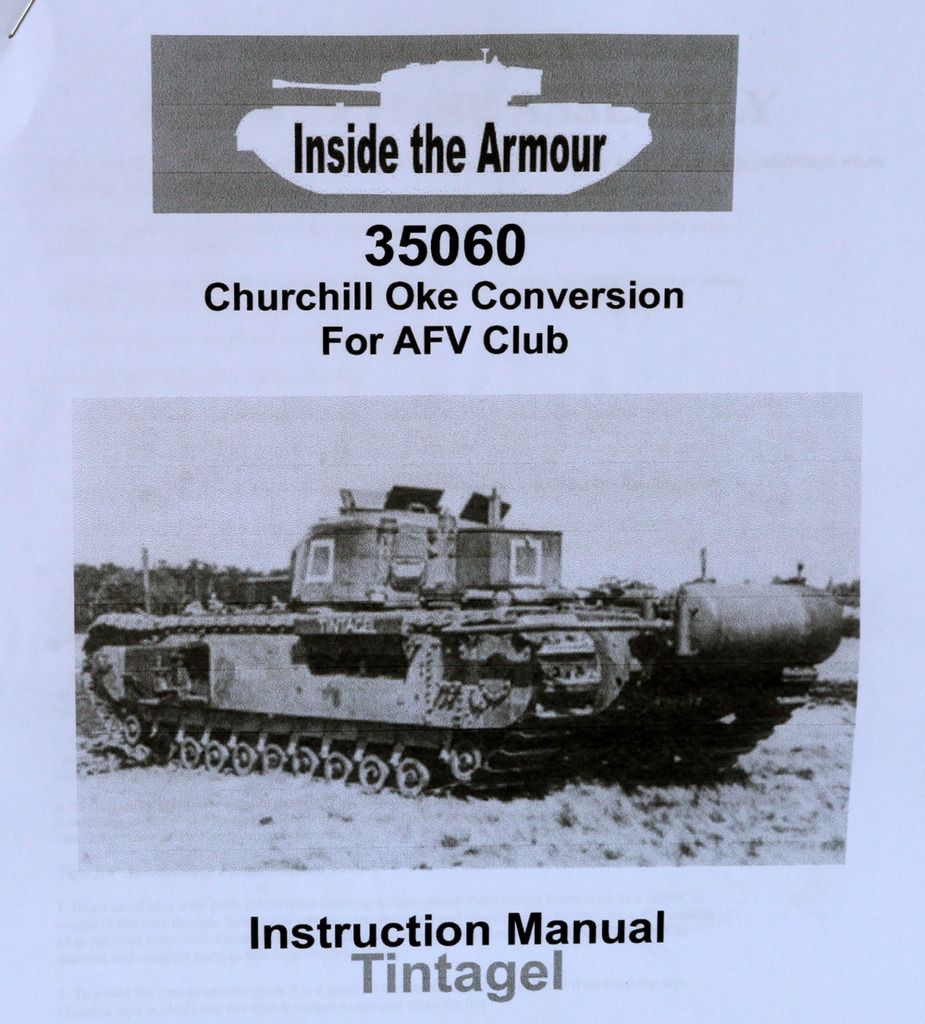
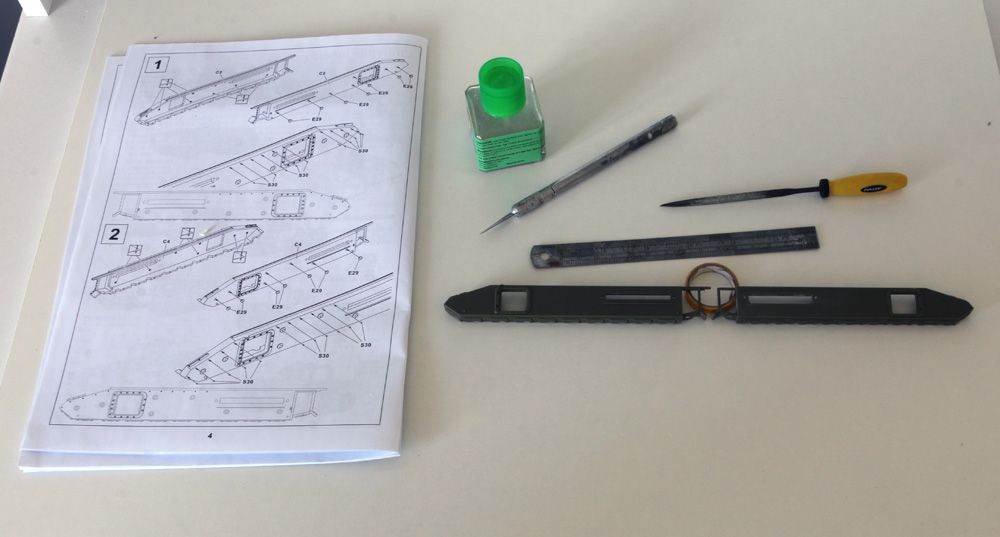
Each version varied slightly so seperate 3 seperate A4 instruction booklets (inc colour plates) reflect this. Along with the expected resin conversion parts, you also get 2 x turned brass BESA and 1 x main gun barrels, PE frets decals. Rather than show all the parts now, they'll become evident during the build.
Gary