here is my current project. The box contains a number of Trumpeter T-62 sprues (mainly for the roadwheels and the tracks), 2 HB Merkava 3D sprues and of course the appropriate Achzarit sprues and the hull halves.
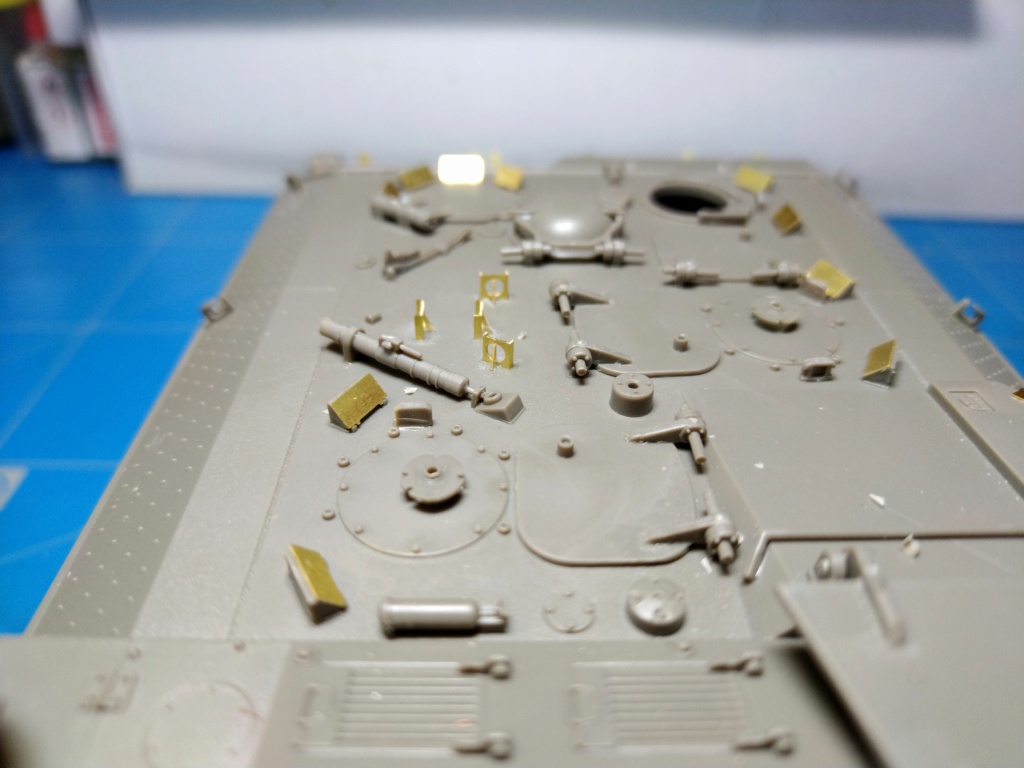
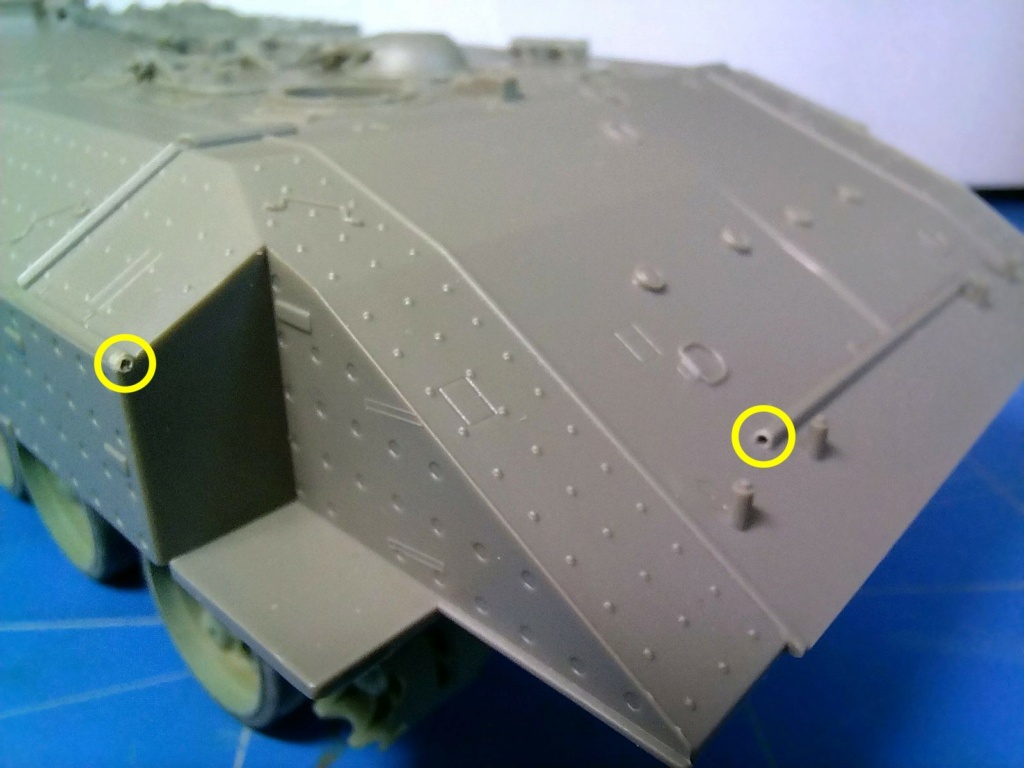
The level of detail is correct, the attachment points to the sprues are a bit thick and a lot of mold lines need a thorough cleaning.
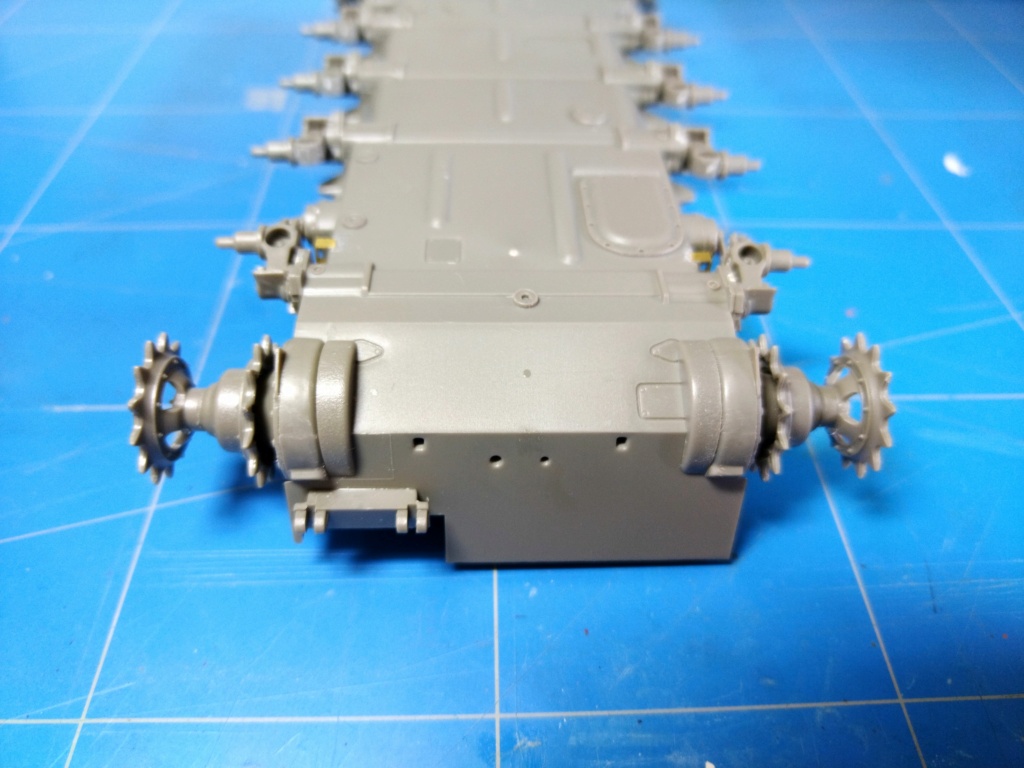
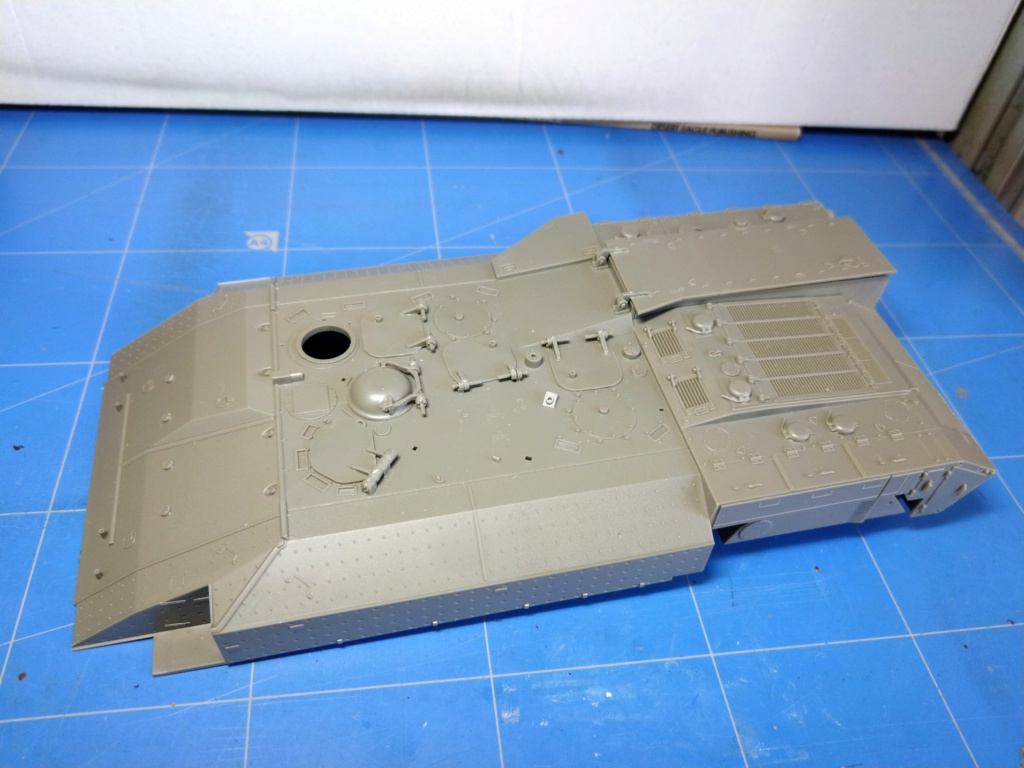
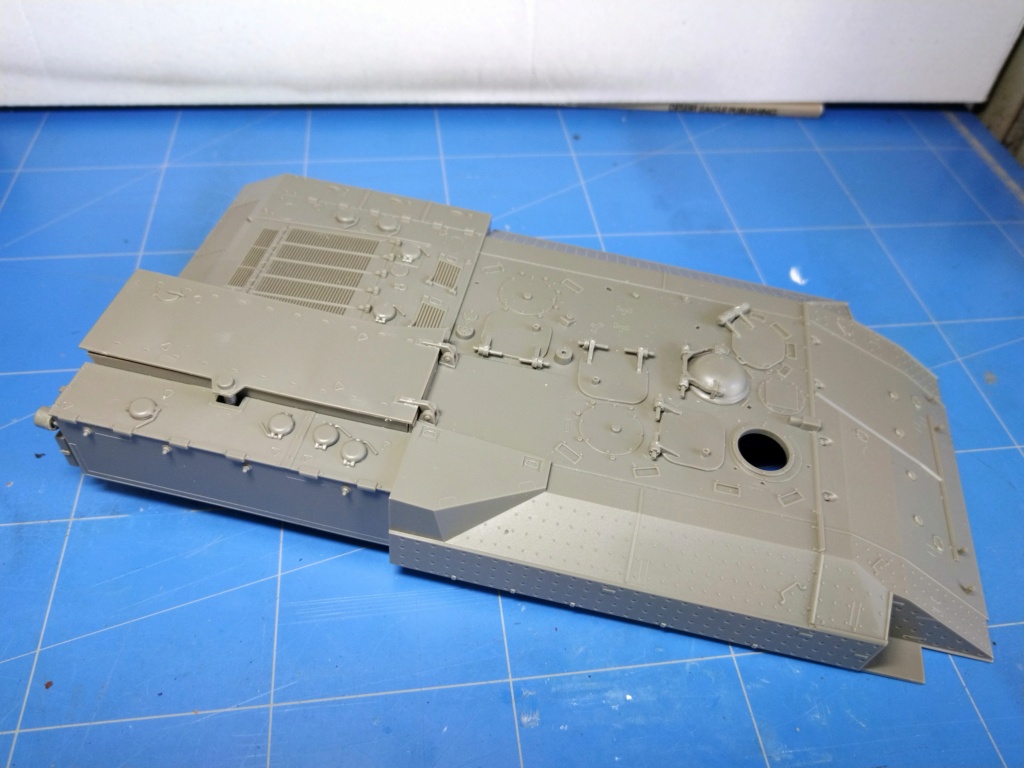
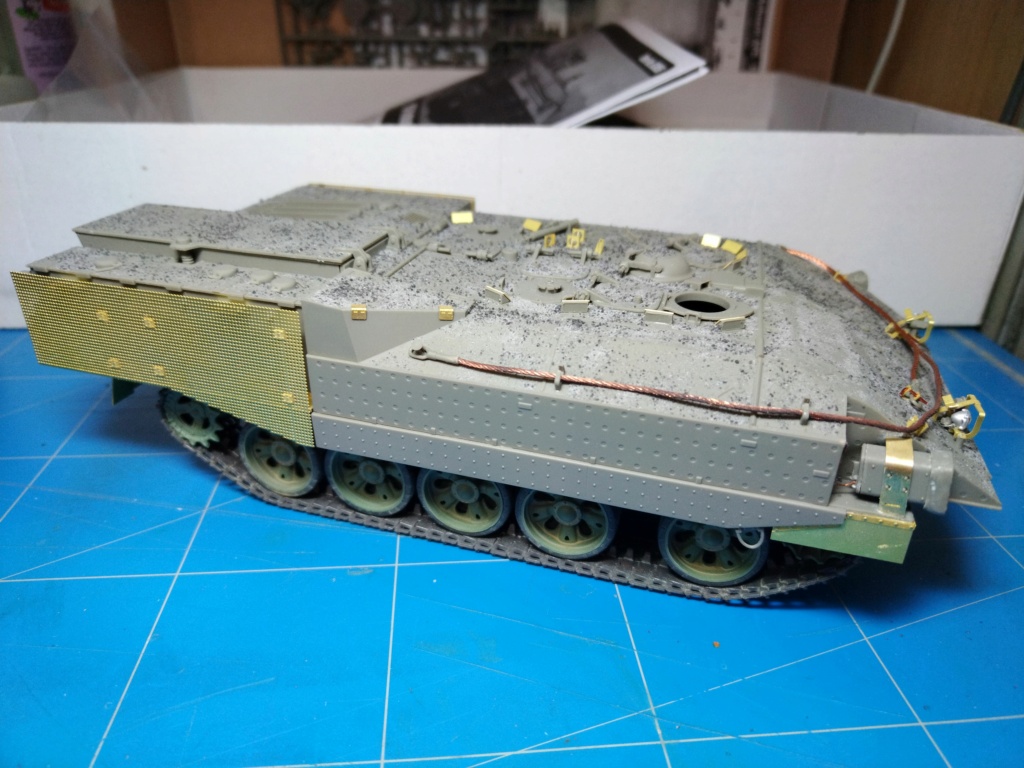
Even though HB give an open rear corridor there is no interior to show. So I'll build the corridor close. Two PE plates supplement the plastic parts.
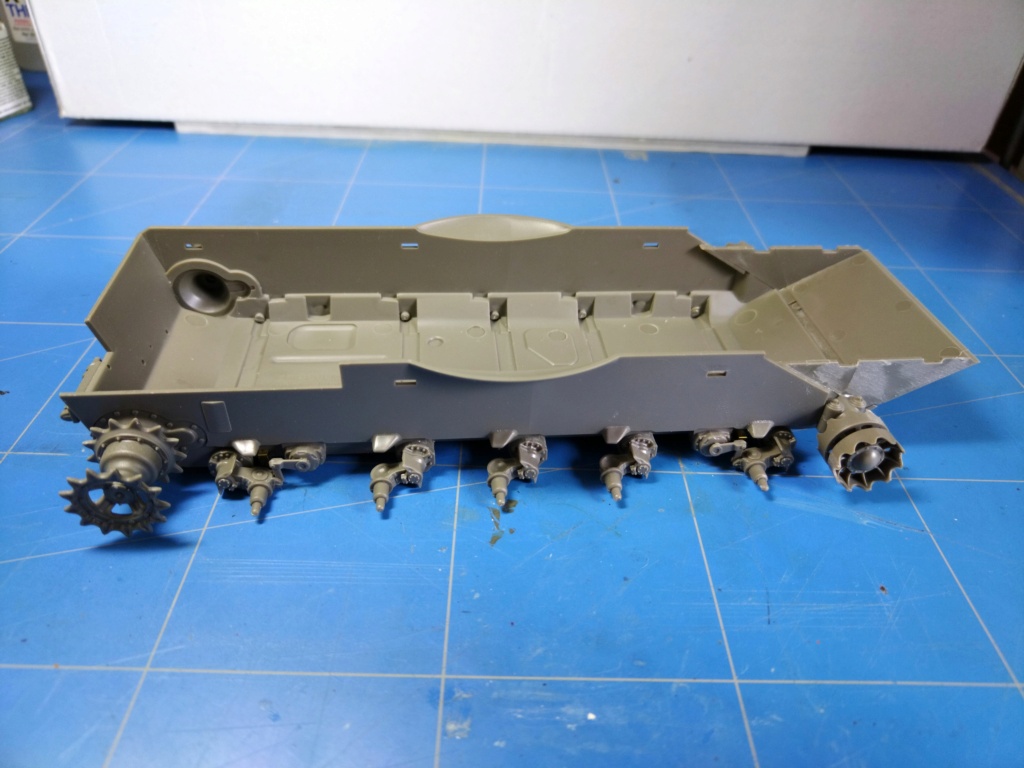
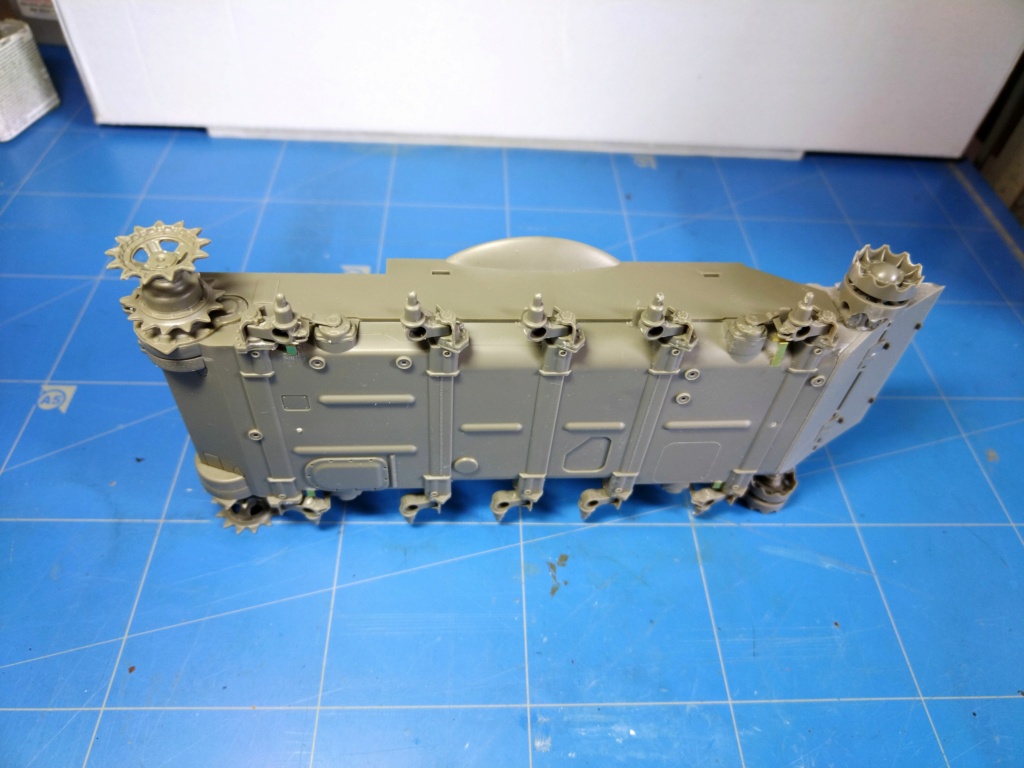
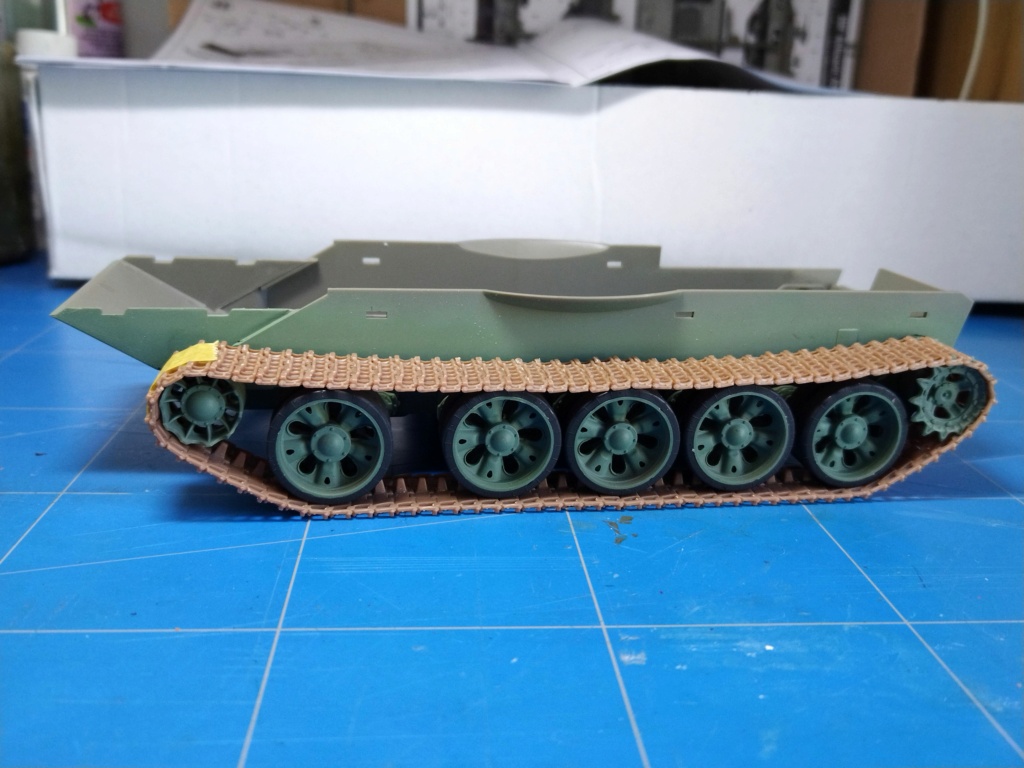
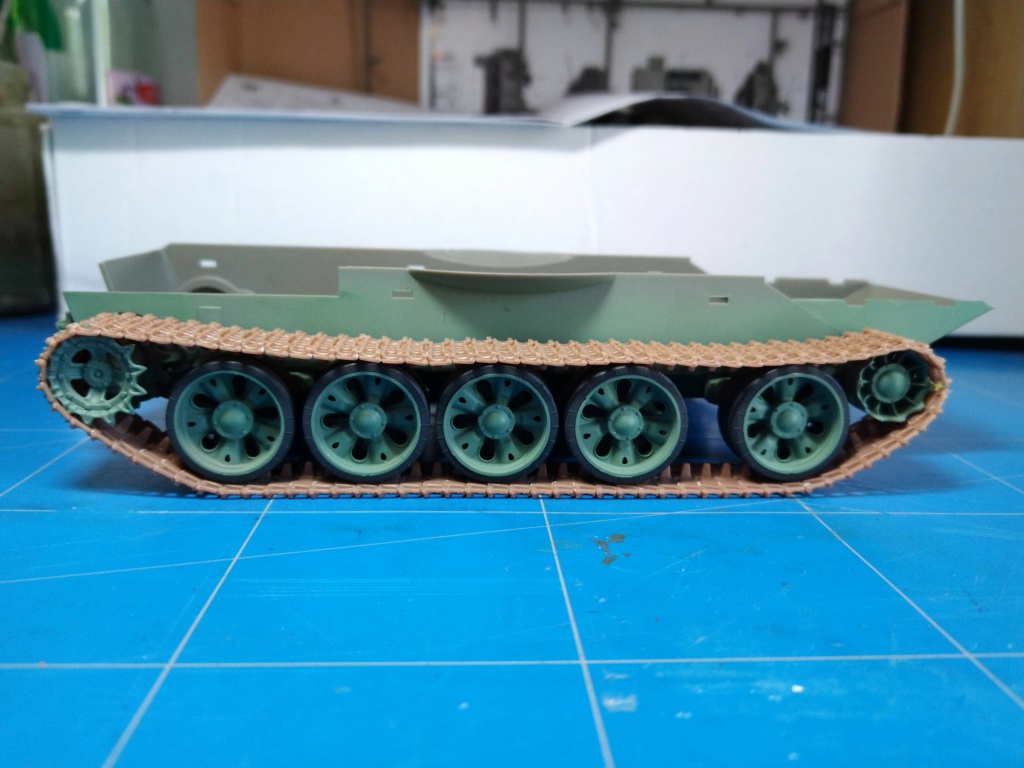
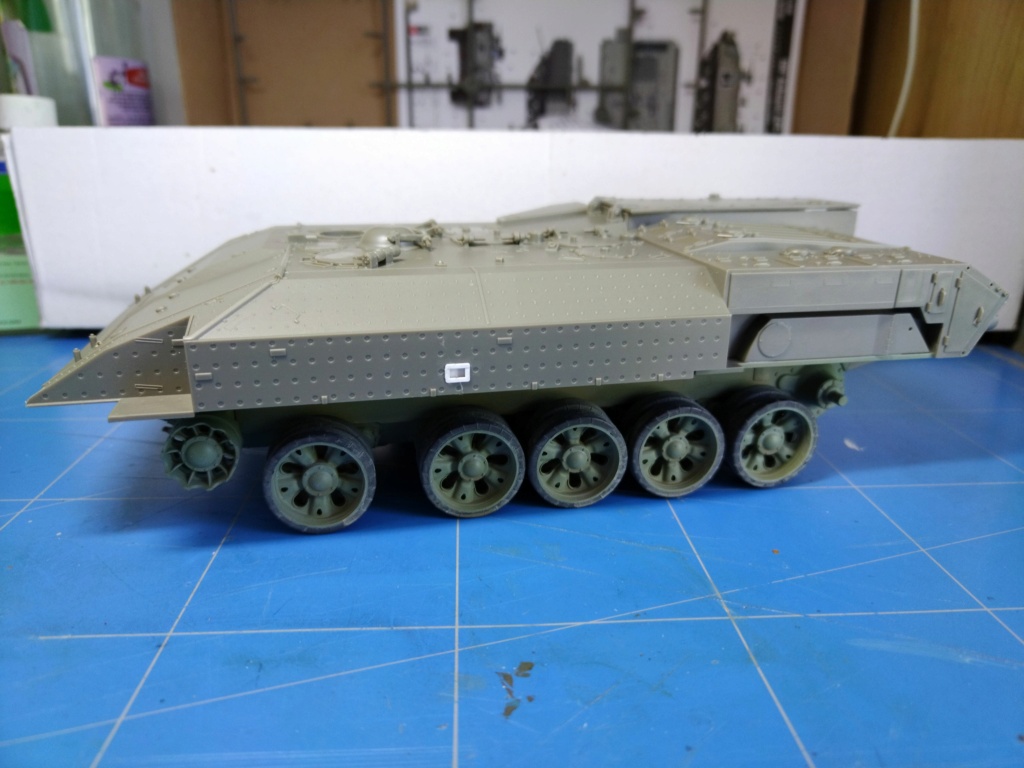
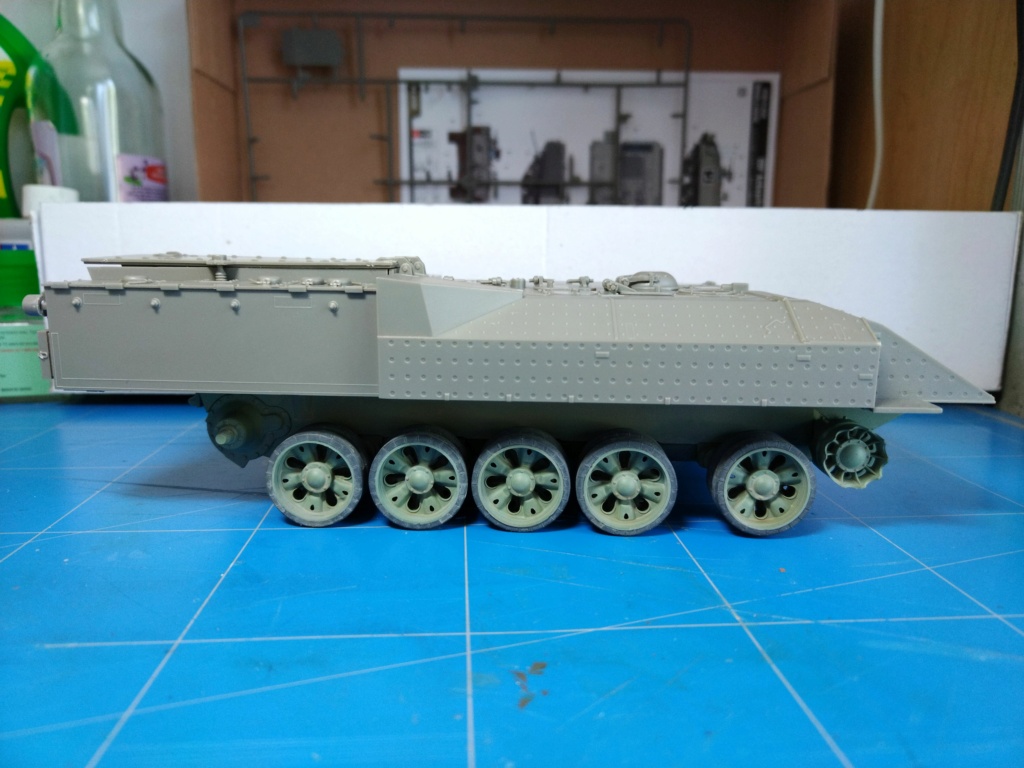
So far I have built the suspension. Then I'll assemble the tracks and glue them prior to adding the "fenders" because the access should be tricky afterwards.
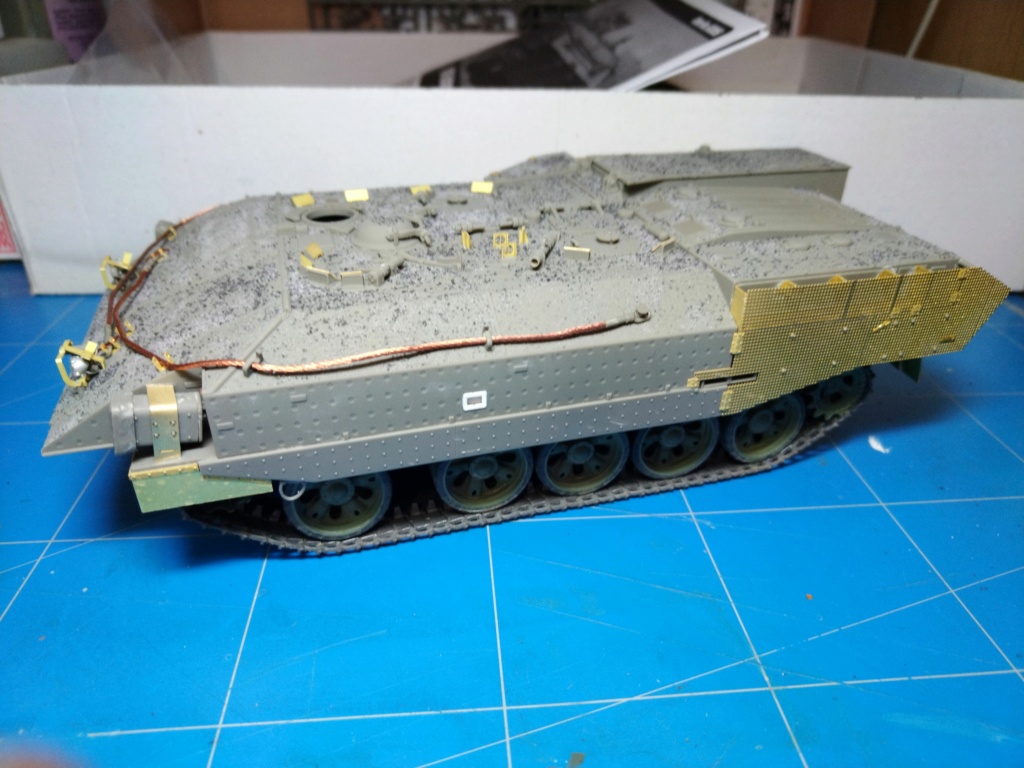
The parts have been sprayed with Prince August IDF green (pictures later).