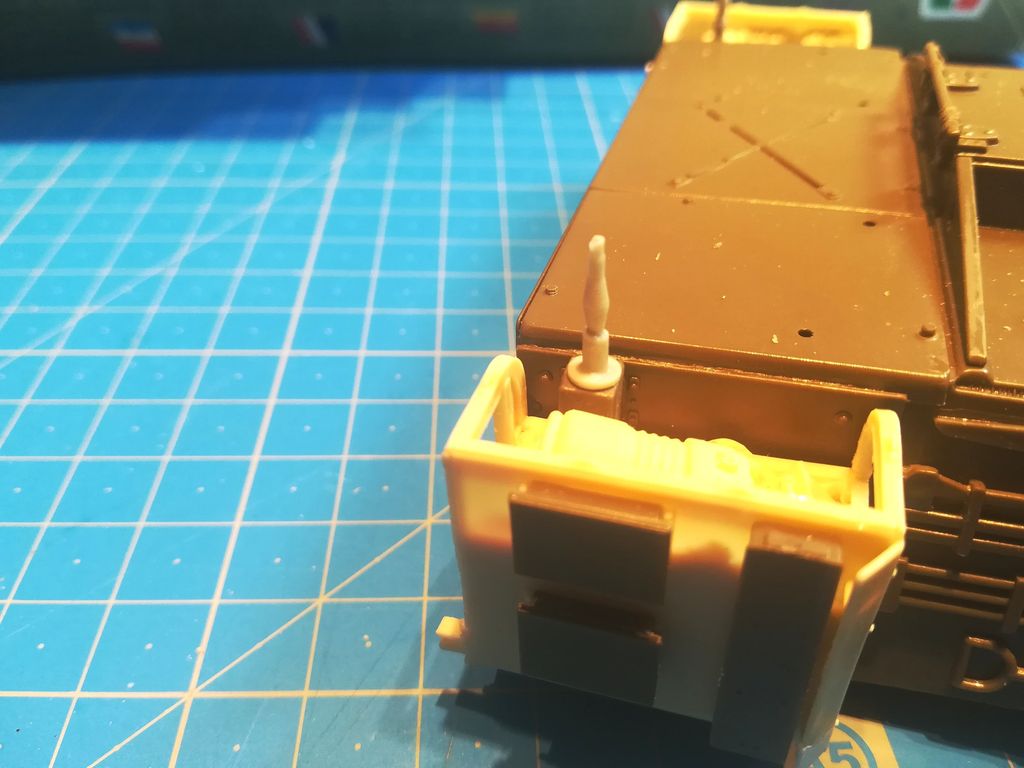
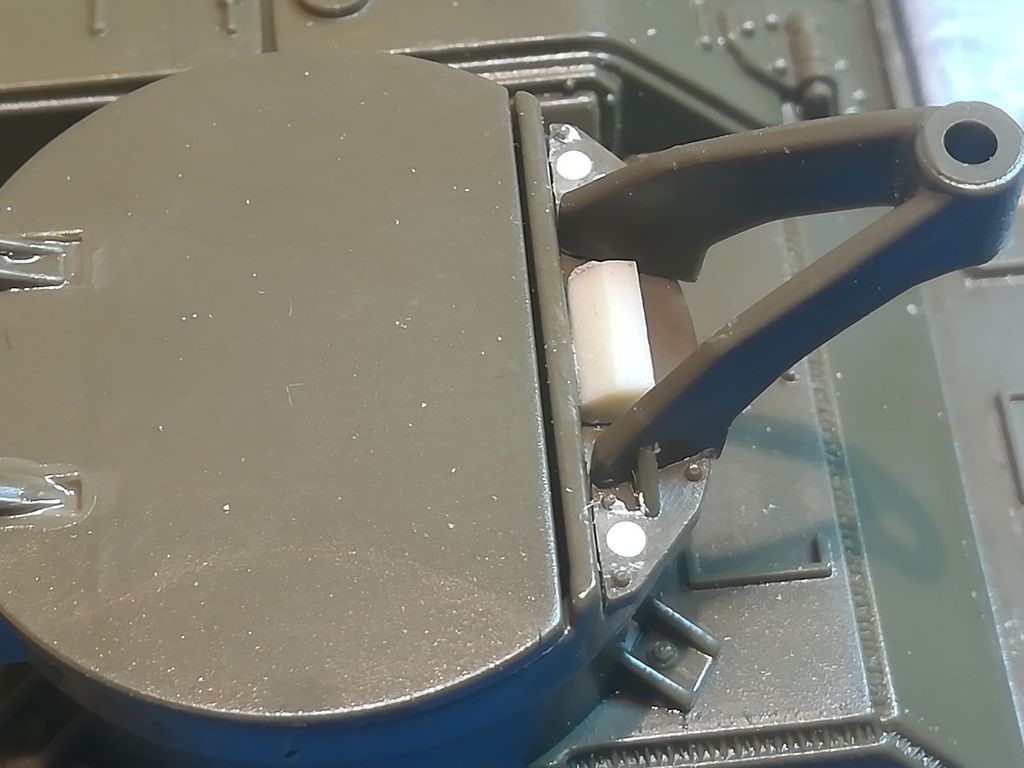
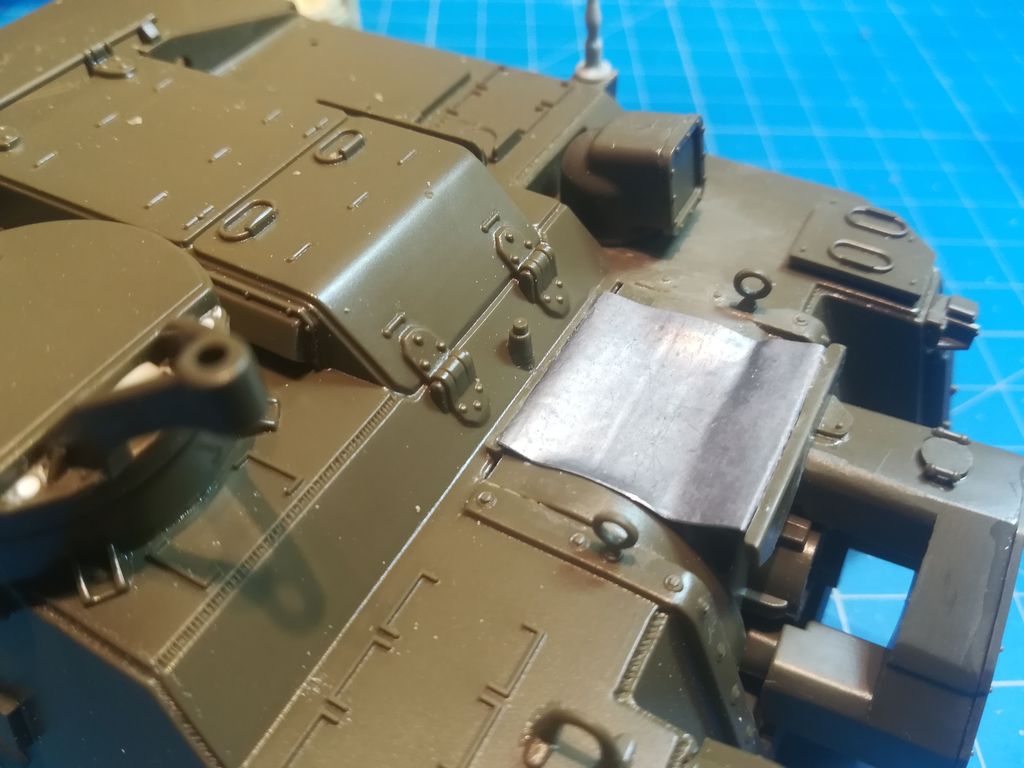
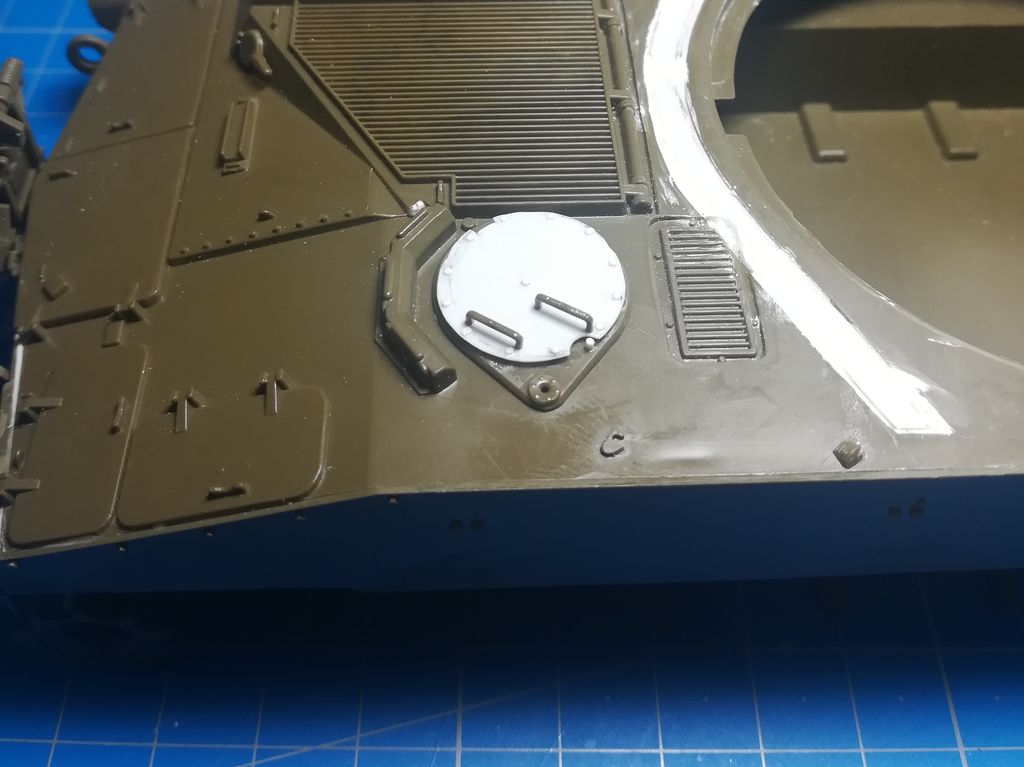
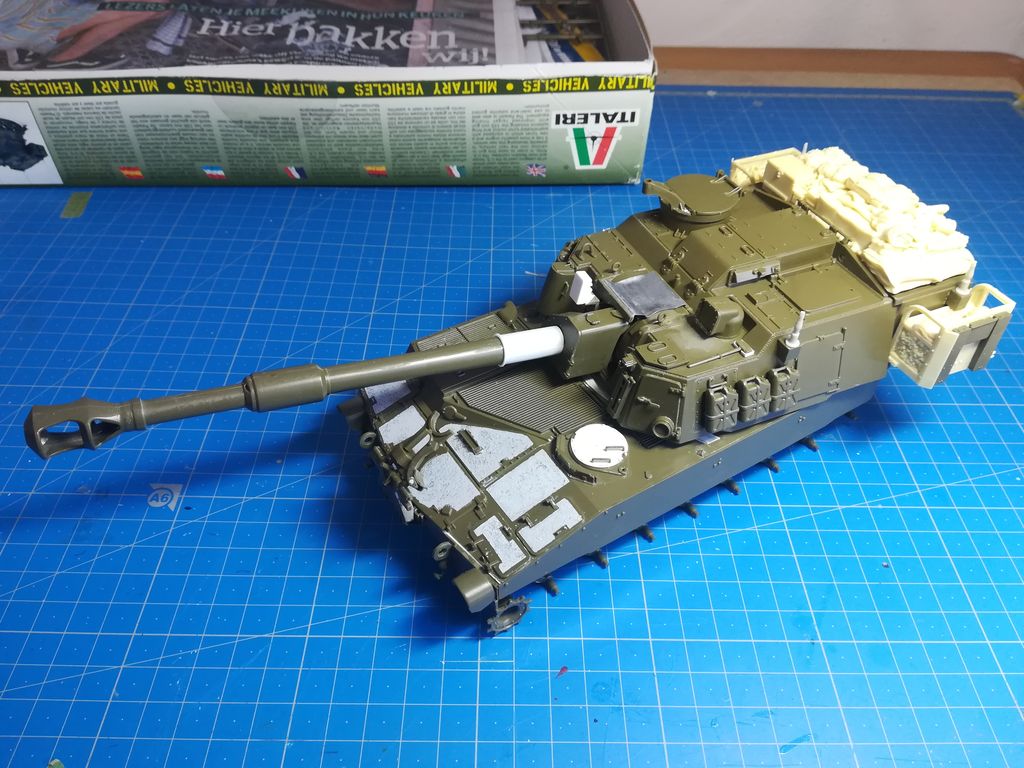
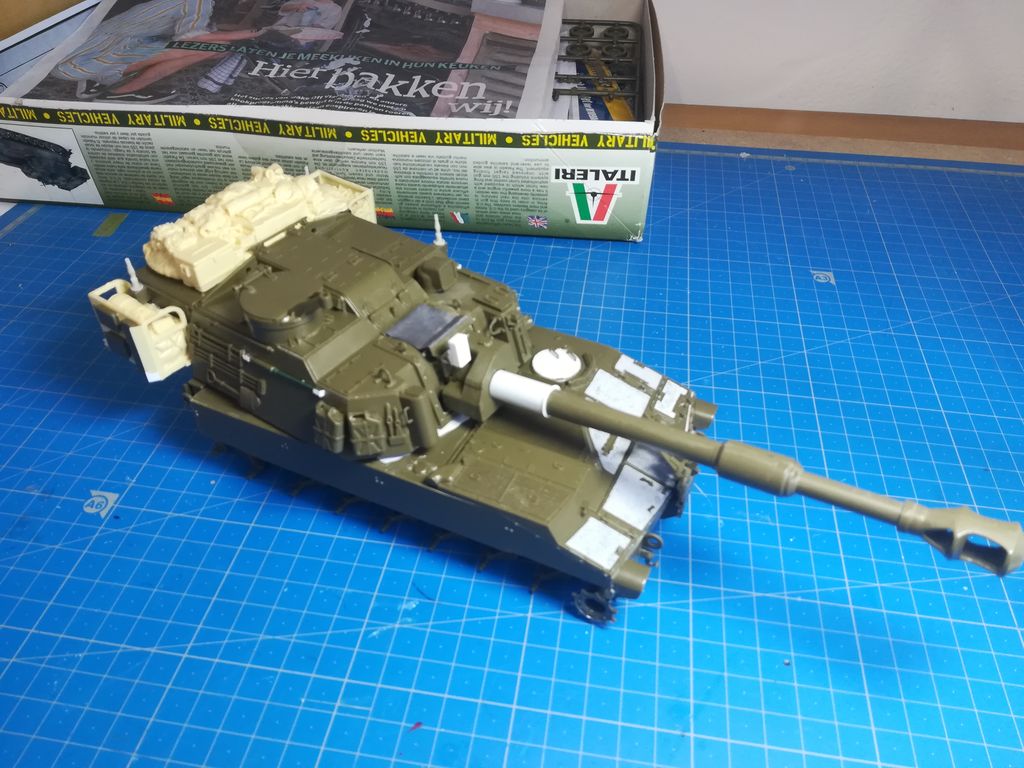
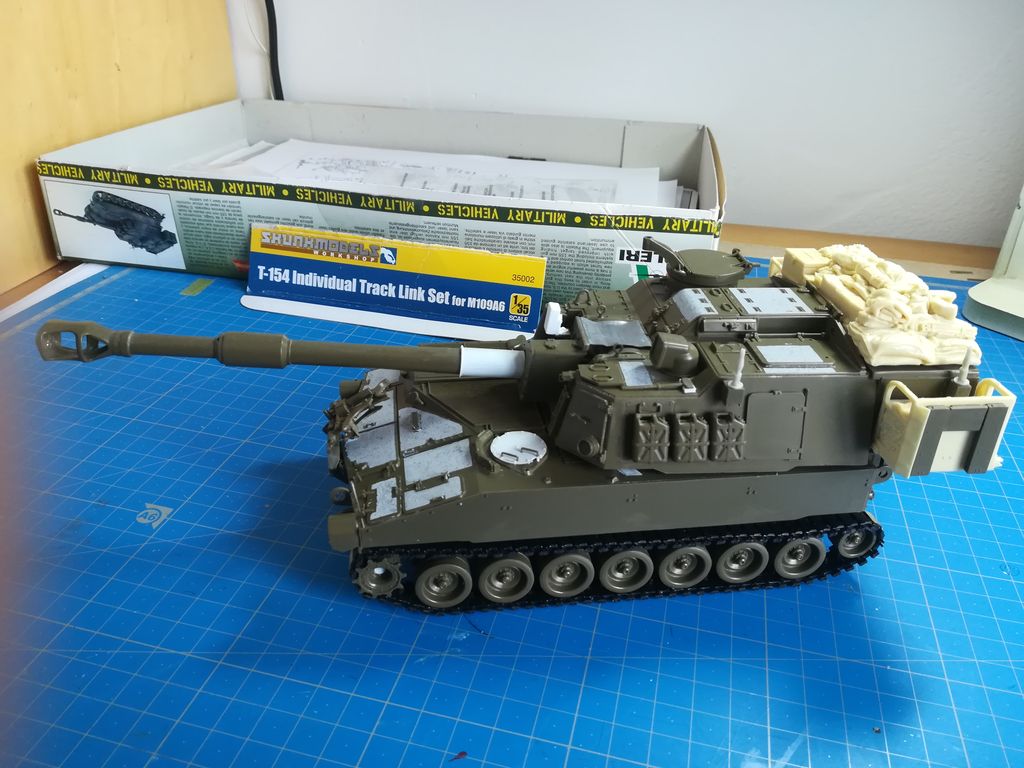
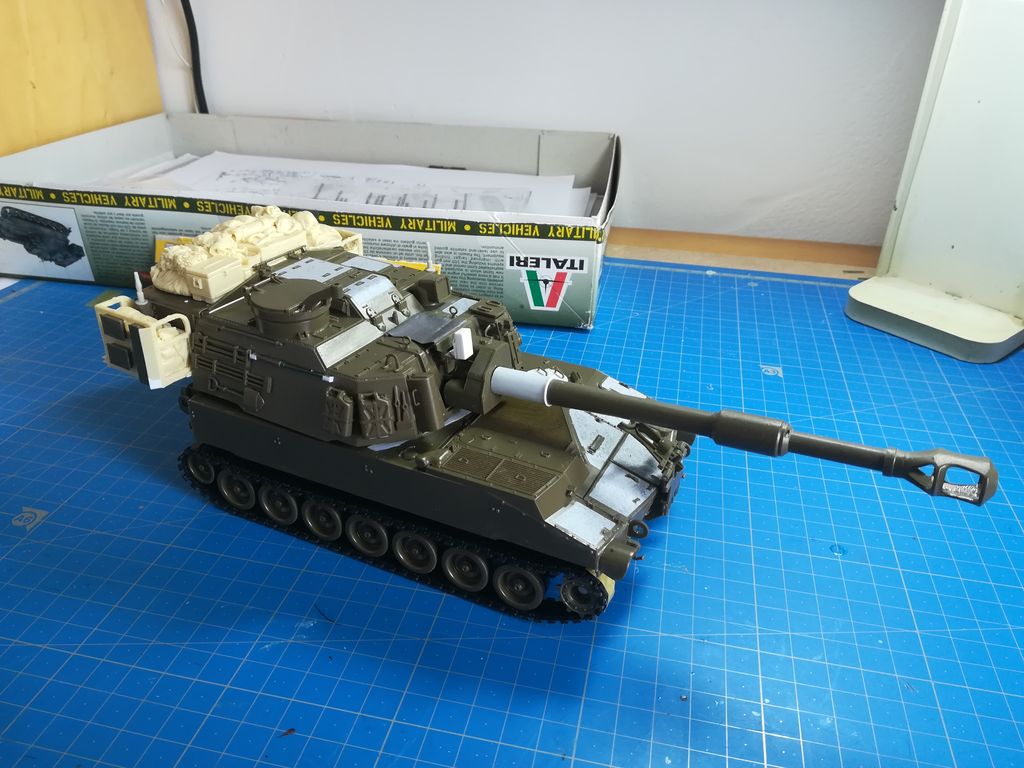
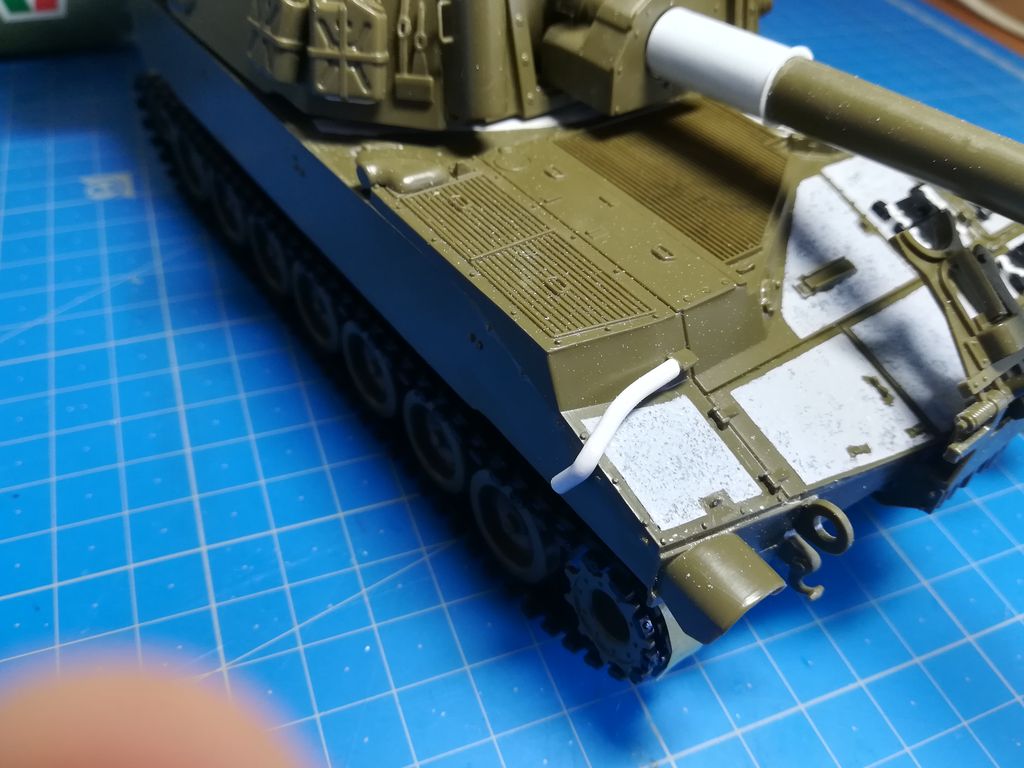
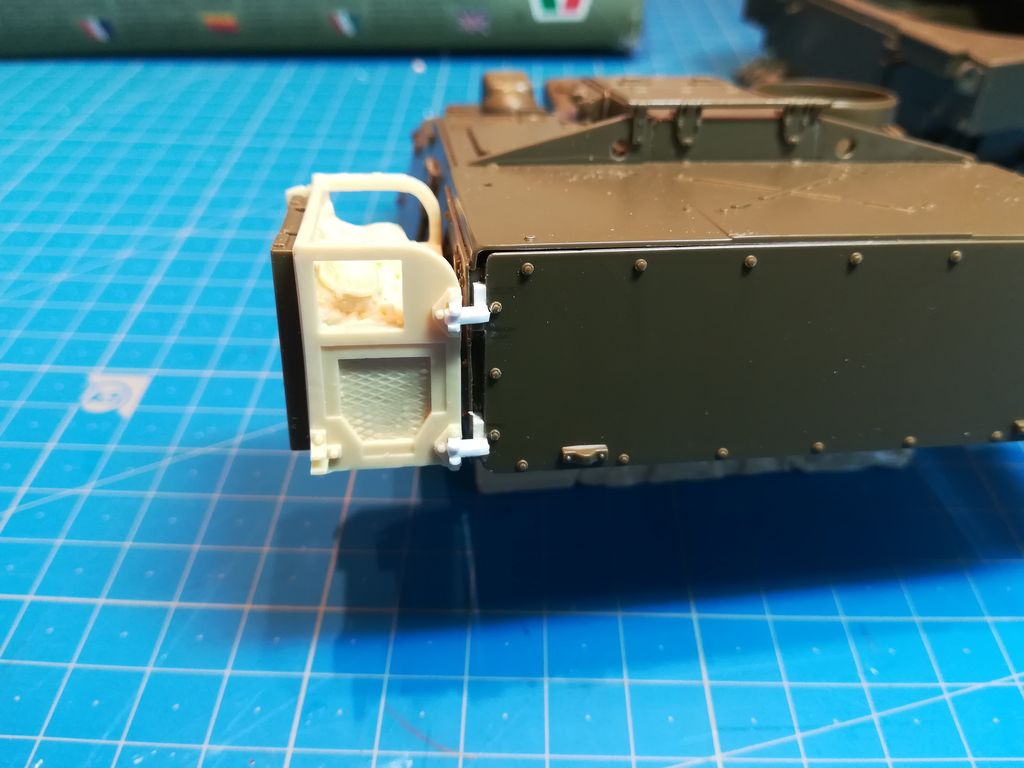
I recently resumed building this kit which was a holiday build. To upgrade it I have got Blast set for the AFV Club kit and Skunk tracks.
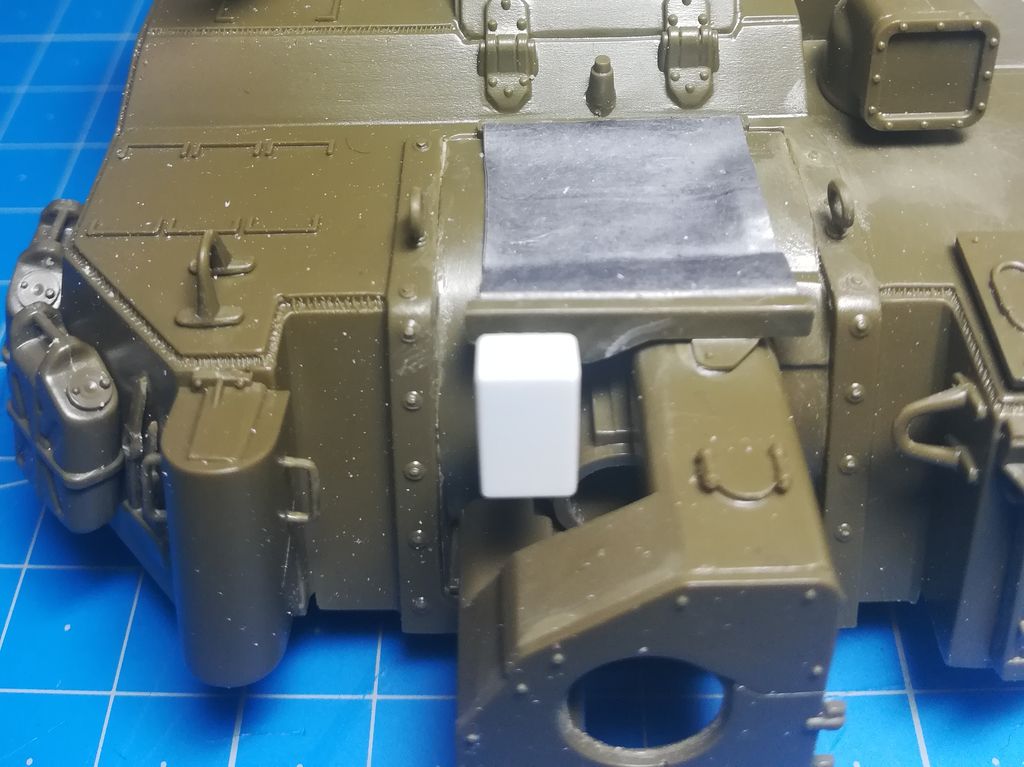
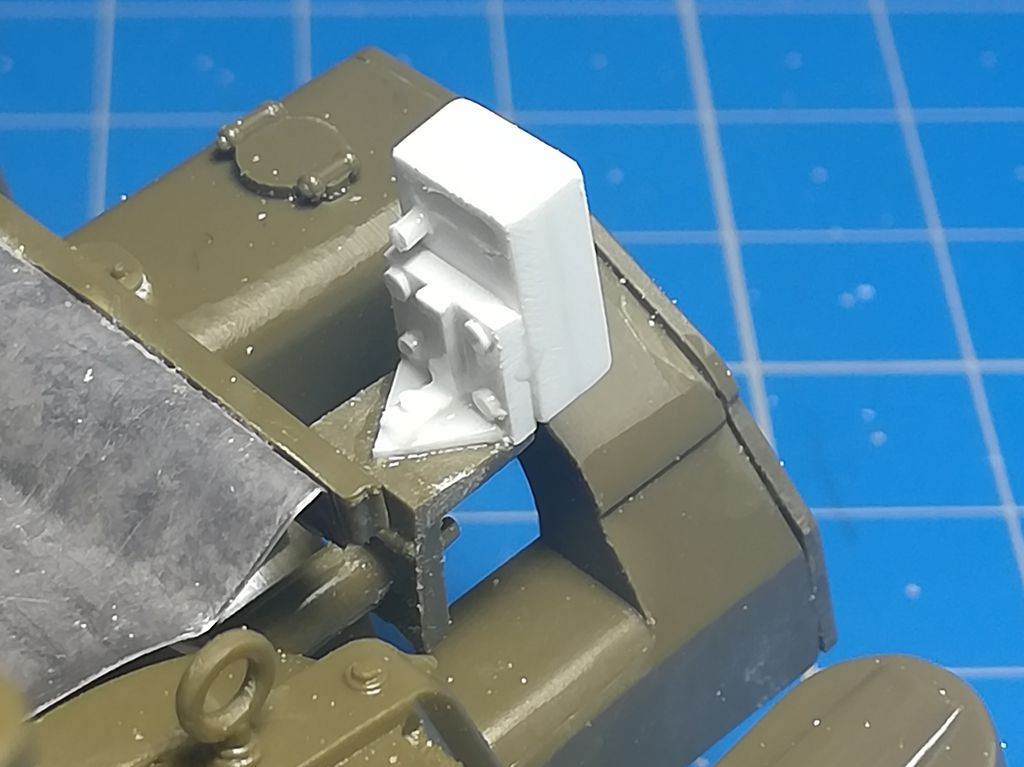
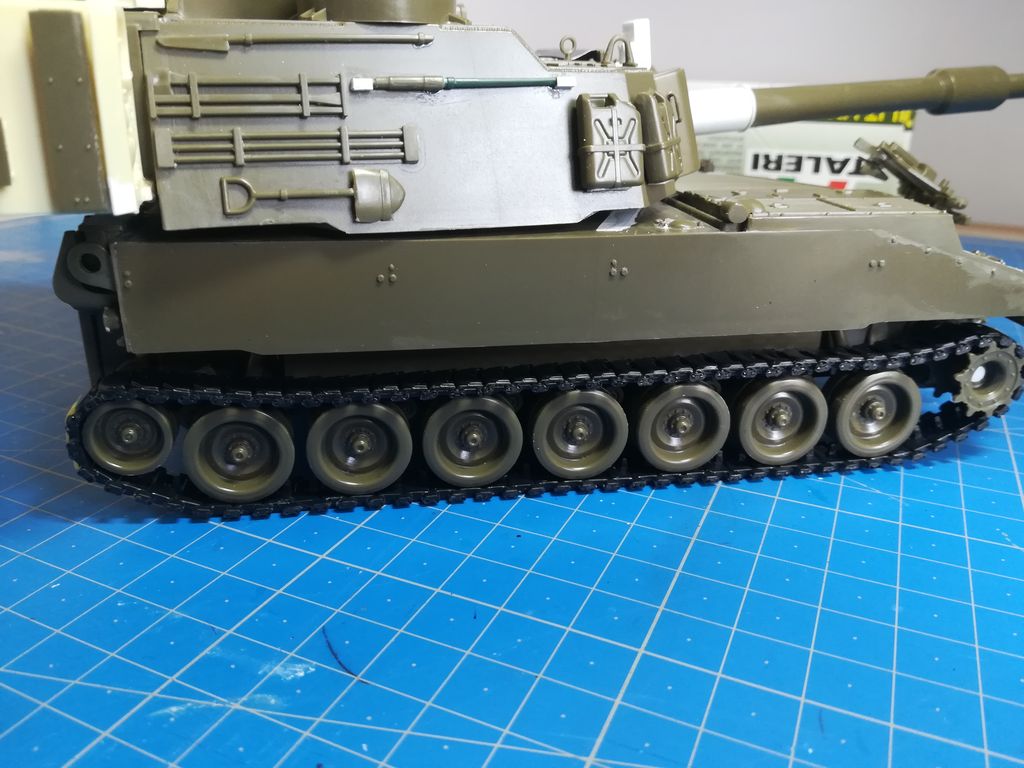
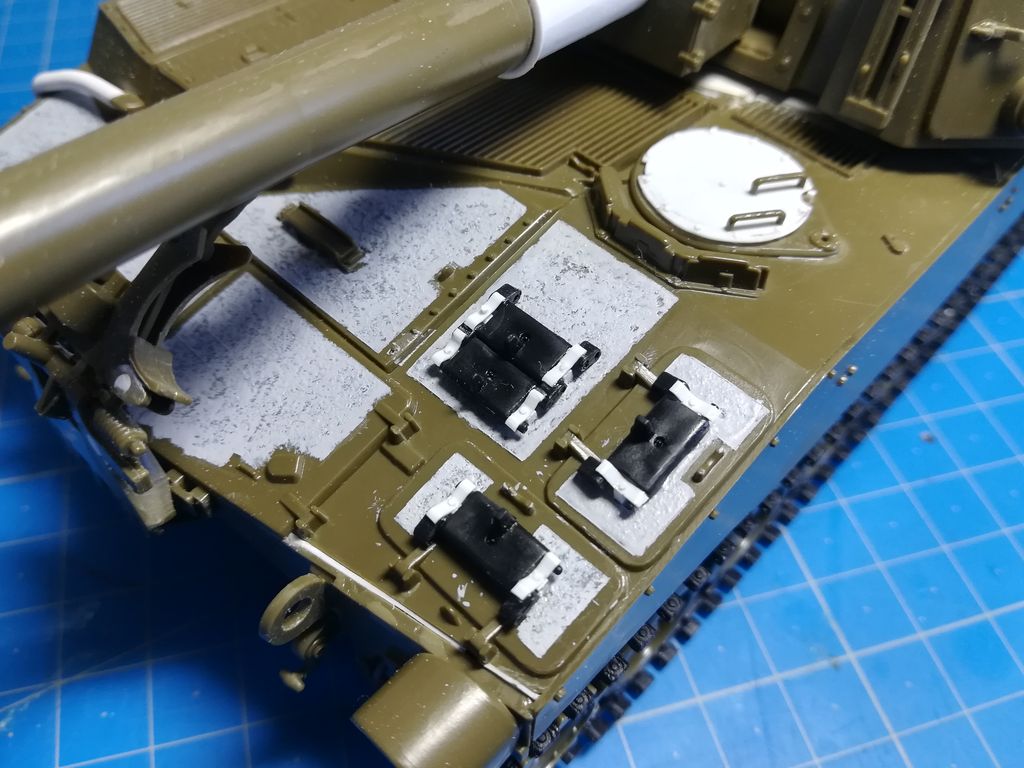
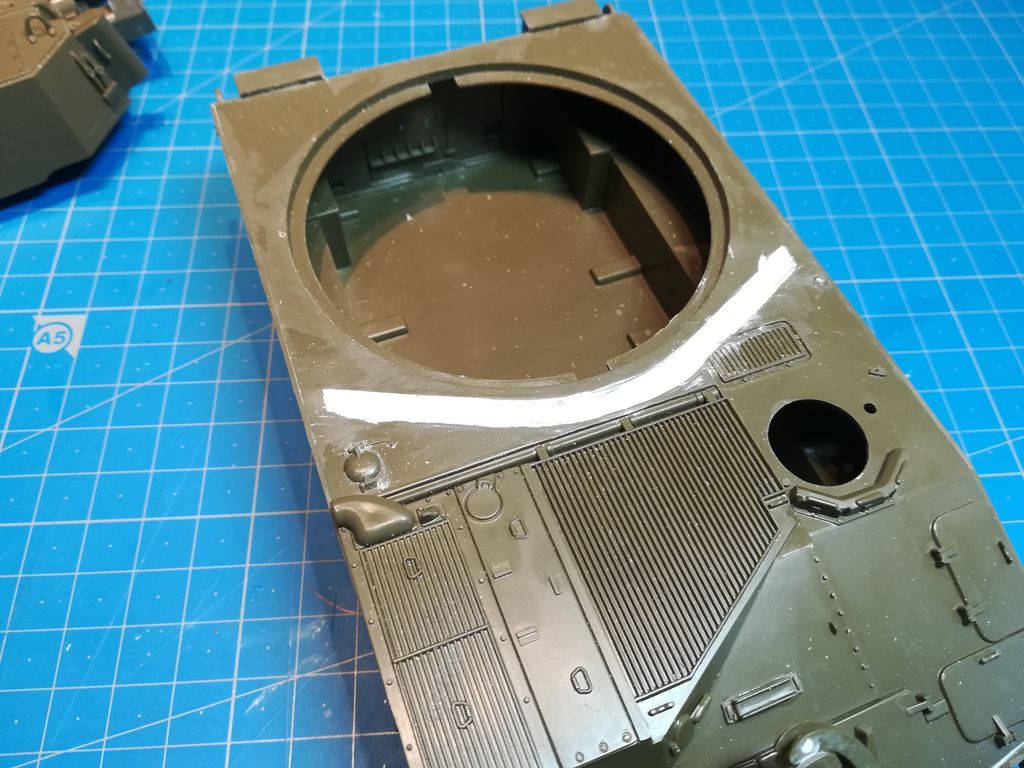
The main issue is that the hull is not a A6 one so you have to cut out the banana shaped piece behing the driver station. Then a number of small mods are needed to get a correct A6.
The other issue is that Italeri omitted some parts (sprockets hubs, pump "exhaust" and muzzle velocity radar). Tamyia has re-released the same kit but with the missing parts!
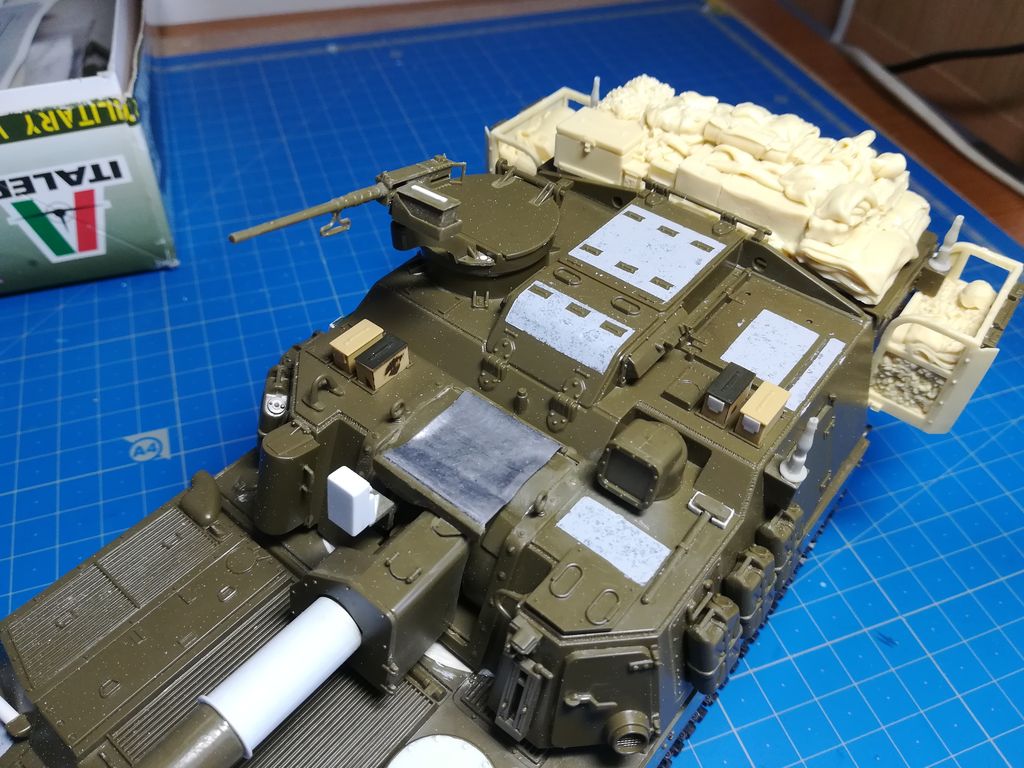
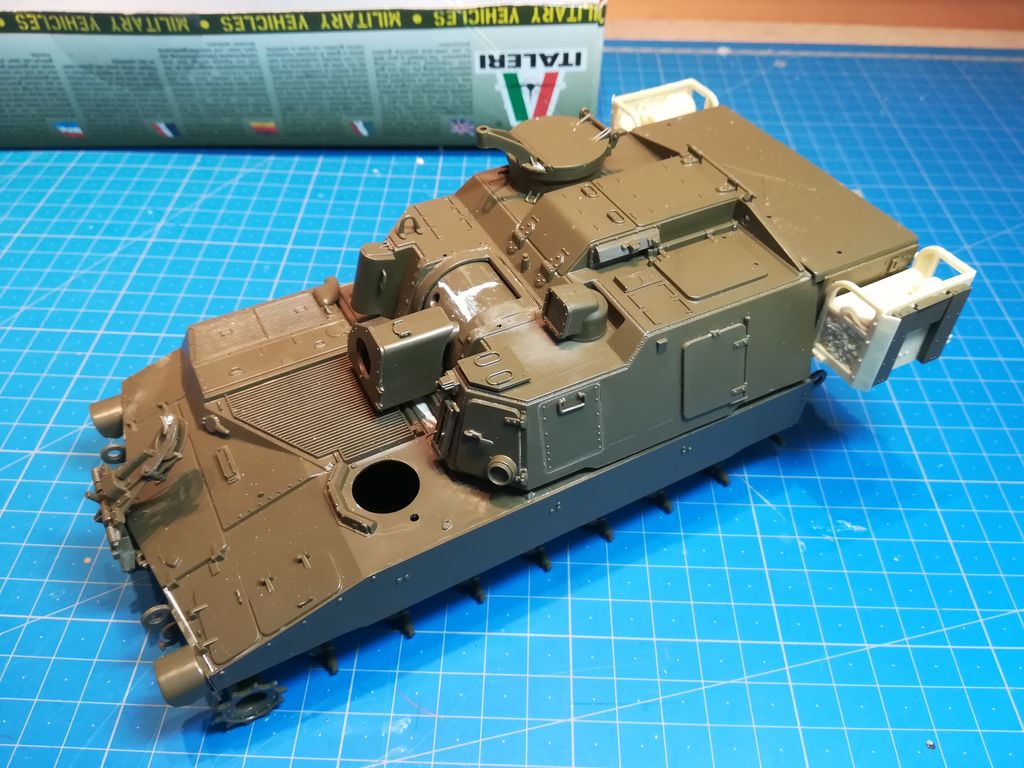
I have made some progress in the previous days so I can post pictures.

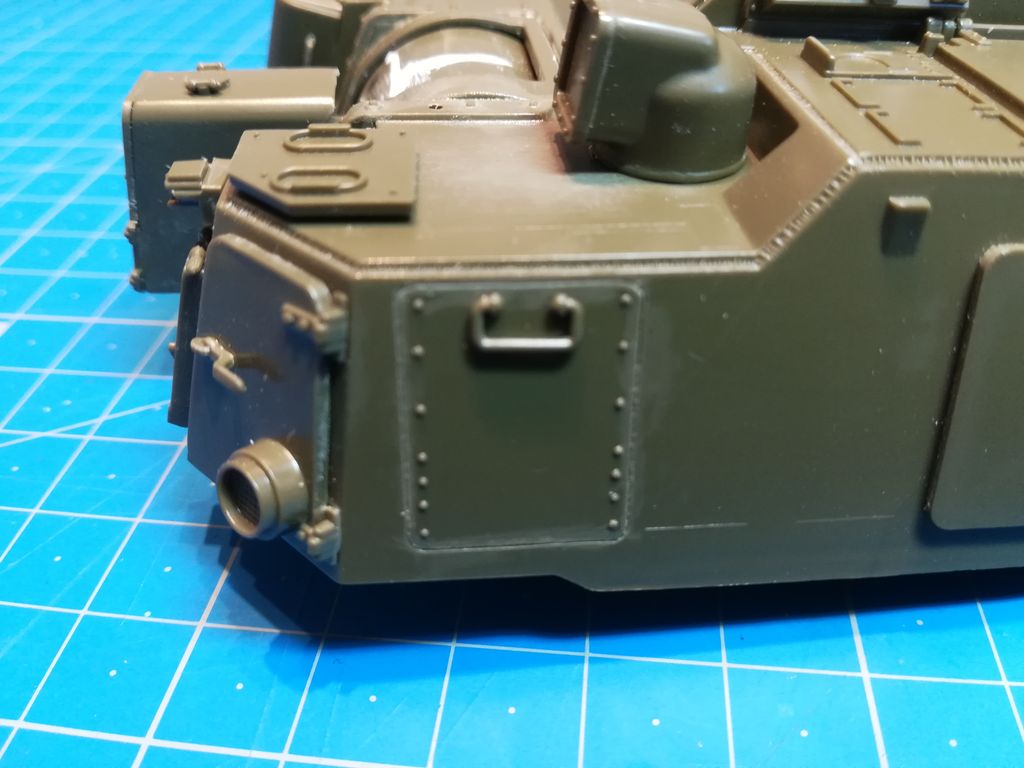
The beast will be painted desert tan and will be set during OIF.