Page 2 of 4
Re: M32B1
Posted: 23 Jun 2016, 19:58
by Gary Boxall
Air filters are added along with some Voyager PE....
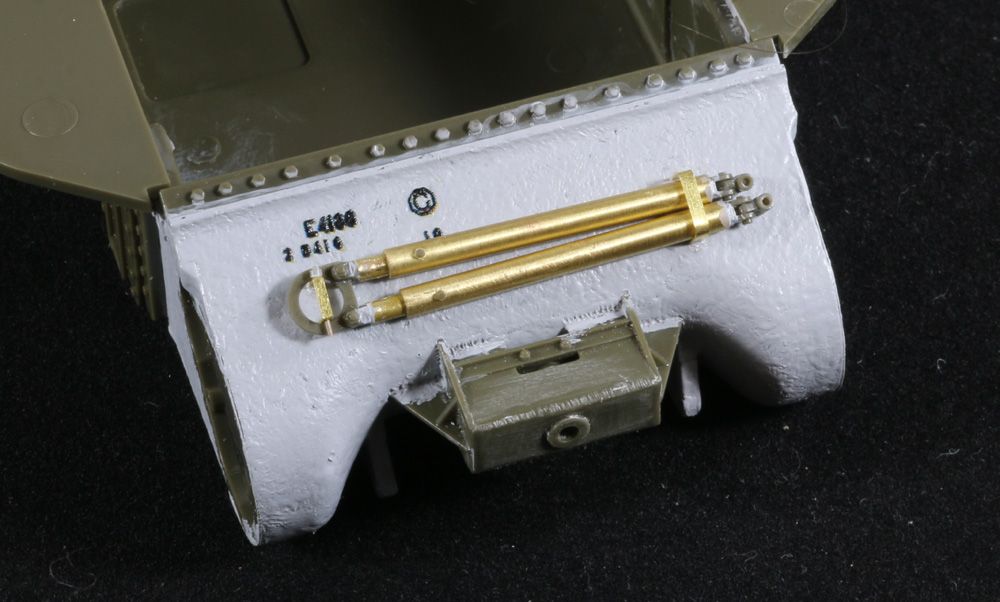
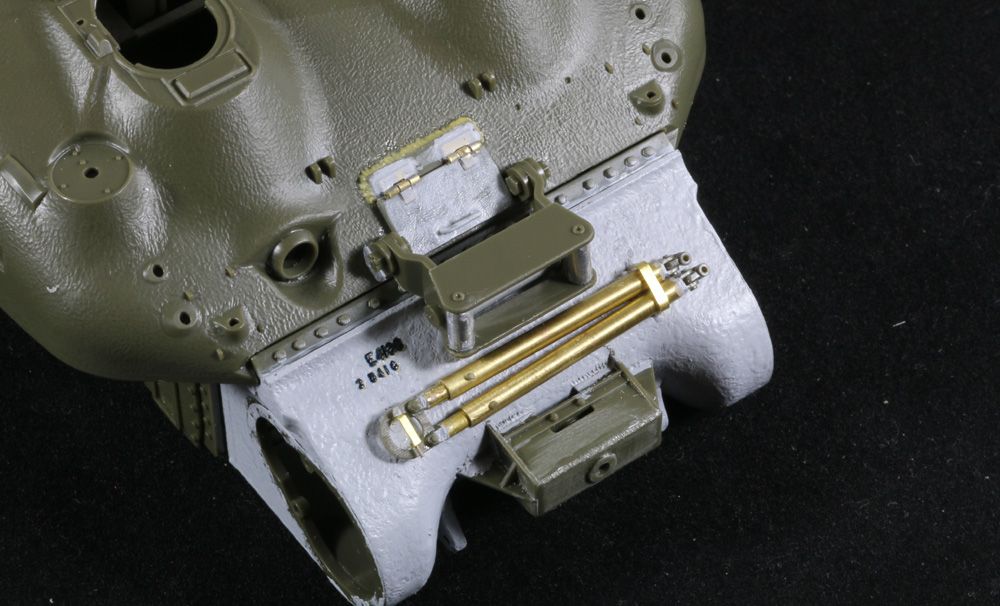
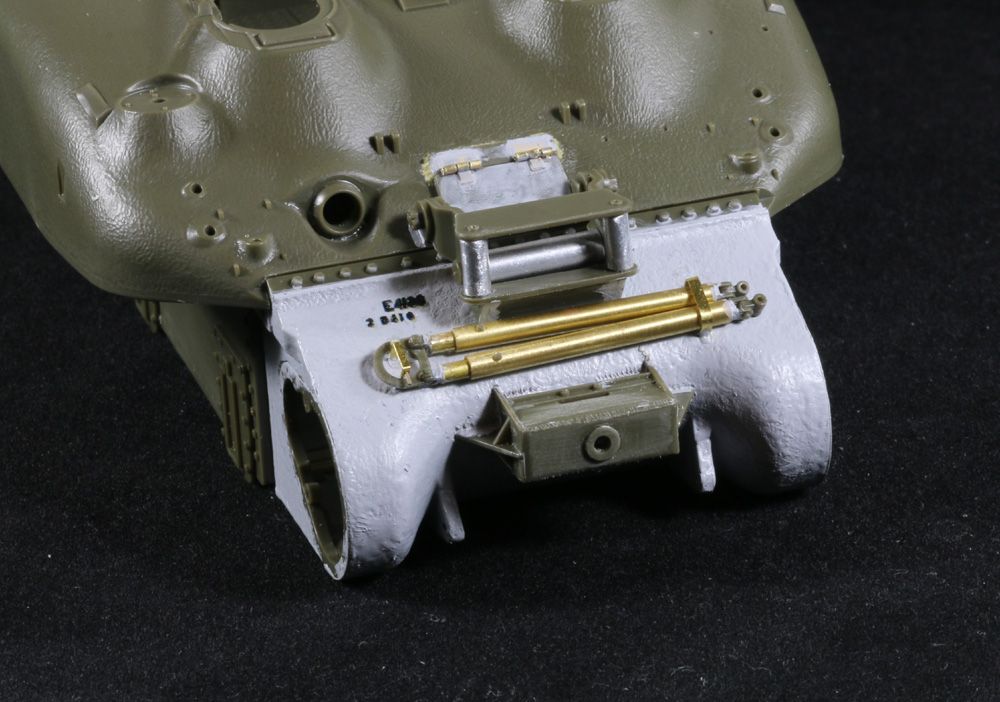
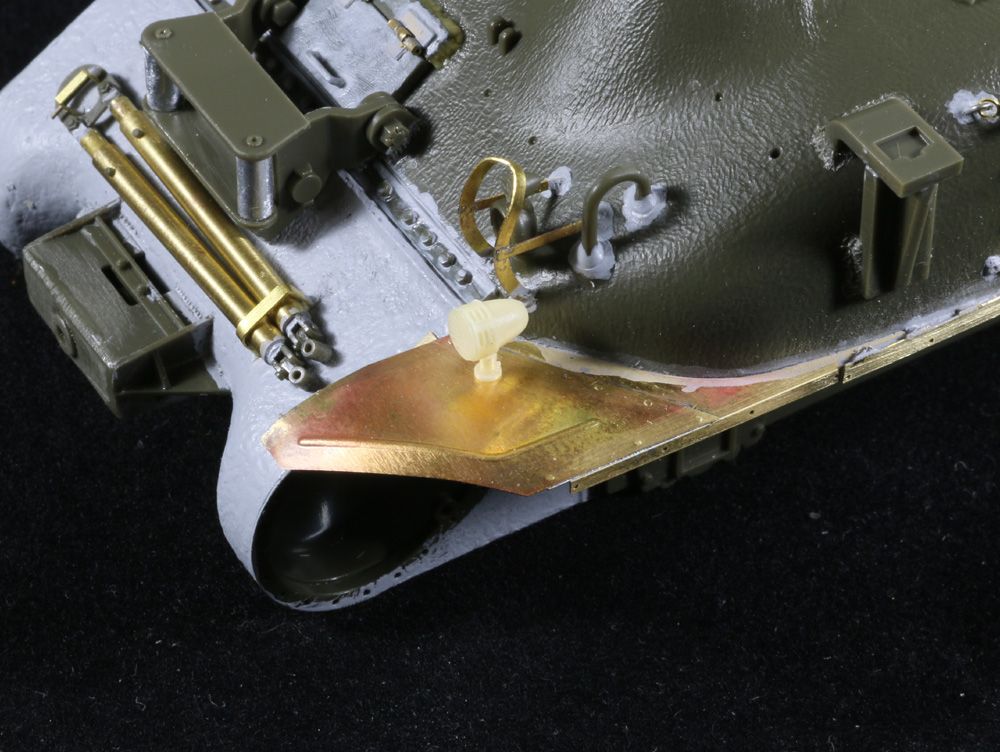
FDA nose gets an enhanced cast effect with Mr Surfacer. Casting symbols are from Archer and placed using the SoS book for reference. The assembly fixed to the front of the FDA is towing pintle (tow hook yet to be added)...
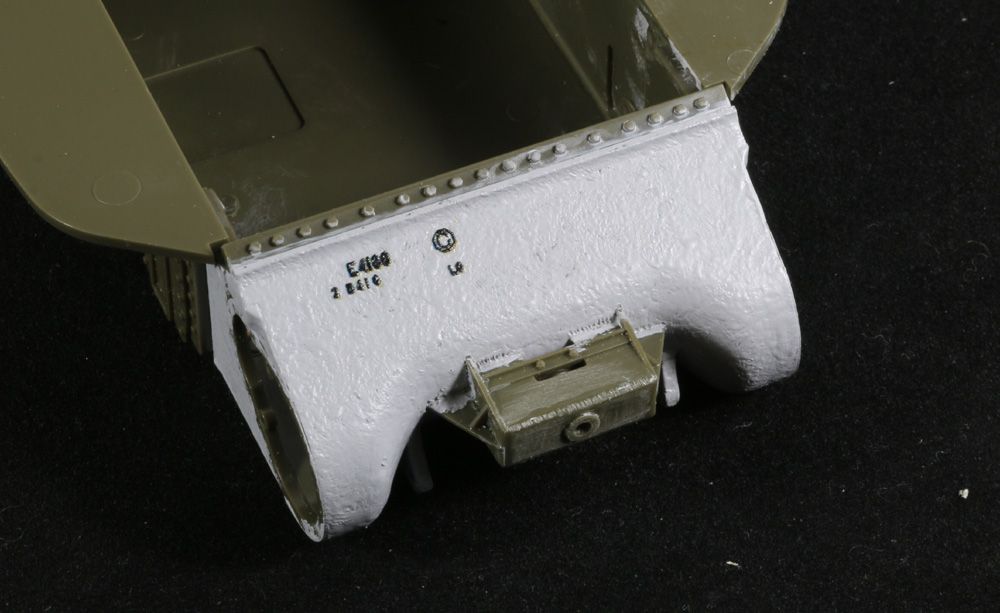
The kit bars are partially replaced with brass tube....
Gary
Re: M32B1
Posted: 24 Jun 2016, 09:21
by Gary Boxall
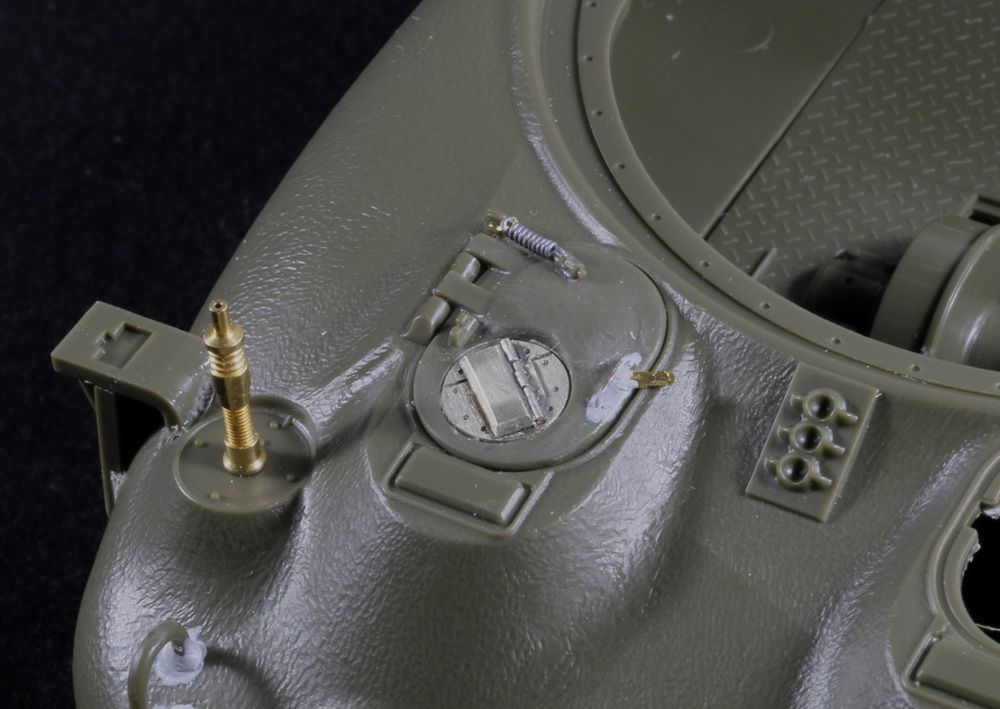
Dragline door and cable roller fitted....
These are used when the main cable is used to drag something in front of the vehicle. The door is opened and the cable fed through the roller unit. The door gets new hingers from Voyager and missing welds on the hinge mounting plate while the roller unit gets replacement rollers using aluminium tubing.
Gary
Re: M32B1
Posted: 24 Jun 2016, 10:36
by Gary Boxall
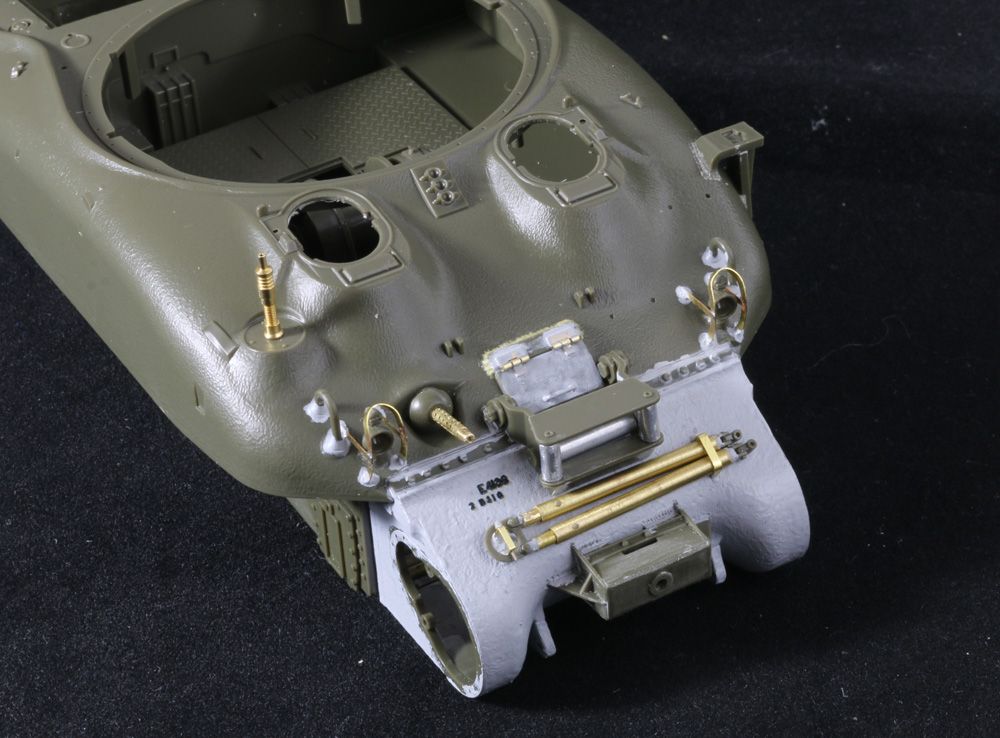
Nose end is starting to get a little busy now. .30 cal is from Aber, antenna from spares box (Lionroar I think?) with lightguards from Voyager....
Gary
Re: M32B1
Posted: 25 Jun 2016, 05:43
by Gary Boxall
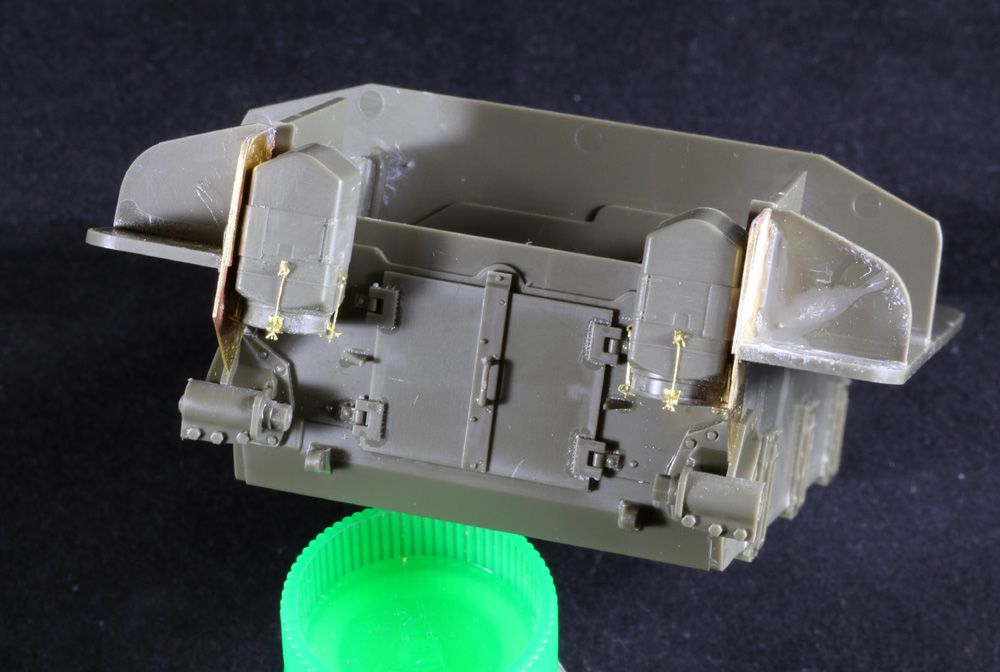
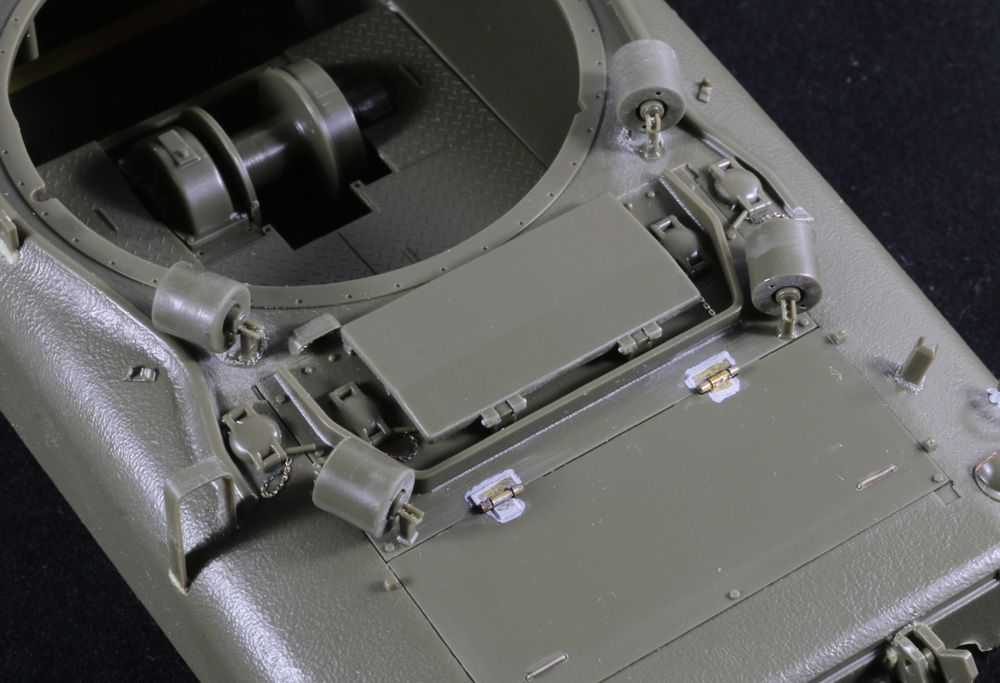
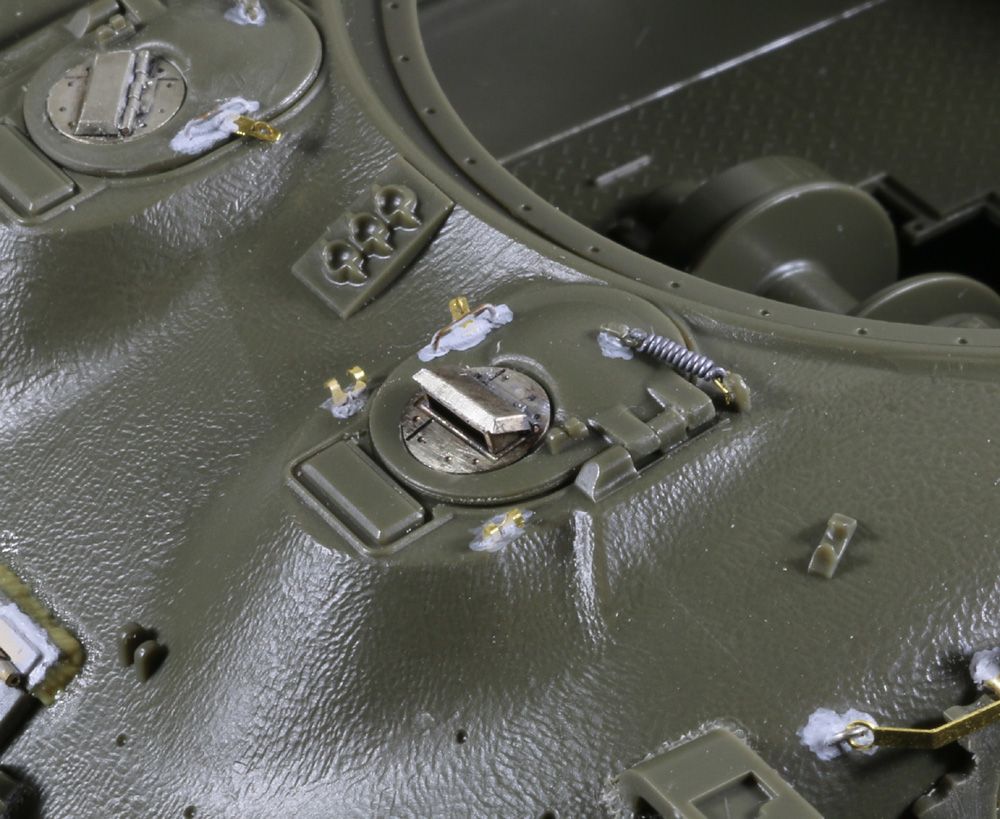
Rear deck WIP....
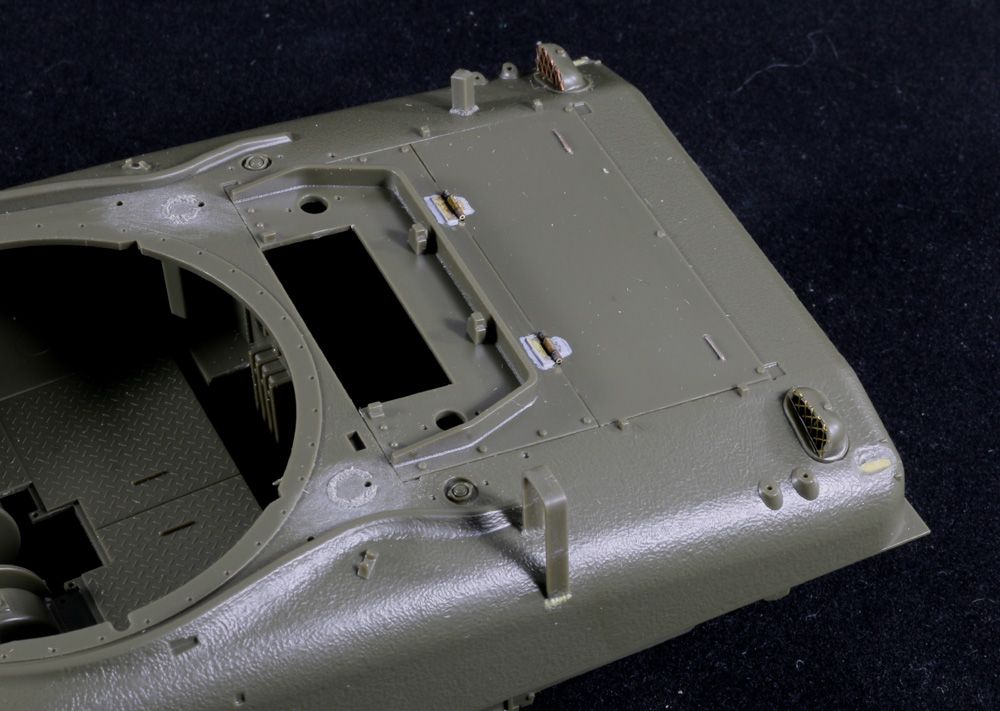
First hatch detailed with Aber, Voyager, Tasca parts, fusewire and .010 lead wire....
Gary
Re: M32B1
Posted: 26 Jun 2016, 11:03
by Gary Boxall
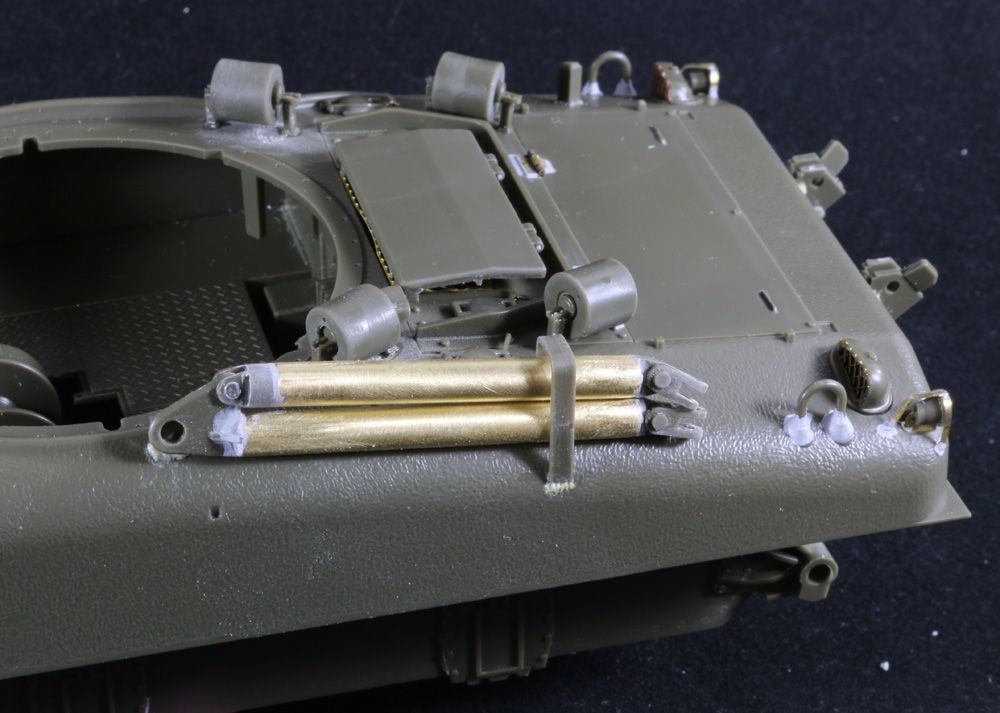
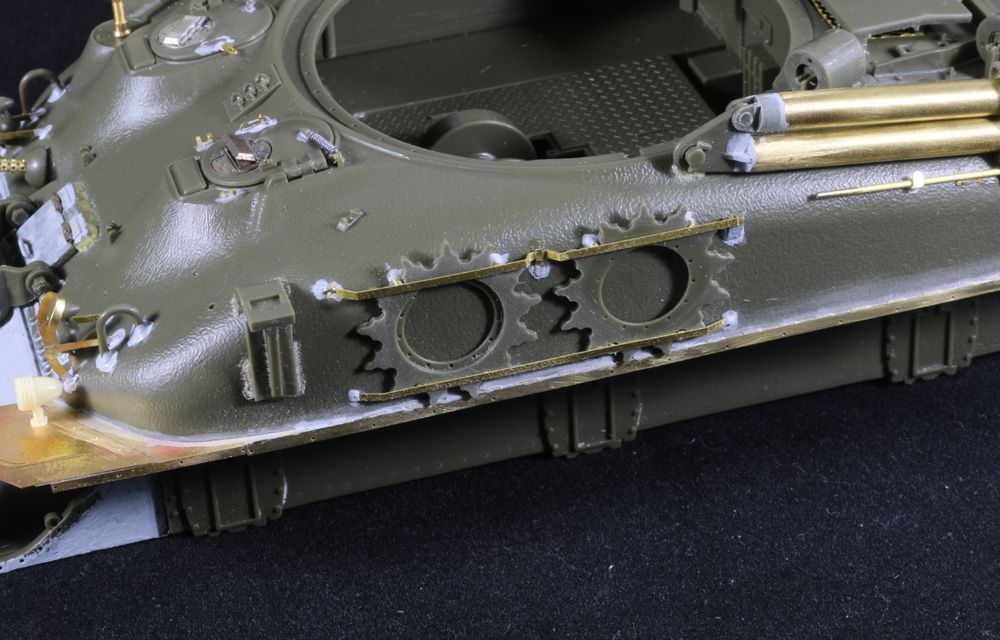
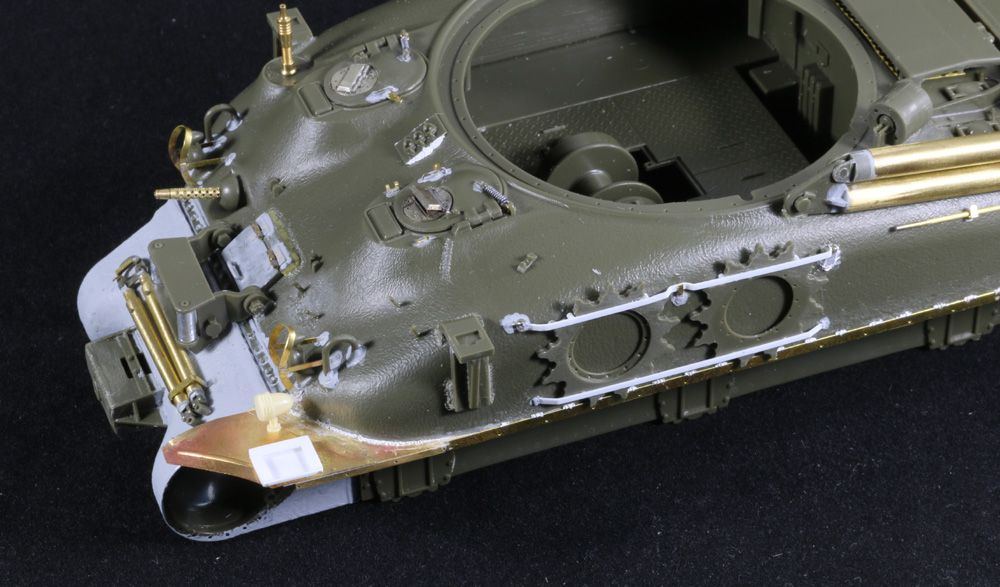
More work on the rear deck including mounts for spare Sherman track return rollers....
Rear lights and their guards are added alonmg with the rear frame mounting points....

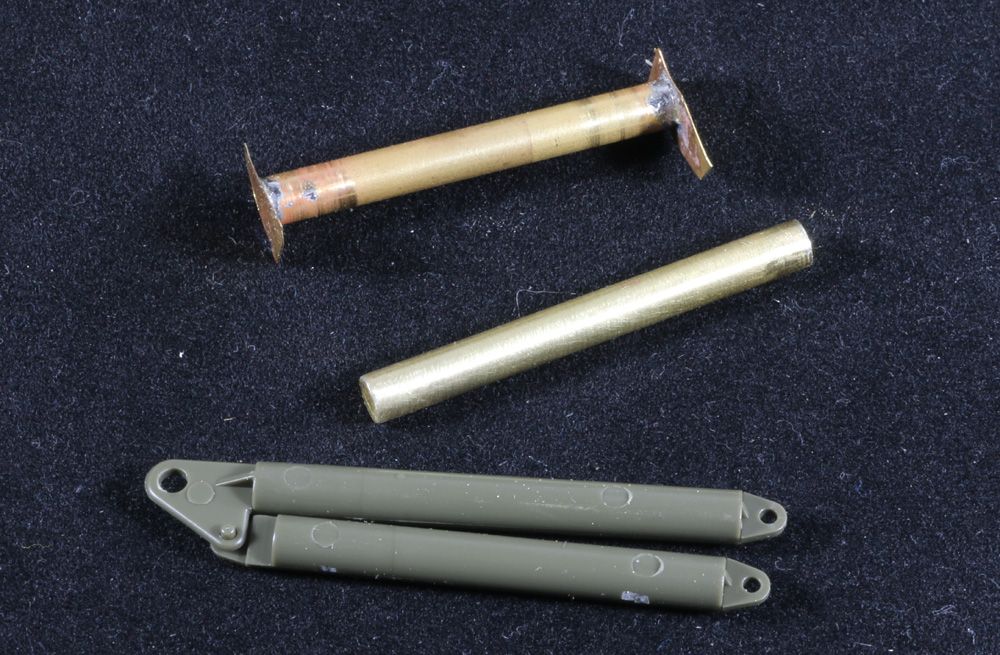
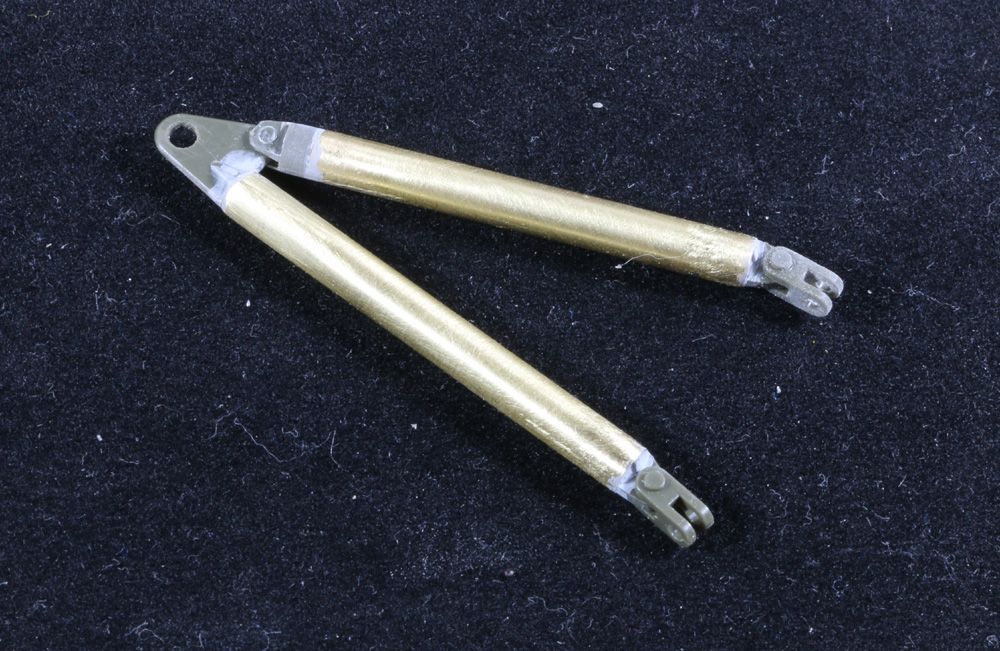
Draw bar has some nockout marks and heavy seams so I'm remaking them using brass tubing with scrap brass soldered on to close each end....
Kit parts are then superglued in place and blended in where required...
And dry fitted....
Gary
Re: M32B1
Posted: 28 Jun 2016, 00:19
by Vincent Power
Stunning as usual Gary

Vincent
Re: M32B1
Posted: 28 Jun 2016, 18:28
by Bryan Krueger
This looks so good. Can't wait to see how the rest gets improved.
Re: M32B1
Posted: 30 Jun 2016, 10:52
by Gary Boxall
Thanks guys

Slow progress due to the complexity of some of the upgrades - teh hatches being a primne example! Both now finished and have included a PE periscope on the driver's side...
Front fender in place. Resin siren is from Voyager...
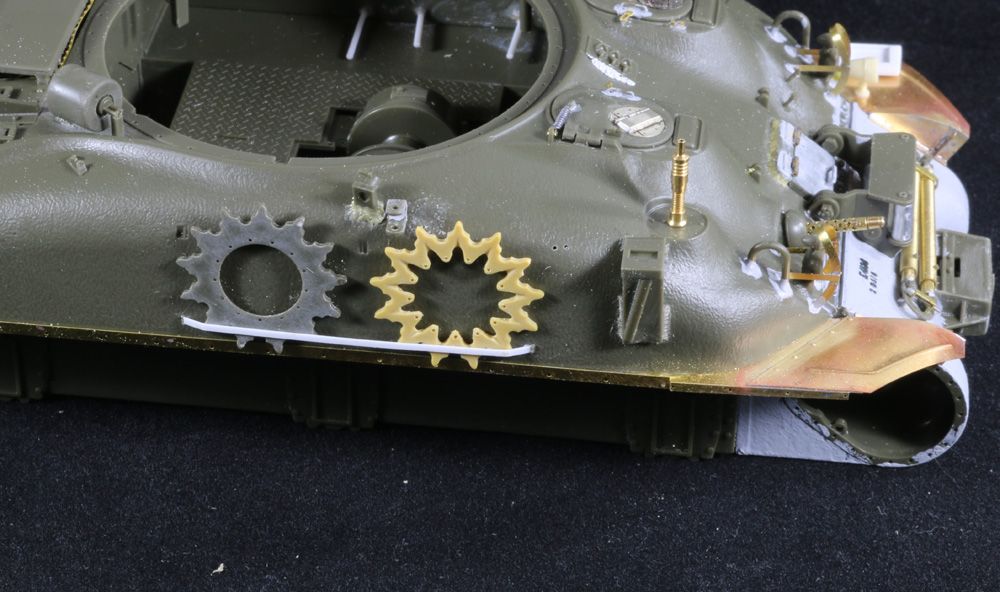
Drive sprocket rings are stored on each side of the hull. The top rail hinges on one end to allow it to be moved to access the rings. The Tasca parts are done okay, but are way too thick being injection moulded styrene. Voyager provide a PE option but it is flawed. One end is extremeply over-simplified (where the securing pin goes) and I also feel that the PE parts are too thin compared to the real thing.....
So I'm going to remake those parts using Evergreen stryrene strips to get a better scale effect.
Gary
Re: M32B1
Posted: 02 Jul 2016, 00:58
by Gary Boxall
Much happier with the styrene replacements....
The sand shield mounting rails get welds made from milliput and I also remade the vice mounting plate which sits on the front fender.
Gary
Re: M32B1
Posted: 02 Jul 2016, 11:44
by Gary Boxall
Made a start on the other side....
Tasca only give you D47366 type spare drive sprockets. To add a little variation, I used a spare D47366B forged type from the spares box, removed the hub assembly and drilled out the plate screw holes - hence the tan coloured styrene.
Gary