Mk.IV Tadpole

The place to show your latest build taking place whether it be a blog or WIP.
Post Reply
User avatar
Gary Boxall
Site Admin/Founder
Posts: 2476
Joined: 18 Jul 2014, 21:34
Location: Auckland New Zealand

Mk.IV Tadpole

Post by Gary Boxall »

As Monty Python would say, "And now, for something completely different..."

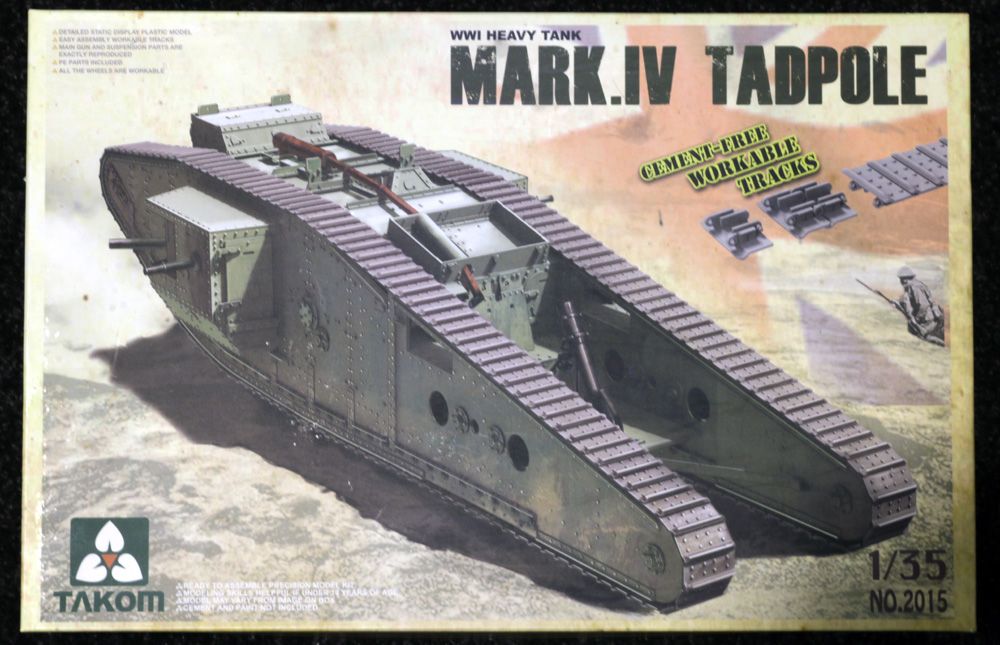
Picked this up down in Wellington back in April when we went down for ANZAC weekend. Thought it would make for something out of the ordinary and while it doesn't seem to have made active service, it was certainly built for trials.

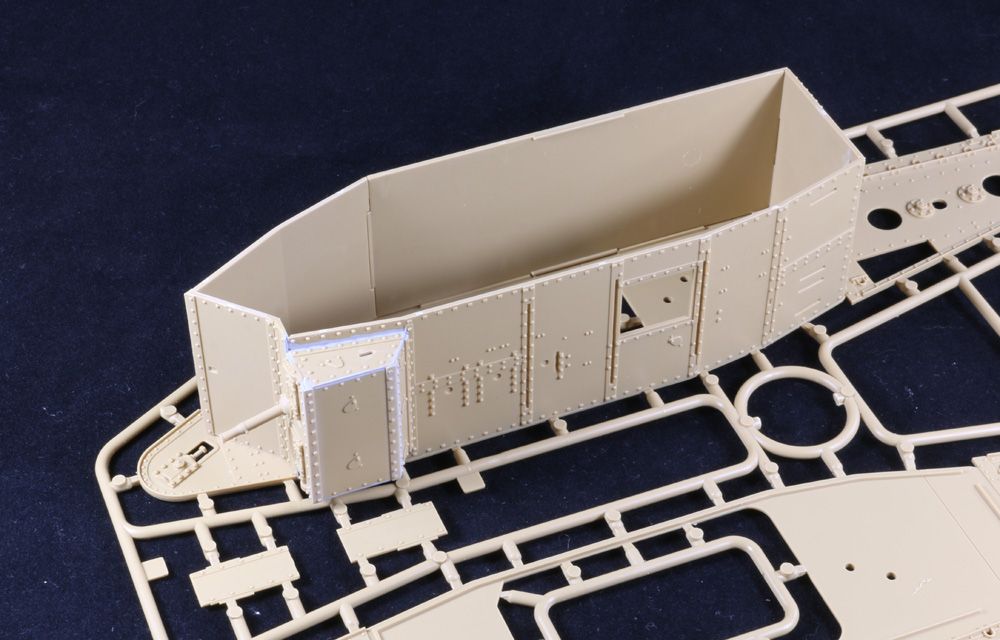
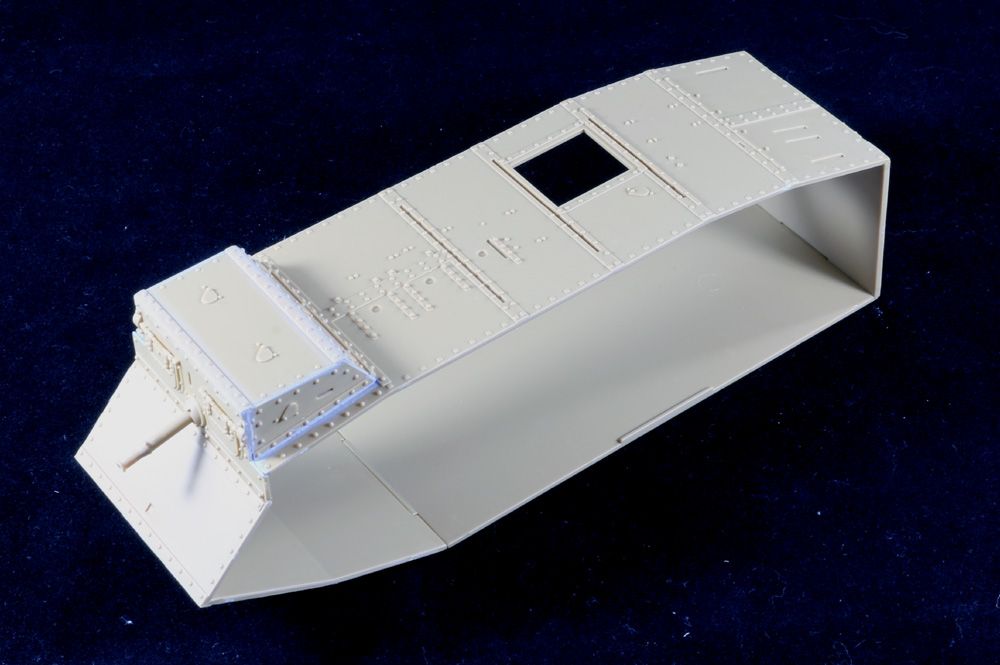
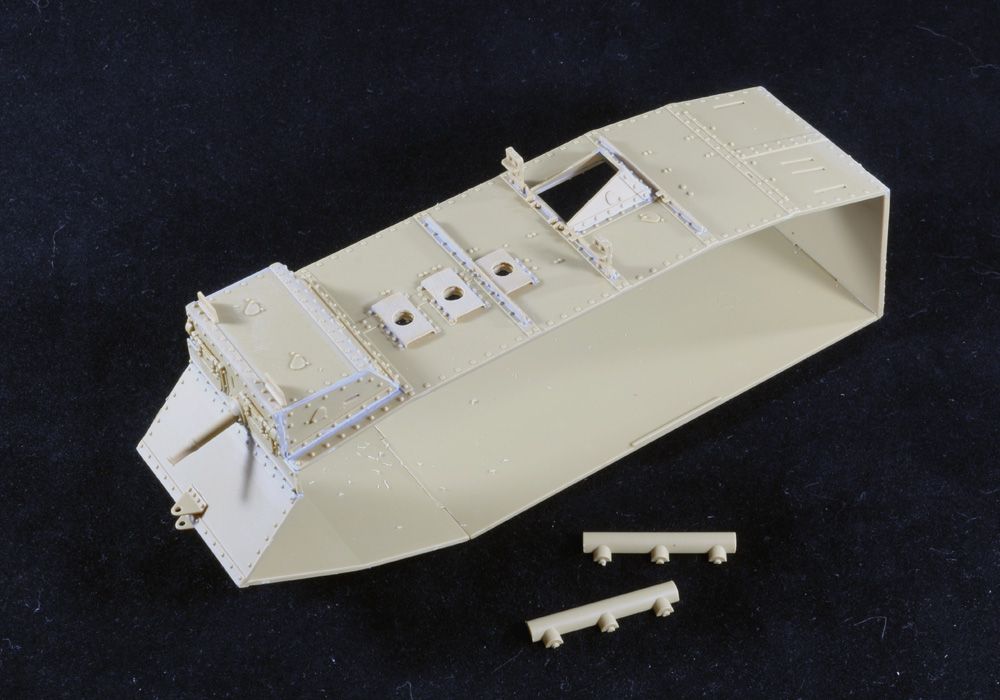
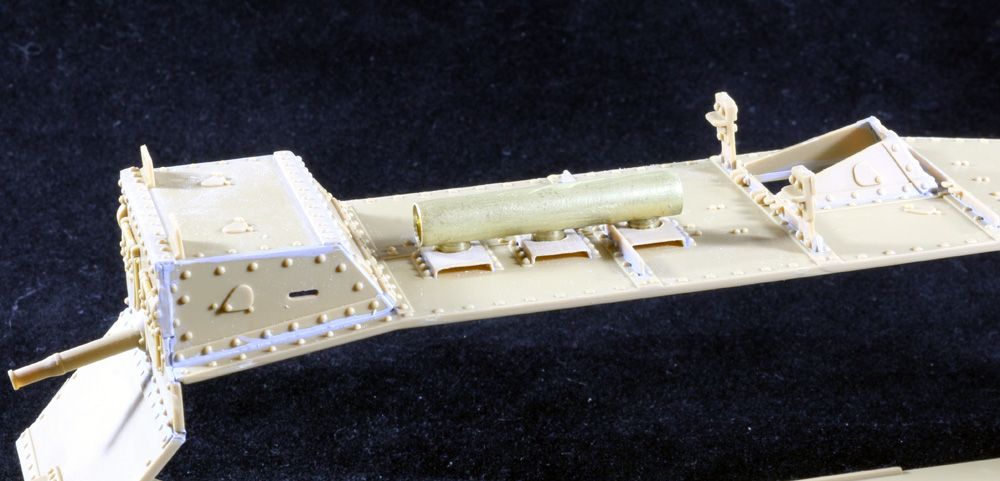
It's essentially a Mk.IV Male tank with extended sponsons to aid trench crossings with the addition of a mortar fixed to the rear. Wuould have been fun trying to fire that while moving :?

Image

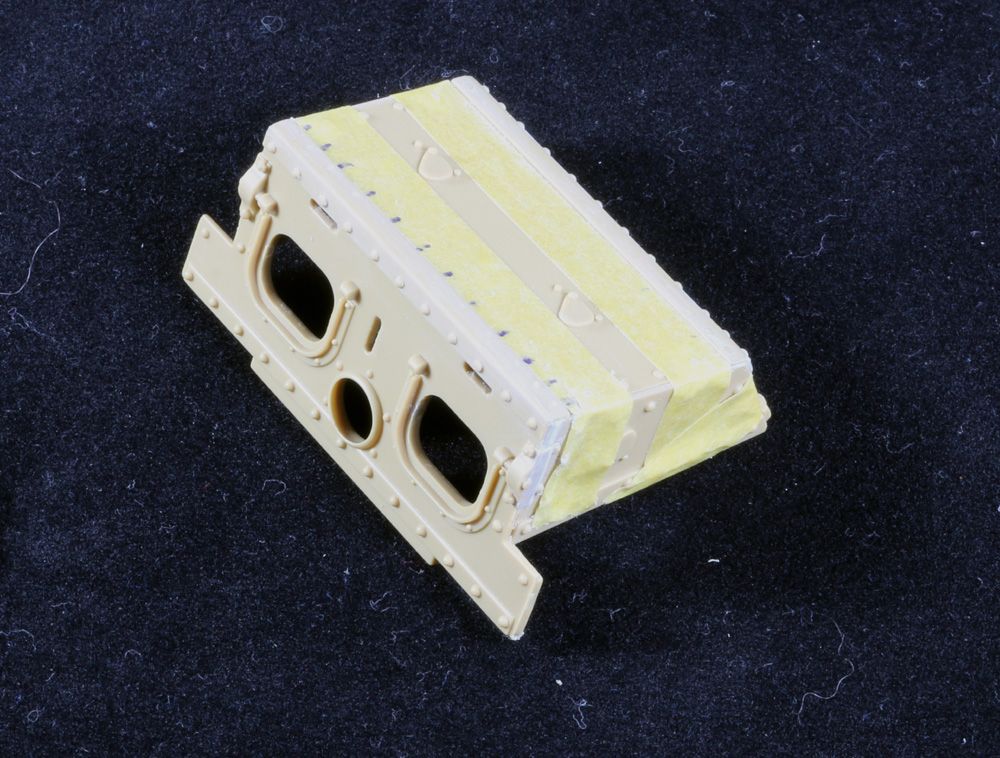
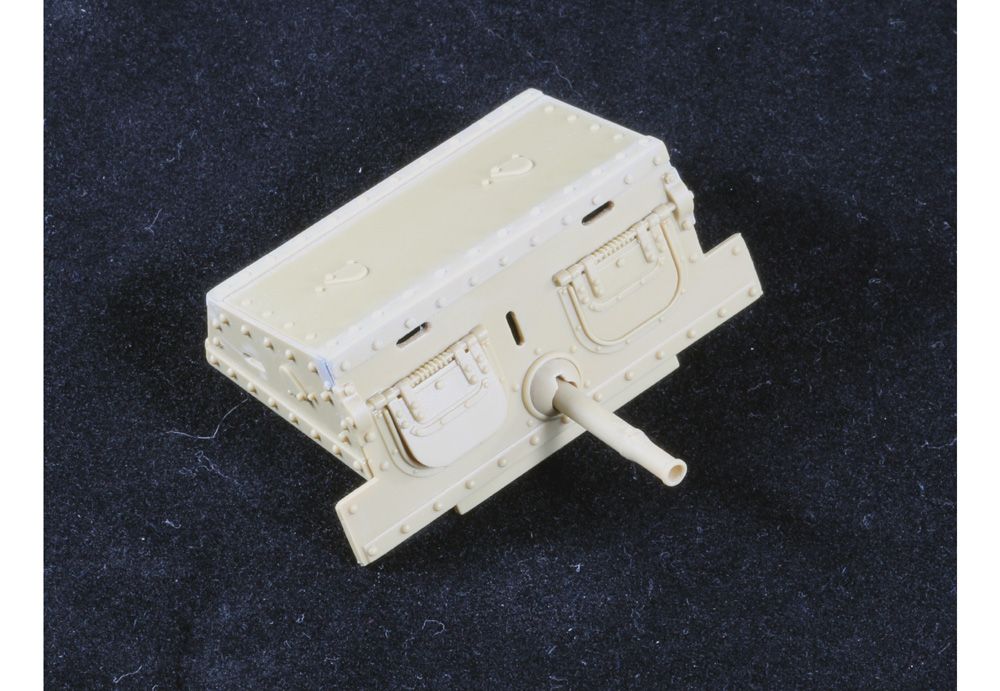
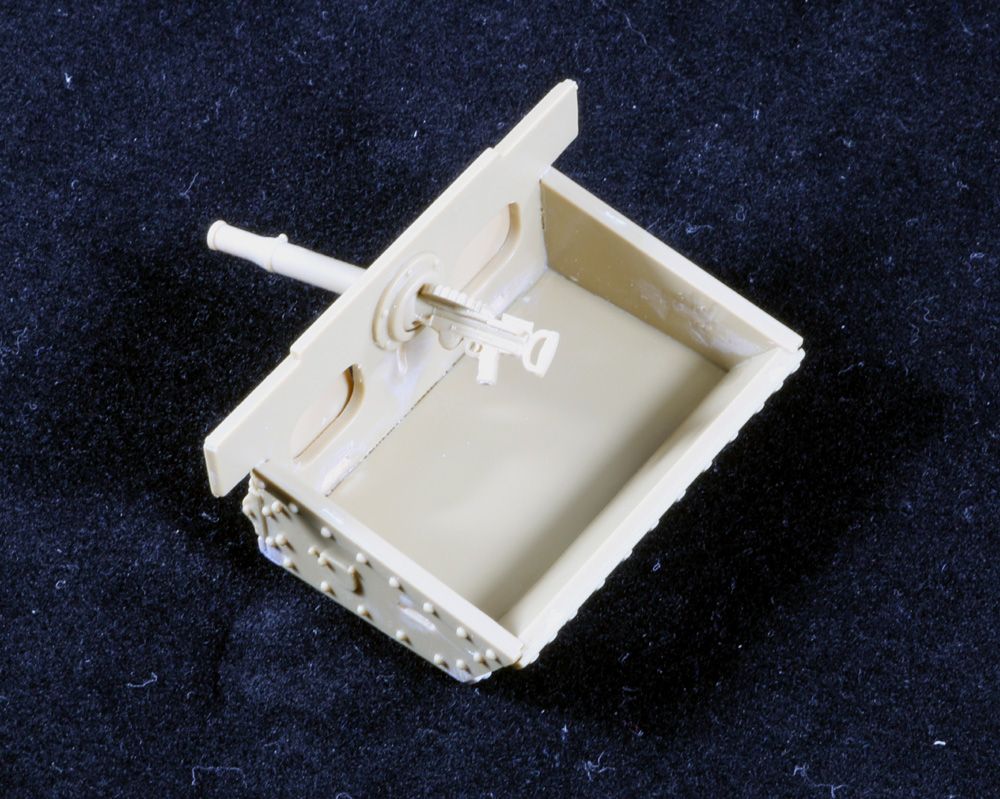
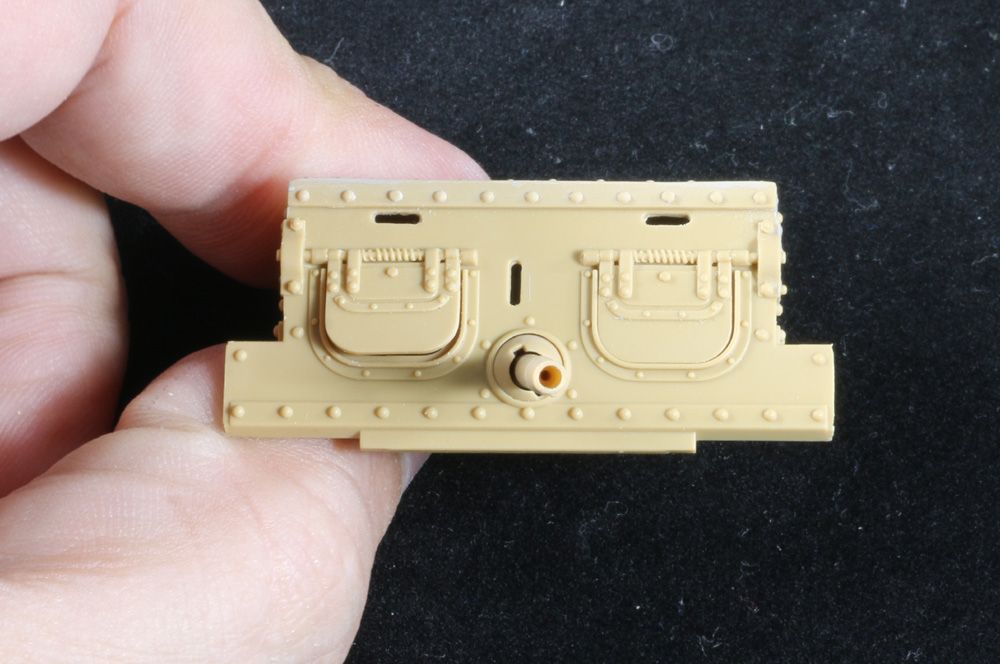
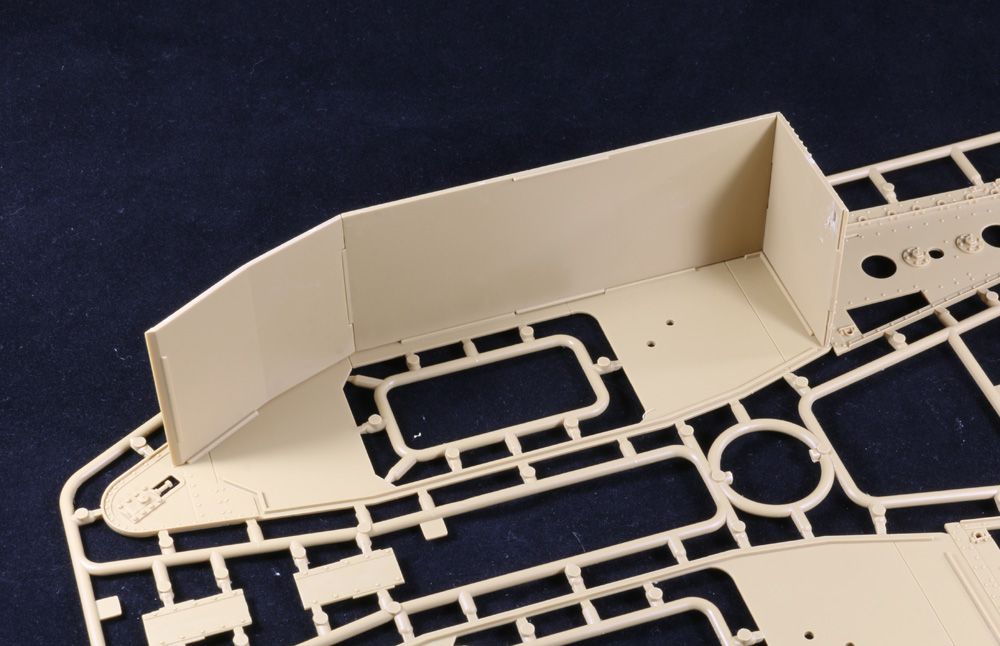
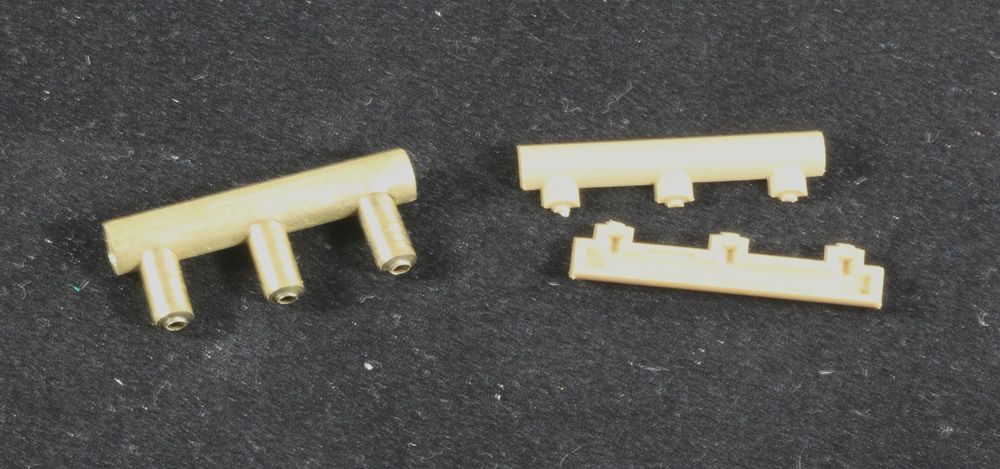
No AM for this - not sure any actually exists apart from gun barrels - but I will be relacing/adding details where required using what I have to hand.

Gary
Hi. My name is Gary and I'm an ex-Shermaholic....

User avatar
Justin Wooding
Posts: 1343
Joined: 21 Jul 2014, 09:34
Location: Wollongong, NSW, Australia

Re: Mk.IV Tadpole

Post by Justin Wooding »

Gary Boxall wrote: No AM for this - not sure any actually exists apart from gun barrels
Thank god!! Us mere mortals might have half a chance of keeping up with you Image

I'll be watching closely 8-)
Woody...

Trying hard to do some modeling!

Chris Smith
Senior Site Contributor.....
Posts: 666
Joined: 22 Jul 2014, 20:59

Re: Mk.IV Tadpole

Post by Chris Smith »

The exhaust is directed straight on the extension for the mortar too so the crew would probably be more worried about carbon monoxide poisoning than firing the mortar :o

Interested to see this go together, finally getting a choice for WWI subjects is awesome.

Chris
Completed Campaigns:
ImageImageImageImage

User avatar
Vincent Power
Senior Site Contributor.....
Posts: 2640
Joined: 31 Jul 2014, 23:49
Location: Melbourne Australia

Re: Mk.IV Tadpole

Post by Vincent Power »

Now there is a surprise. Interesting subject Gary :)

Vincent
Completed Campaigns:
ImageImageImageImageImageImageImageImage

User avatar
Philipp Gross
Site Admin/Founder
Posts: 5122
Joined: 19 Jul 2014, 23:40
Location: Frankfurt
Contact:

Re: Mk.IV Tadpole

Post by Philipp Gross »

Ohhh, nice :D

I have one of these as well, got it for a very good price. Some poor sod at my online shop apparently had set a wrong price....their problem.... :roll: :lol:

Philipp
Completed Campaigns:
ImageImageImageImageImageImageImageImageImageImageImage

User avatar
Rob Matthews
Moderator
Posts: 1202
Joined: 20 Jul 2014, 00:06
Location: Wiltshire UK
Contact:

Re: Mk.IV Tadpole

Post by Rob Matthews »

Excellent.

Rob
Modelling the mundane

Completed Campaigns:
ImageImageImageImageImage

User avatar
Matt Parvis
Site Contributor..
Site Contributor..
Posts: 312
Joined: 20 Jul 2014, 01:33
Location: North of Washington DC

Re: Mk.IV Tadpole

Post by Matt Parvis »

Cool stuff Gary, and great motivation for me to finish my WWI dio, gotta get my WWI tank finished before folks have yours to compare it to! :D

Matt

User avatar
Gary Boxall
Site Admin/Founder
Posts: 2476
Joined: 18 Jul 2014, 21:34
Location: Auckland New Zealand

Re: Mk.IV Tadpole

Post by Gary Boxall »

Welcome along everyone :D

Driver's superstructure is first up.

Nice to see that this kit doesn't suffer from the oversized sprue gates unlike the Chieftain kits :roll: Styrene is pretty easy to deal with - not too soft and not brittle. The only real issue is typical of any rivited tank like this where the joins tend to run along the length of the angle iron joints. You can't hide joins with weld seams here :lol:

So, I simply shaved off the rivets along one side as clean up is very difficult with them there and then used some Mr Surfacer to fill and slight gaps. The edges are then sanded until they are nice and straight and unblemished...

Image

I then pinched new rivets from the underside of the hull (won't be seen when completed) and cemented them in place. A final clean up with a glass fibre pen and it's all done.....

Image

The Lewis gun is reasonable well done....

Image

But the end of the tube is too thick but a small drill bit soon cures that. I also then drilled out the end of the muzzle inside....

Image

Gary
Hi. My name is Gary and I'm an ex-Shermaholic....

User avatar
Gary Boxall
Site Admin/Founder
Posts: 2476
Joined: 18 Jul 2014, 21:34
Location: Auckland New Zealand

Re: Mk.IV Tadpole

Post by Gary Boxall »

The instructions get you to assemble the main hull plates next. While fit is good, there are no real means of ensuring the angle are correct if you do as Takom suggest. So I used the hull side pieces to ensure correct alignment....

Image

This way you should have no nasty surprises further down the track....

Image

Image

Gary
Hi. My name is Gary and I'm an ex-Shermaholic....

User avatar
Gary Boxall
Site Admin/Founder
Posts: 2476
Joined: 18 Jul 2014, 21:34
Location: Auckland New Zealand

Re: Mk.IV Tadpole

Post by Gary Boxall »

More parts are added to the top of the hull. The unditching beam rails were removed but the brackets left in place on the real thing. I've also thinned down the exhaust cover plates as they are far too thick....

Image

The two halves of the exhaust are shown above and I'm never a fan of this type of construction as it requires a lot of work to get a seamless finish to the joins - especially given the shape of the 3 verticle pipes too. Only one answer really....

Image

Go on, hands up those who didn't see that coming :lol:

Dry fitted...

Image

Gary
Hi. My name is Gary and I'm an ex-Shermaholic....

Post Reply